Data Synchronization
Details and examples of using Data Synchronization, MVsync, with MVsharp.
Contents
4 Using the MVsharp DATA SYNCHRONIZATION Tool
4.1 Installing the server software
Introduction
MVsync provides the tools required to dynamically maintain a SQL Server database of multi valued data files with data from files in a multi value database. MultiValue database environments supported include UniVerse, UniData, OpenQM, jBase and D3. In addition to synchronizing between a MultiValue database and SQL Server, updates to a SQL Server may also be replicated in the MultiValue database.
Additionally, in order to present the rich multi valued data structures in the first normal form, your multi valued data needs to be normalized. This entails expanding out associated multi valued data into separate tables that can be joined together to represent your data in the first normal form.
MVsharp's approach is to do this dynamically when data is accessed by using the Dynamic Normalization engine that we embed into your SQL Server database engine. Multiple views are created that can be accessed as normal SQL tables. All data transformation (Dates, Conversion Codes etc.) are managed inside the normalization engine.
A rich set of GUI tools is also available to make the creation of these views simple and a data analysis engine scans your data and automatically creates the views based on a set of simple rules. Although the analysis engine is 100% accurate, it simplifies the initial process and the GUI tools can be used to make any modifications required.
Pre Requisites
Before using the MVsharp Dynamic Normalization, the following needs to be in place:
- MVsharp version 4.0.8.0 or above.
- MVsync version 1.0.12 or above.
- Windows PC with Windows 7 and above.
- .Net Framework 4.5.
- Microsoft SQL Server 2012 or later.
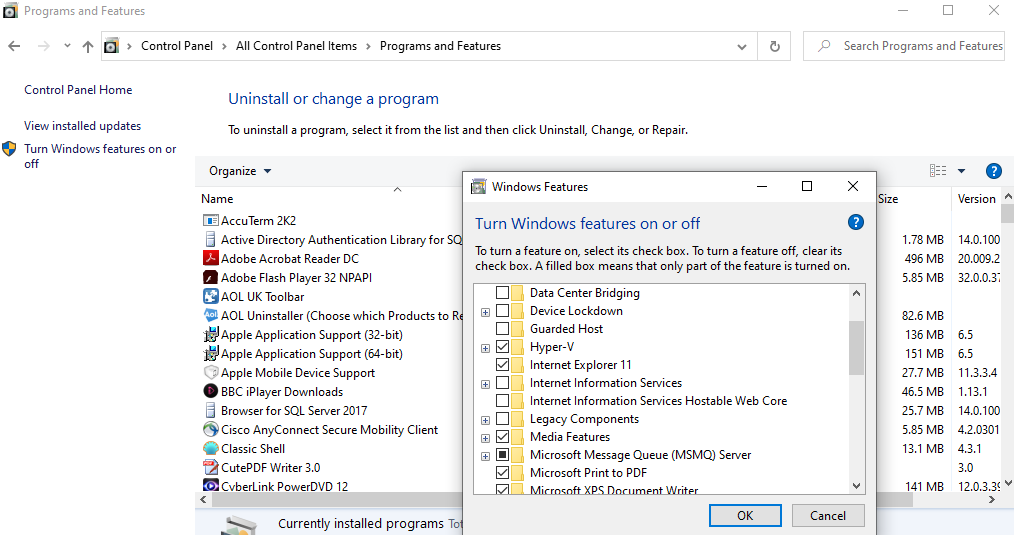
MVsync uses the Microsoft Message Queue (MSMQ) server to ensure that this feature is installed, open Control Panel and select Programs and Features. Then click 'Turn Windows Features on or off, and ensure that MSMQ is selected, if not check the box and click on OK, This will enable the feature.
Below is an example of Turn Windows Features on and off:
Installation
The Data Synchronization tool is a single Microsoft installer, "MVsync". To install the tool, launch the executable and follow these steps. The initial step installs the MVsync Administrator.

Click Next to begin installation
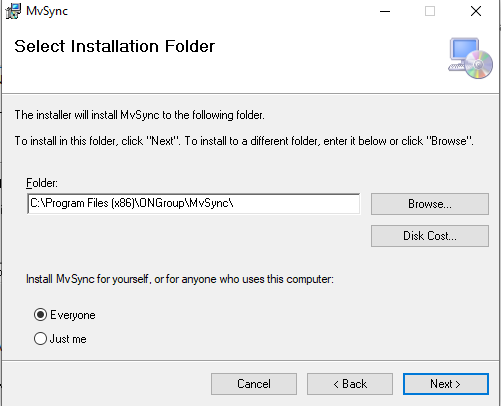
By Default, MVsync is installed in the above folder. You can modify the path by either typing in a new path or clicking the 'Browse' button.
Select 'Everyone' to make MVsharp Dynamic Normalization available to all users on the server.
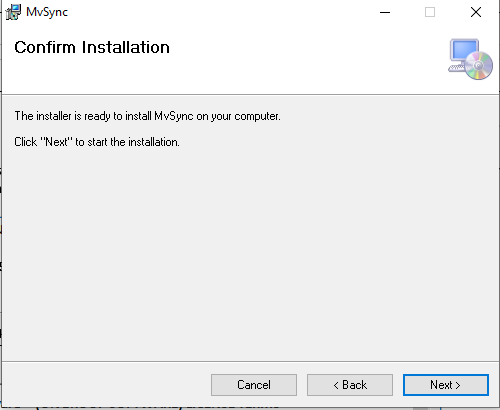
Click on next in the Confirm Installation dialogue.
The next screen displays the license agreement for the use of MVsharp Dynamic Normalization. Please read the agreement carefully and select 'I Agree' in order to continue with the installation.

After agreeing to the license agreement and clicking 'Next' the software will be installed on your machine.
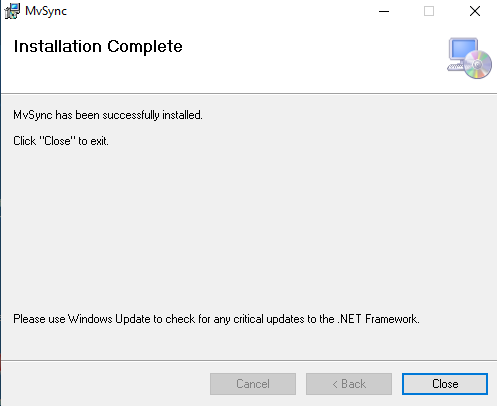
Upon successful installation the following will be displayed.
Using the MVsharp DATA SYNCHRONIZATION Tool
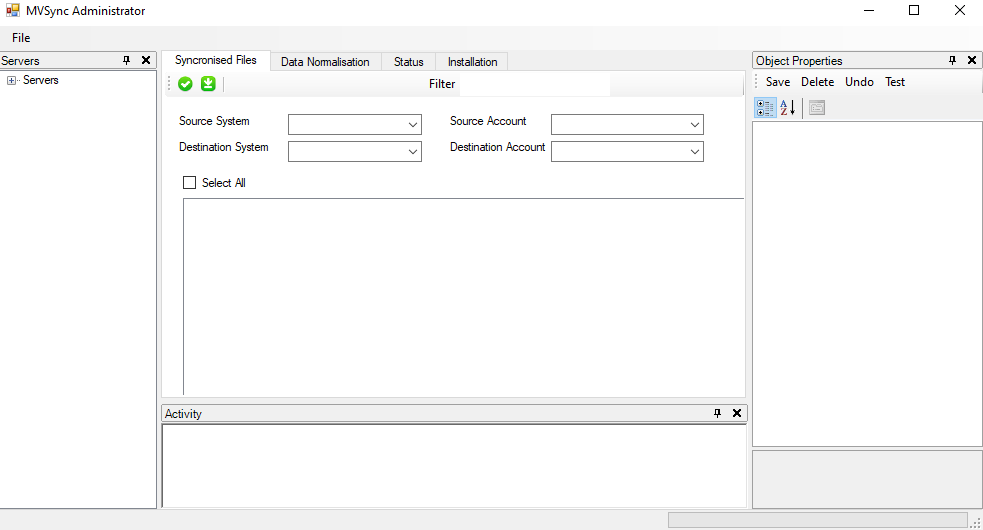
The GUI tool consists of 4 separate panels:
| Panel | Description |
|---|---|
| Servers | The Servers panels allows you to |
| Synchronization and Normalization configuration, and Server Status | Contains the record for the current IO operations, and starts the server monitoring it's status. |
| Activity | The name of the file(s) that the IO operation is taking place on. |
| Object Properties | The opened file variable of the file that the IO operation is taking place on. |
Installing the server software
To install the MVsync software on the multi value and MVsharp servers, expand the servers tree. If there are no servers currently configured, select the file dropdown, highlight and select add server:
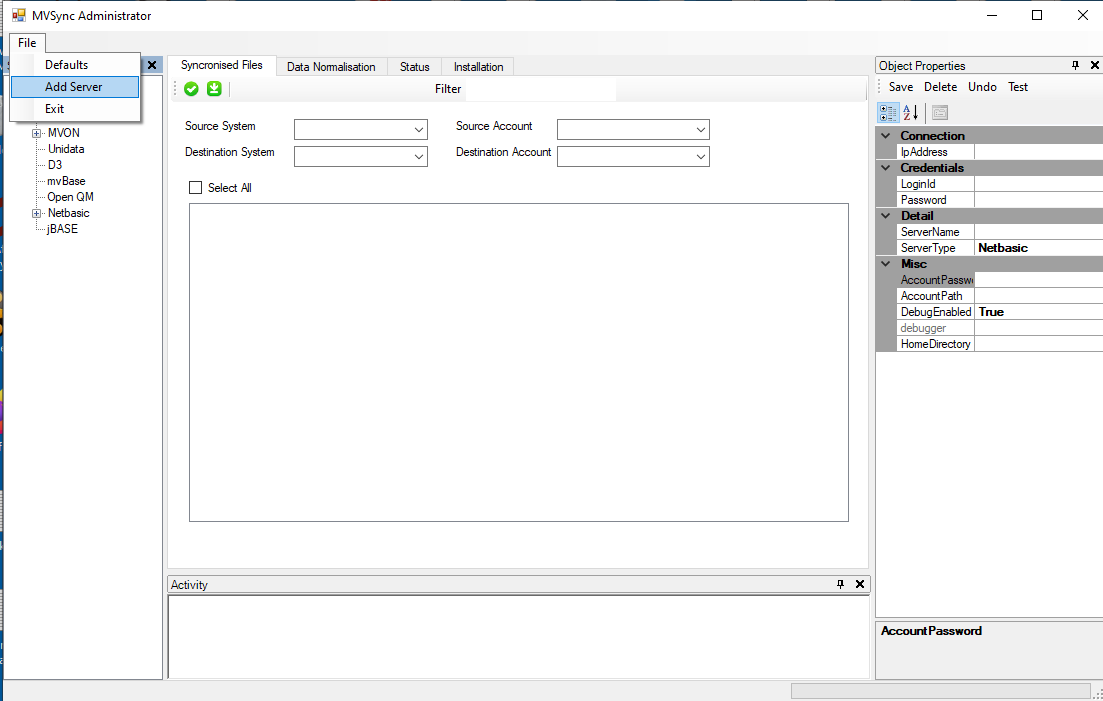
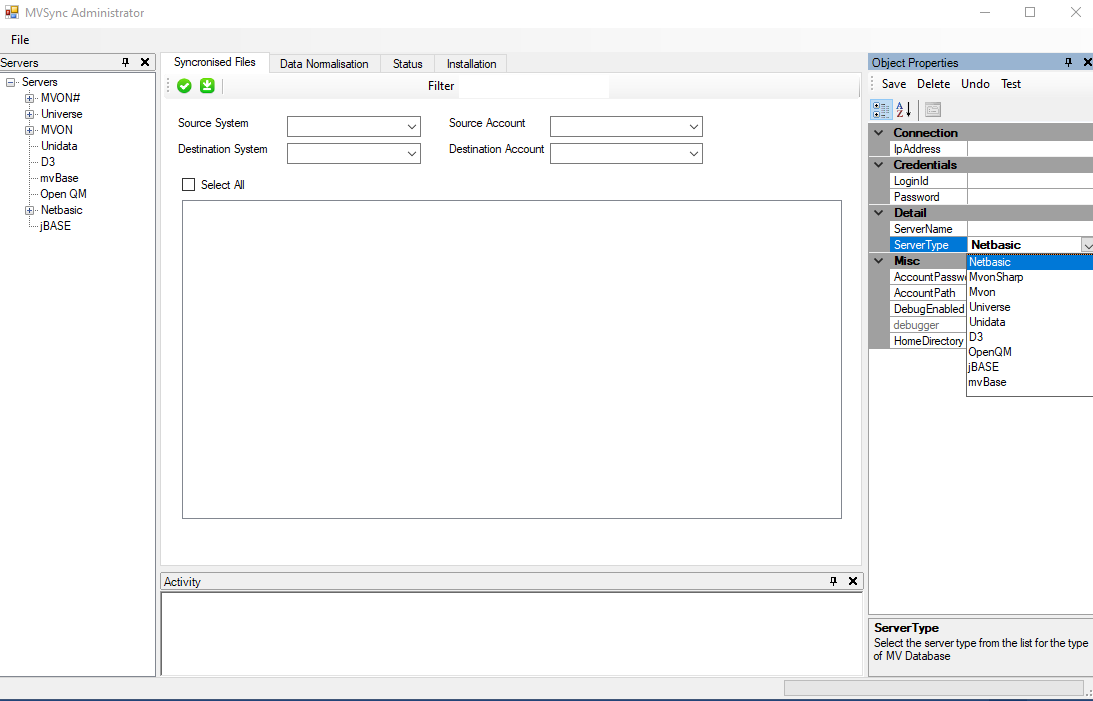
In the Object Properties pane, select the Server Type dropdown and chose the desired database type to be added. Complete the entries in the Object Properties pane, then Save the definition. To ensure that the server is correctly configured select Test to ensure a successful connection can be made.
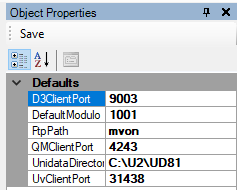
To review and make changes to the defaults for the various multi value environments, select Defaults from the File dropdown:
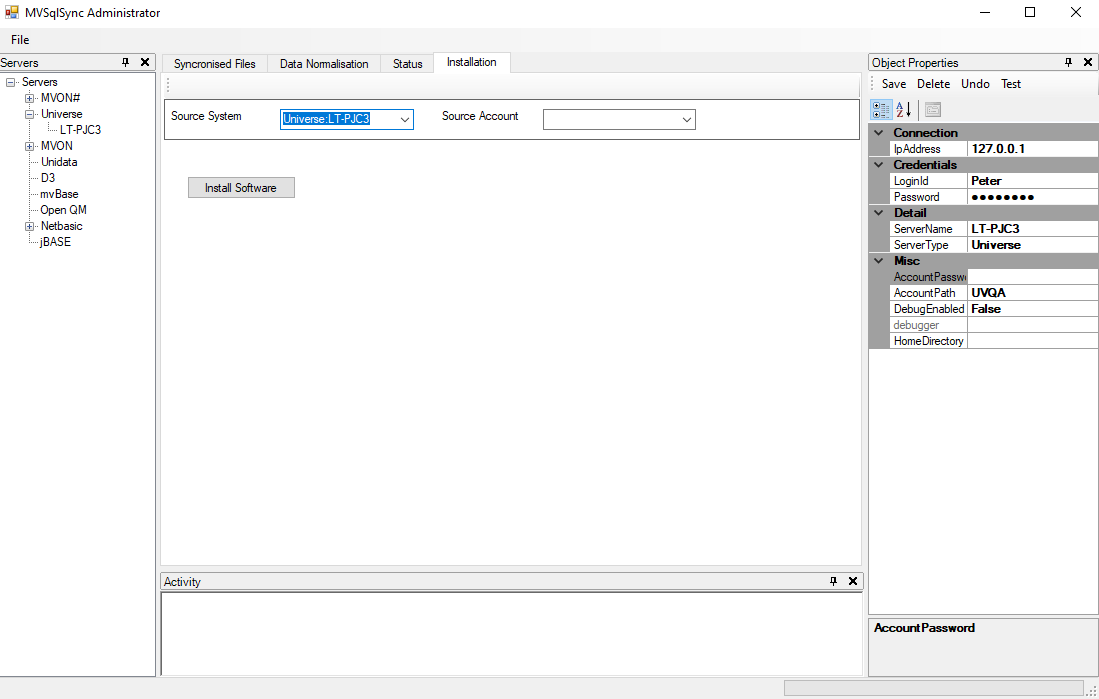
Once the servers are configured, select the Installation tab and in the Source System and Source Account drop downs select the Server and Account that the software will be installed into, the following is an example of installing the MVsync software into a UniVerse account:
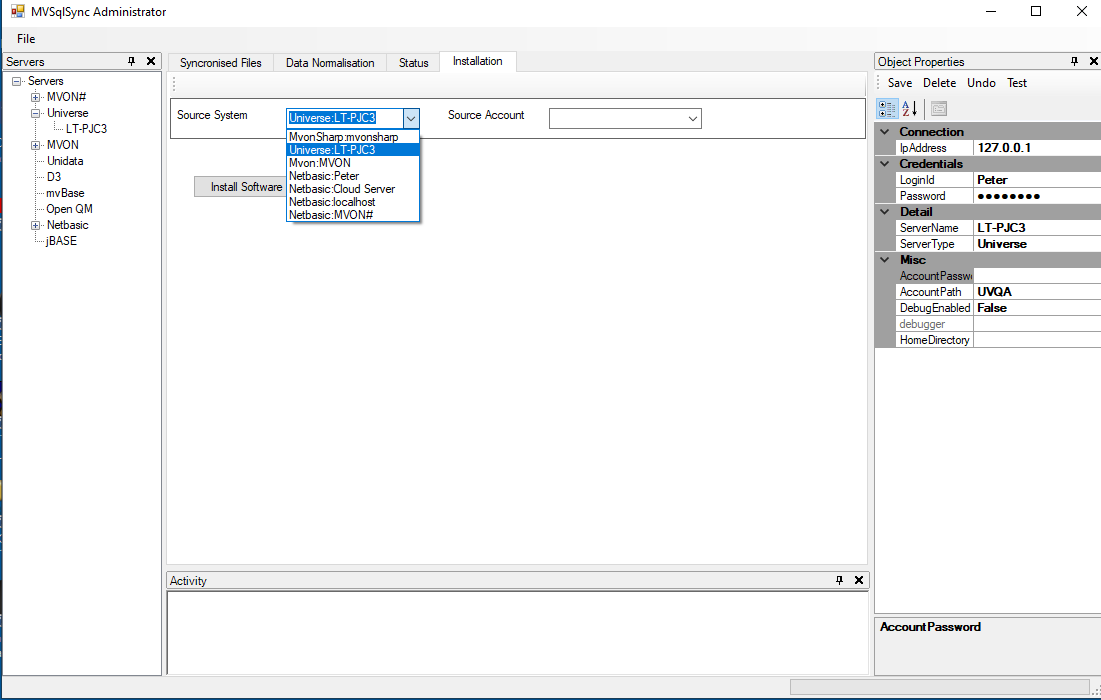
The first step is to select the source server from the 'Source Server' dropdown, in this case a UniVerse server called LT-PJC.
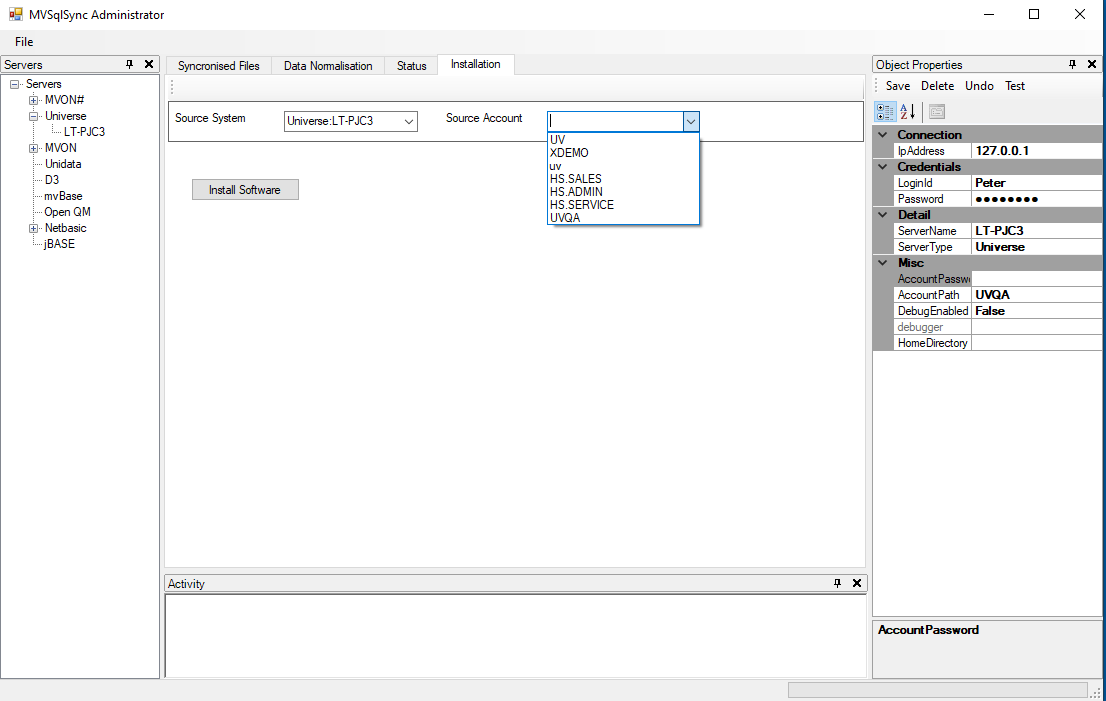
Next is to select the source account from the 'Source Account' dropdown, in this example the account is called UVQA.
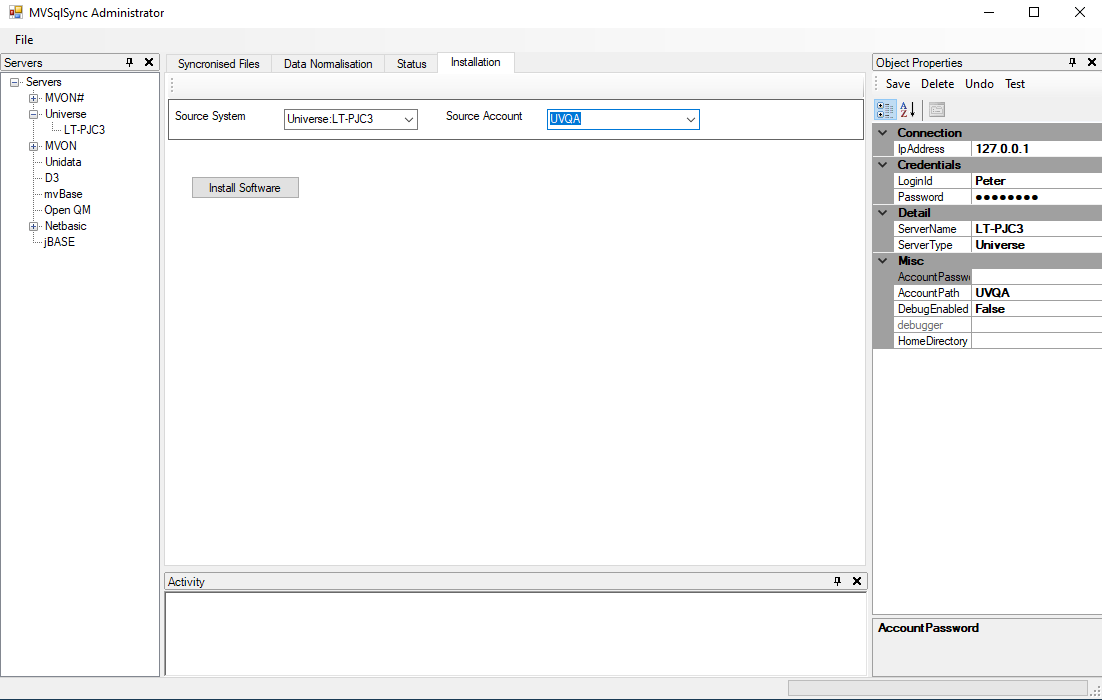
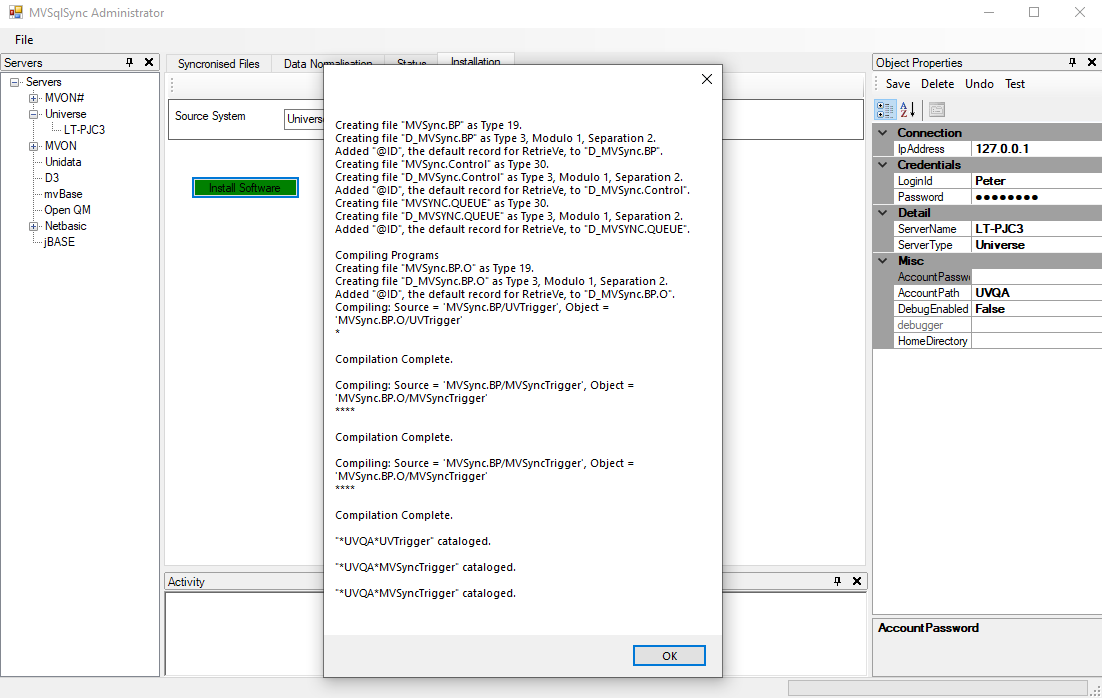
Clicking on the 'Install Software' button will result in the software being installed in the account, with a progress window being displayed. Once completed click the OK button to complete the installation.
The next step is to install the software in an MVsharp account where the data to be synchronized is located.
From the installation tab, select the Source System and Source Account. In the following example the Source System is an MVsharp server called mvsharp, and the Source Account is CUSTOMER
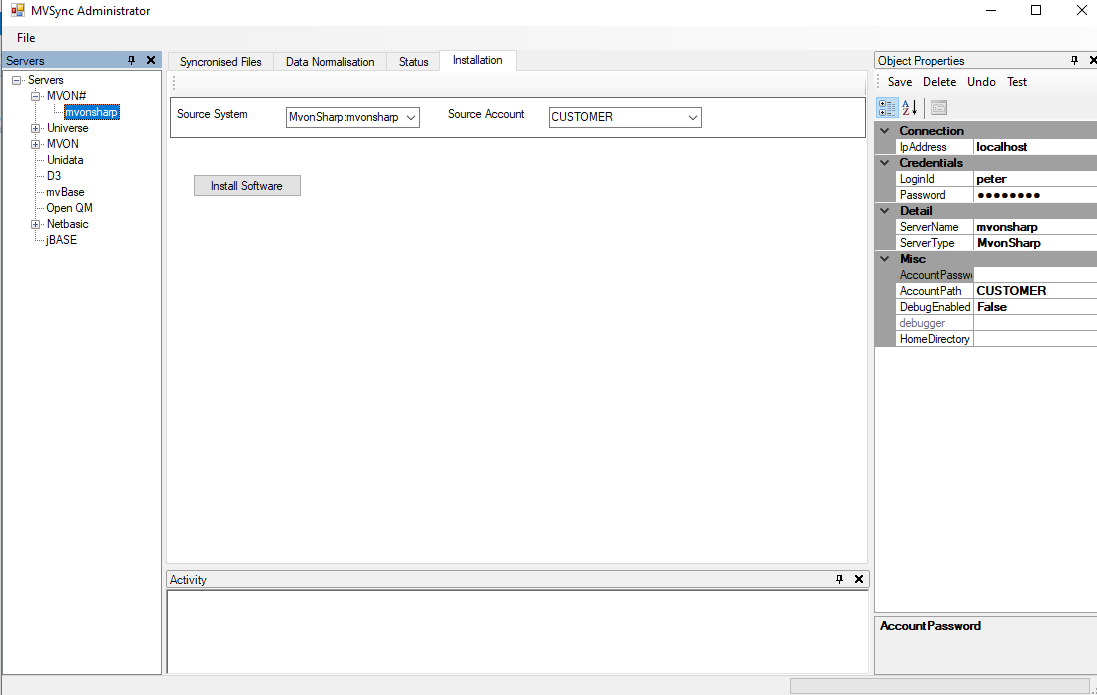
Select the Install Software button, and the following is displayed
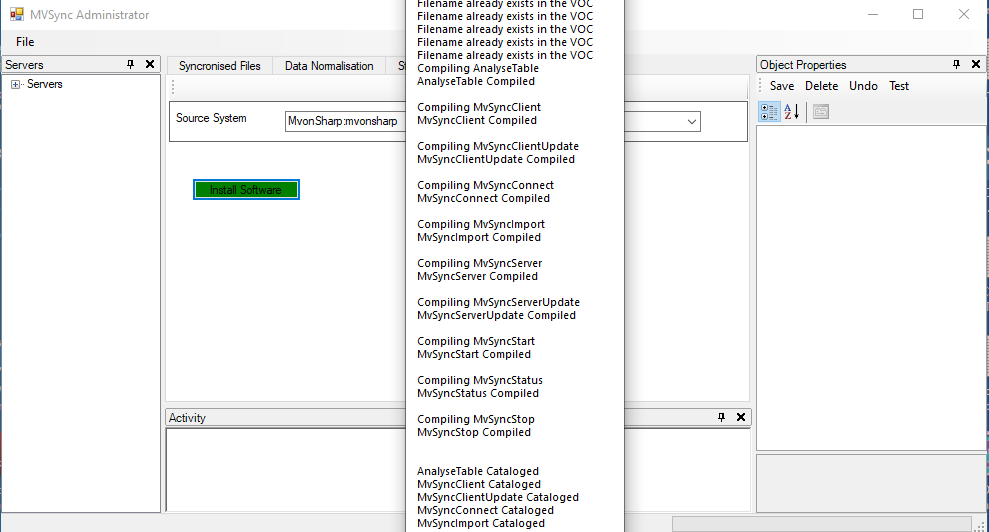
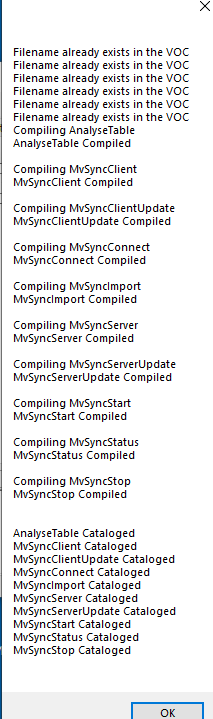
Once complete, press the OK button.
5.2 Configuring Synchronized Files
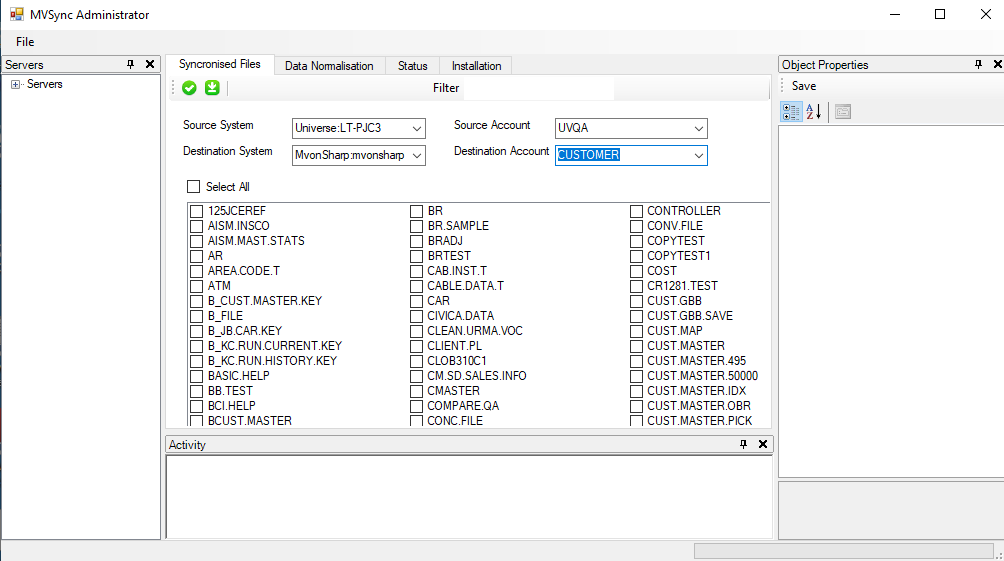
To configure files to be synchronized from a multi value account to a SQL Server account, the account on the source server is selected from the source system dropdown in the Synchronized Files tab:
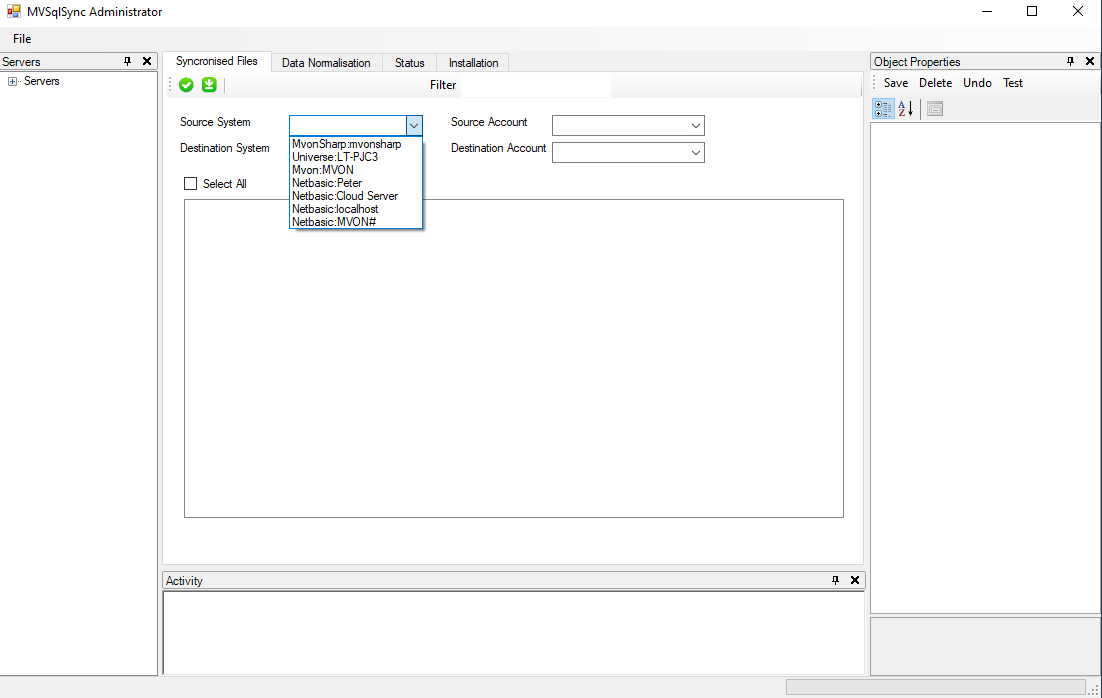

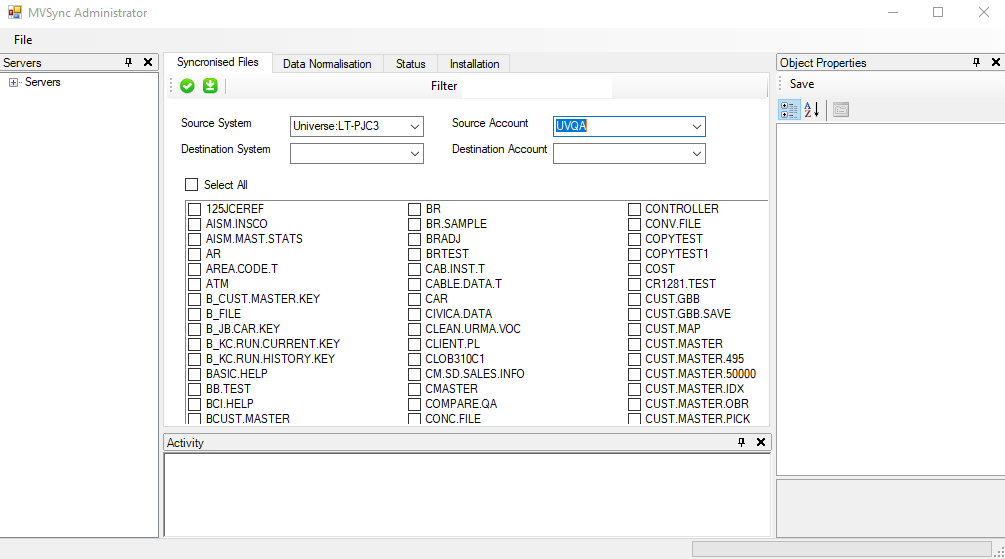
Then, from the Source Account dropdown, the account which contains the data files to be synchronized is selected:

Upon selecting the source account, the available files in the account are displayed in synchronization pane, depending on how many files there are in the source account, this may take a while.
Next the Destination System is selected,
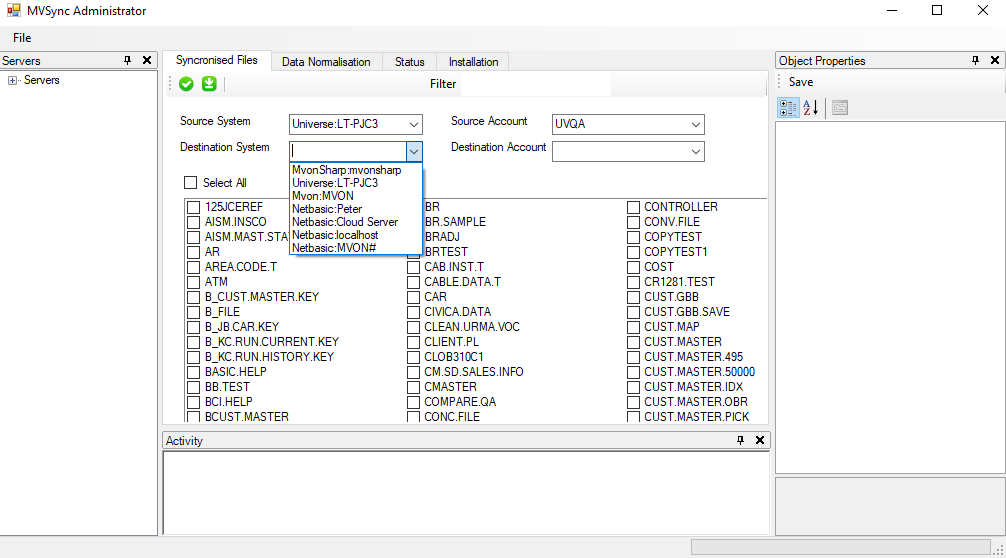
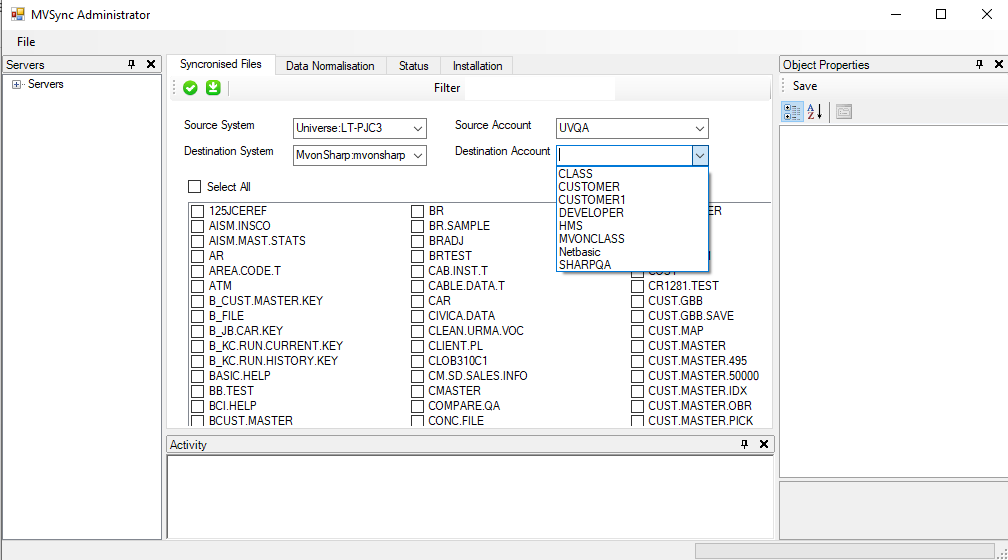
Followed by the Destination Account:
In the top left hand corner of the pane are two buttons.
 which validates synchronization settings
and
 which deploys synchronization settings
Next the file or files to be synchronized are selected. In this example the file CUST.MASTER is to be synchronized by clicking in the box to the left of CUST.MASTER.
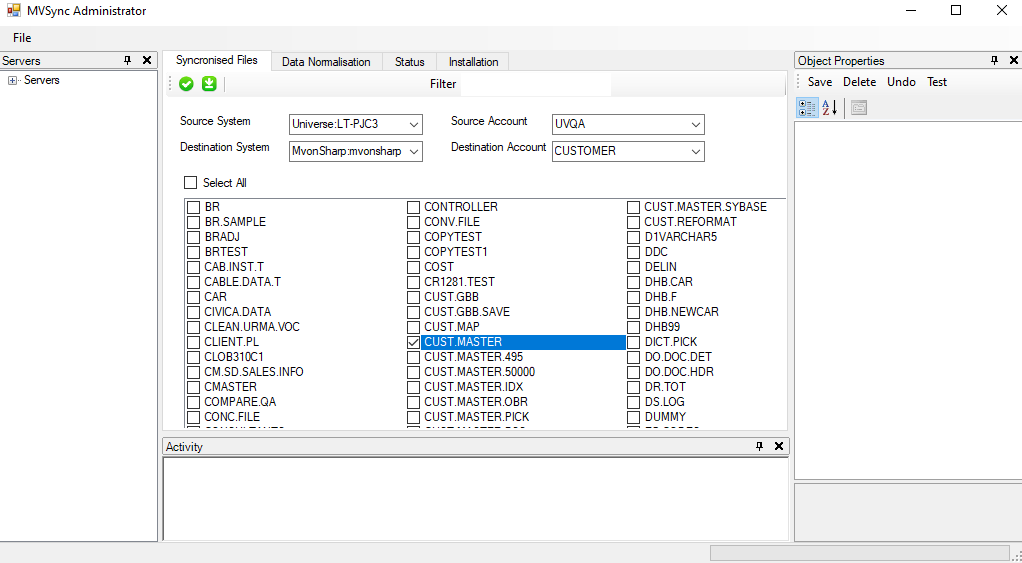
To validate the synchronization settings, click on the Validate Synchronization Settings,  ,button.
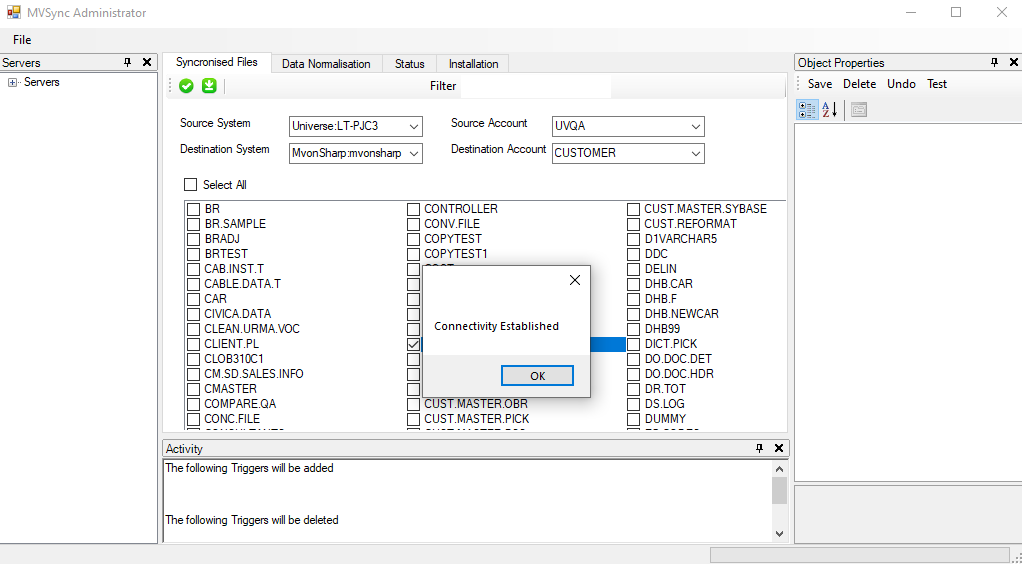
Then click the OK button.
To deploy the settings click on the Deploy Settings,  , button
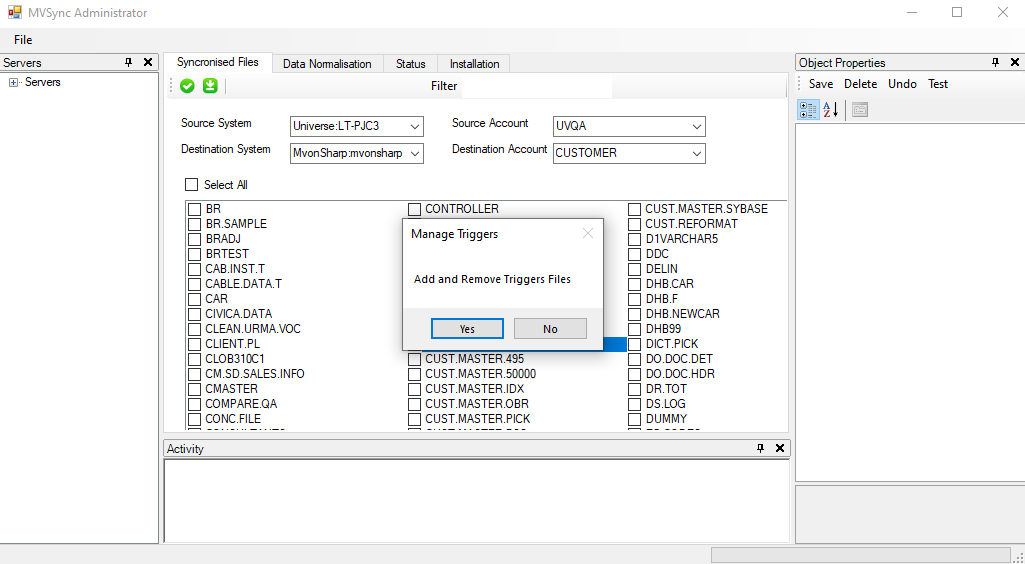
Click on the OK button
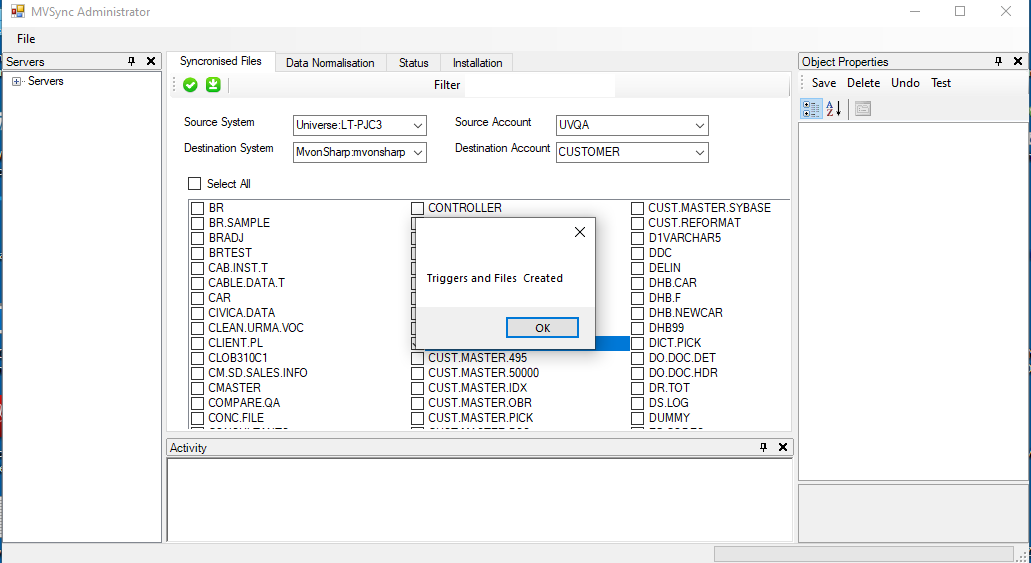
Then click OK again.
To unselect, click on the tick in the box next to the file, click on the Deploy Settings,  , button.
Starting the synchronization server
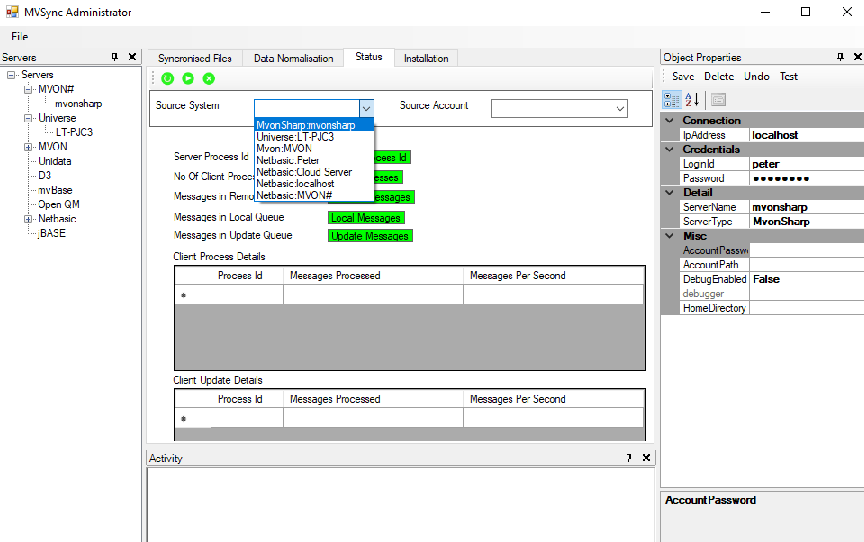
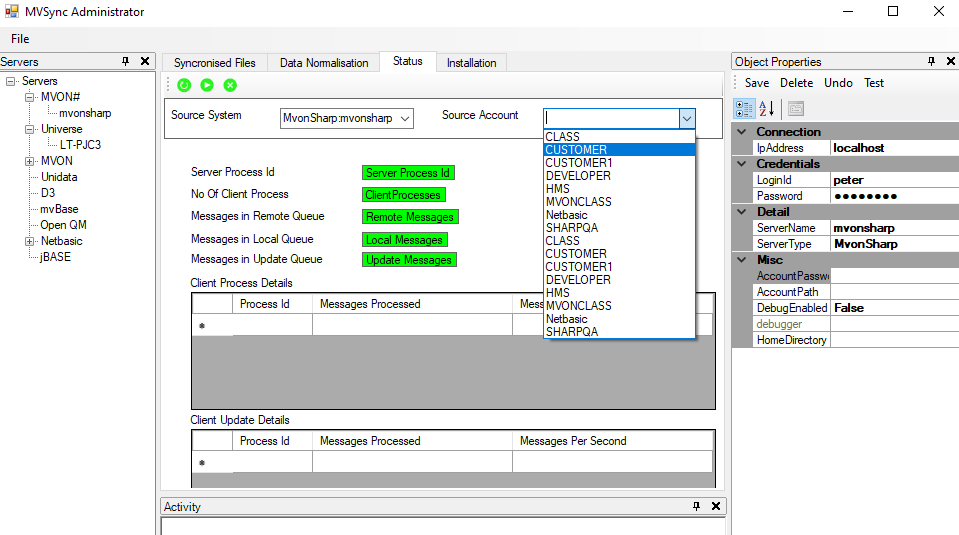
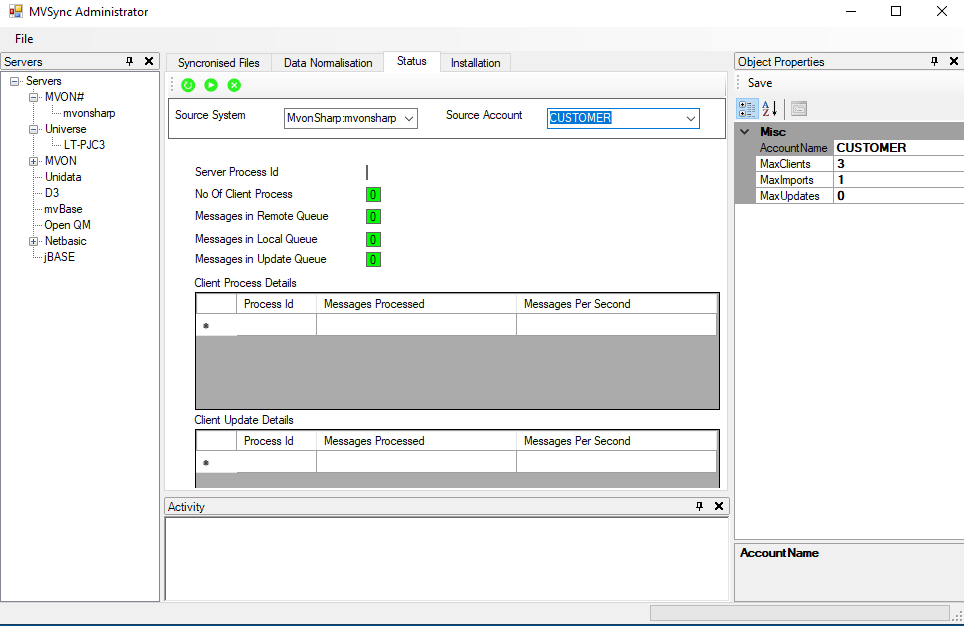
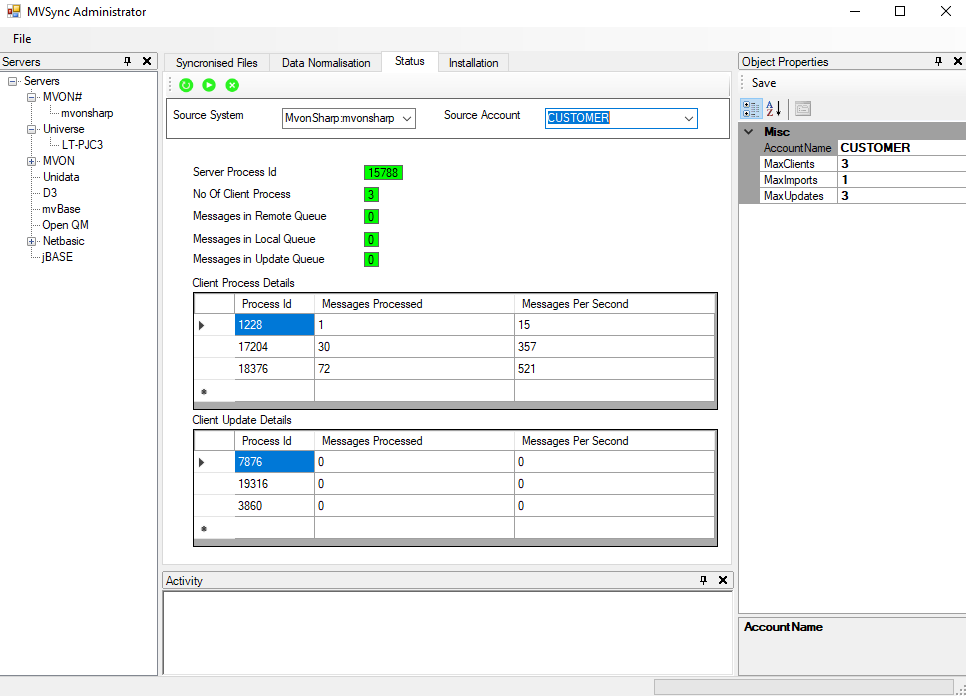
From the status tab in the MVsync Administrator select the Source Server drop down, and select the server containing the SQL Server account, and then in the Source Account drop down select the SQL Server account to be synchronized, in this example CUSTOMER.
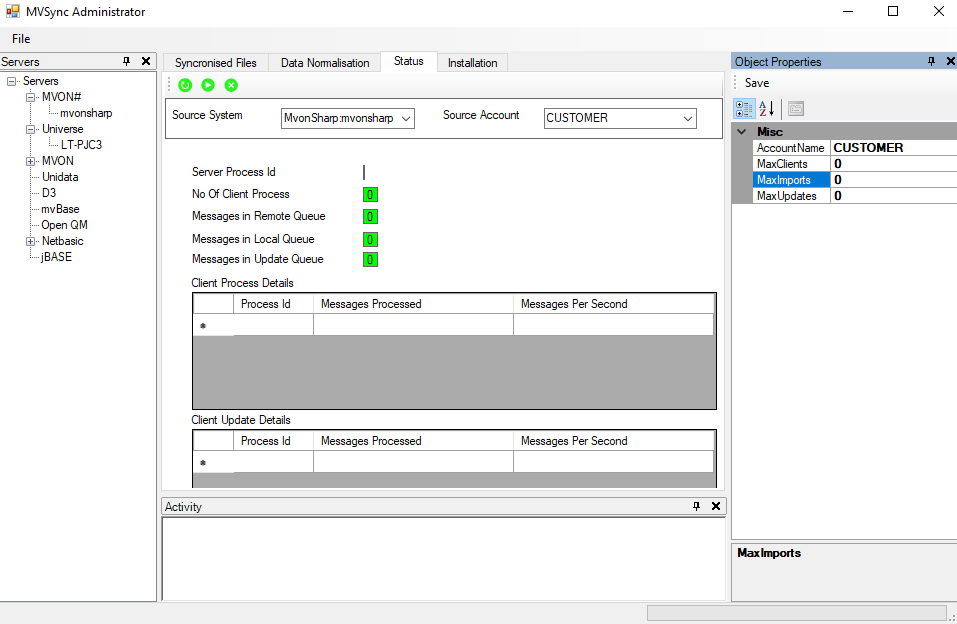
In the Object Properties pane, MaxImports should be set to the processes to start to initially synchronize files, in this case 1. MaxClients is the number of clients running in parallel servicing the message queue. In this example it is set to 3. Increasing the number of clients increases the potential bandwidth available. MaxUpdates should be set to the number of parallel client that will process updates from the SQL Server views back your multi value database.
Note:
Each client requires a connection to your multi value server. This has licensing implications.
To save the changes, click on the Save button in Object Properties.
In the top left hand corner of the Status Window there are three buttons

 Refresh the Status Window
 Start Server
 Stop Server
In the Status Window select the Source Server and Source Account and click on the Start server,  , button.
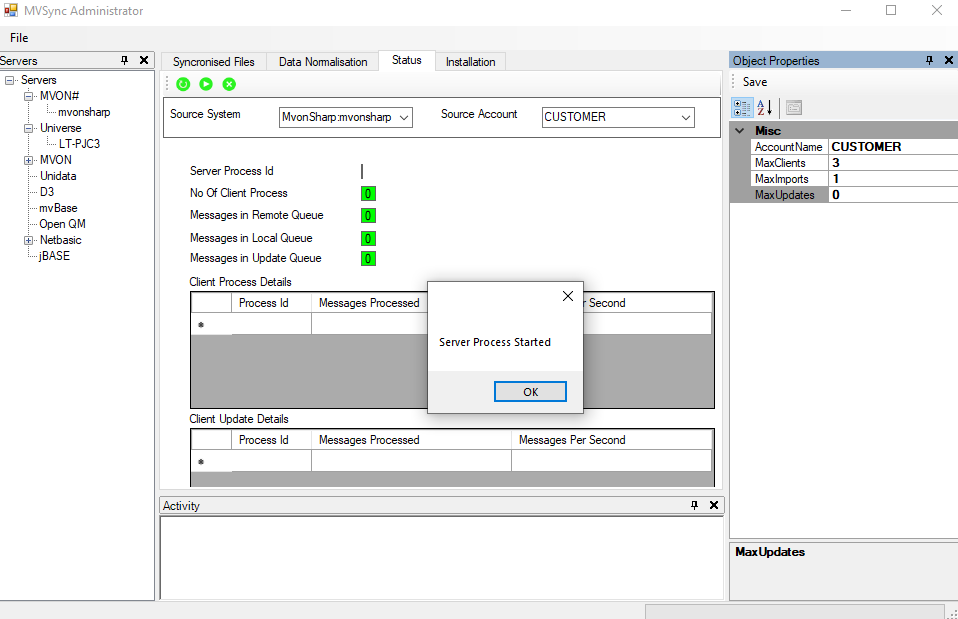
Click OK to continue.
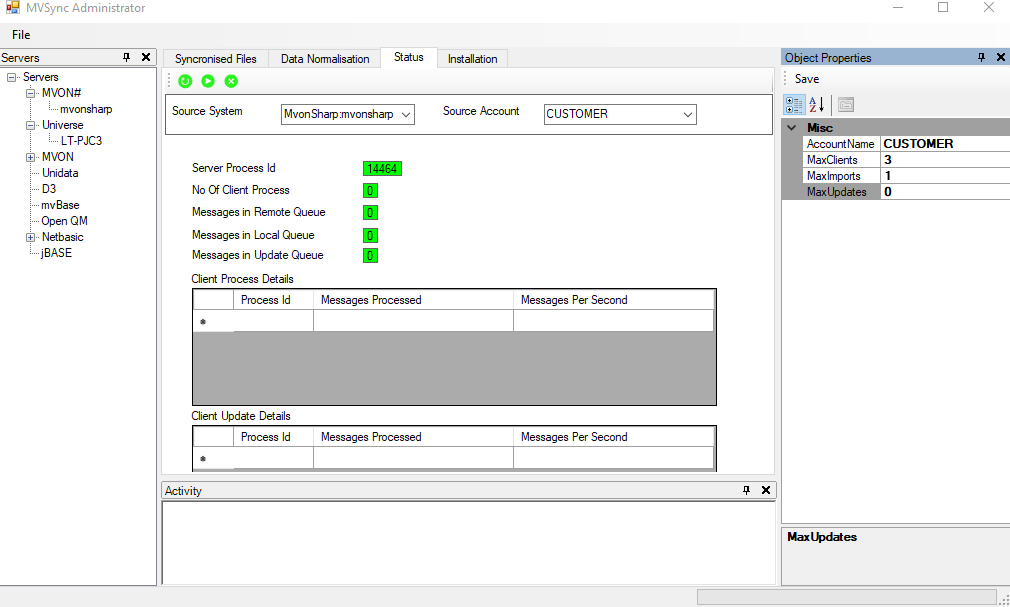
Next click the Refresh Status Button,  , to refresh the Status Window
In a NetShell session logged into the CUSTOMER account, issue a COUNT CUST.MASTER command at TCL. CUST.MASTER is the file being synchronized.
>COUNT CUST.MASTER
0 record(s) counted
In a UniVerse shell logged into the UVQA account, issue a COPY command as follows:
>COPY FROM CUST.MASTER TO CUST.MASTER ALL OVERWRITING
102 records copied.
Next click the Refresh Status Button,
 , to refresh the Status Window
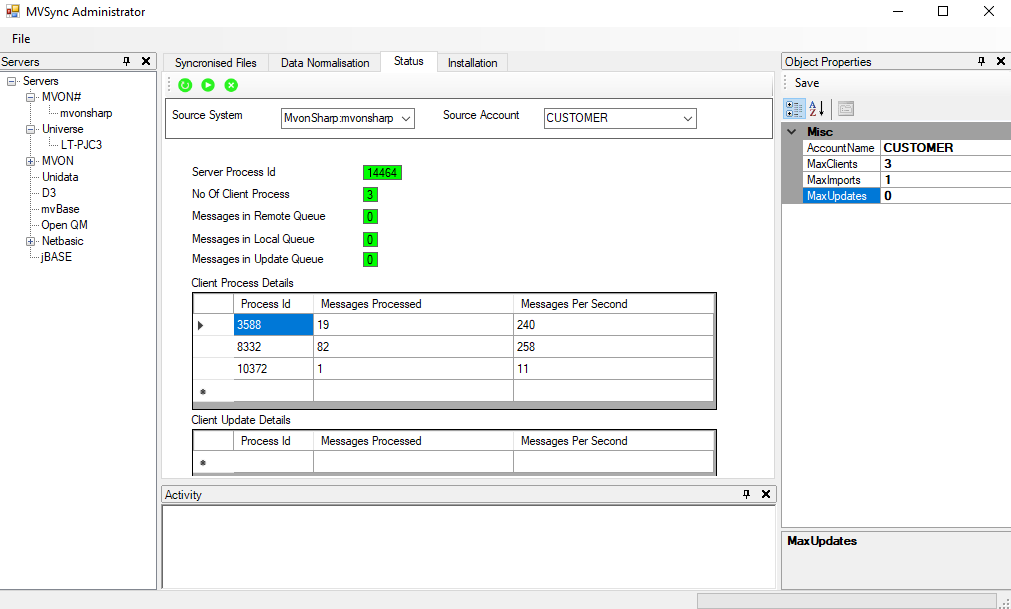
This information can also be seen in the at TCL in the NetShell session by issuing a MvSyncStatus command as follows:
>MvSyncStatus
No of messages on the remote queue is 0
No of messages in the process queue is 0
No of messages in the update queue is 0
No of client processes processing messages is 3

    ProcessId 3588 Messages Processed 19 At 241 Rows per second
    ProcessId 8332 Messages Processed 82 At 259 Rows per second
    ProcessId 10372 Messages Processed 1 At 11 Rows per second

No of client processes update messages is 0
In the NetShell session a COUNT of the CUST.MASTER file gives:
>COUNT CUST.MASTER
102 record(s) counted
To enable bi-directional synchronization, MaxUpdates is set to a non-zero value, this should be set to the same value as MaxClients.
Data Normalization
MVsync provides powerful facilities to create normalized views on the underlying base table obviating the need to normalize the base table.
Note that if a new version of MVsharp is installed, then UPGRADE.SQLSERVER should be run in each account to update and deploy the latest SQL extensions in the database.
Selecting the table to normalize
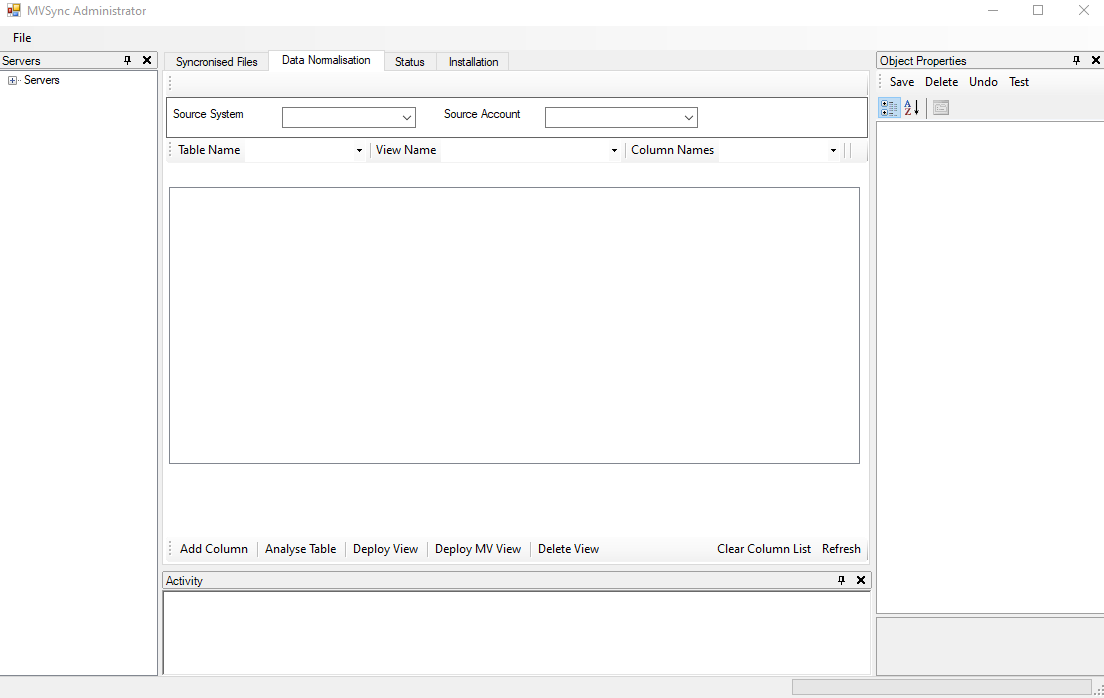
To commence the normalization process, select the Data Normalization tab.
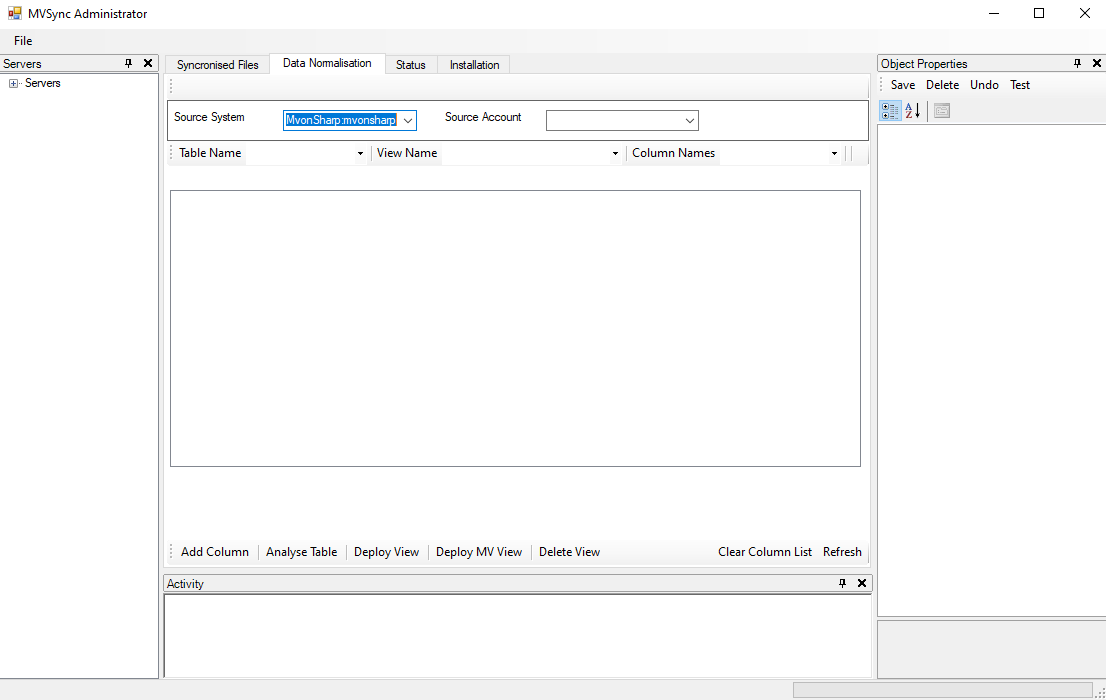
Next, in the Source system dropdown select the server containing the SQL Server database, in this example MVsharpSharp:MVsharpsharp.
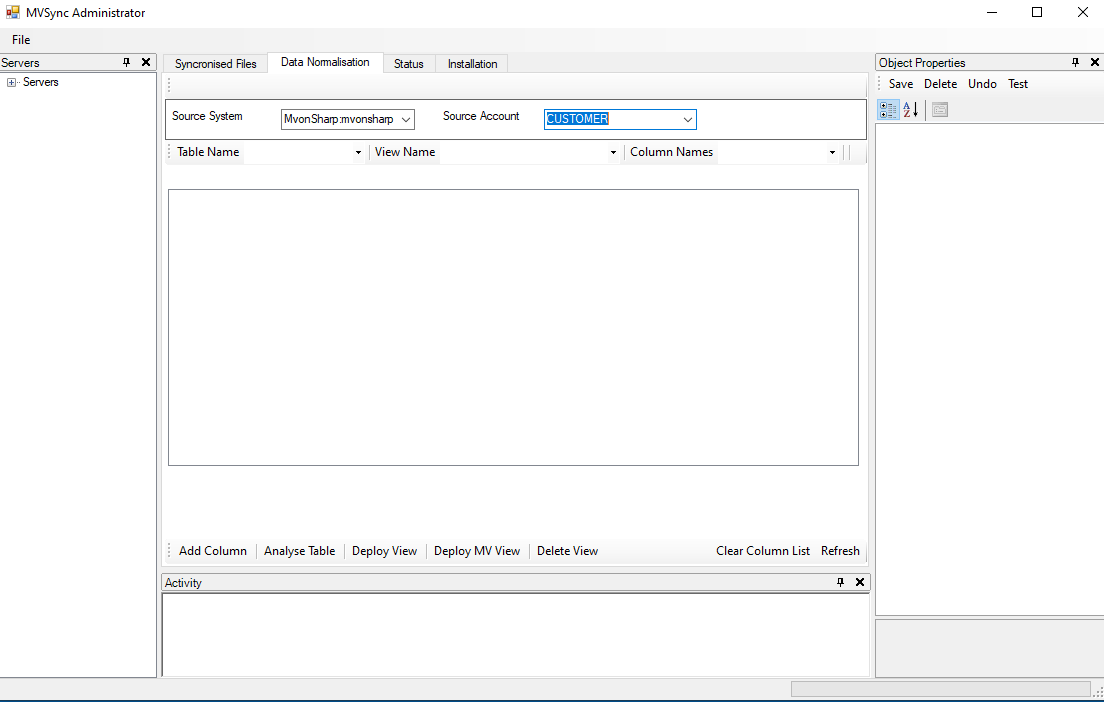
Next select the database containing the table or tables to be normalized, in this example the CUSTOMER database.
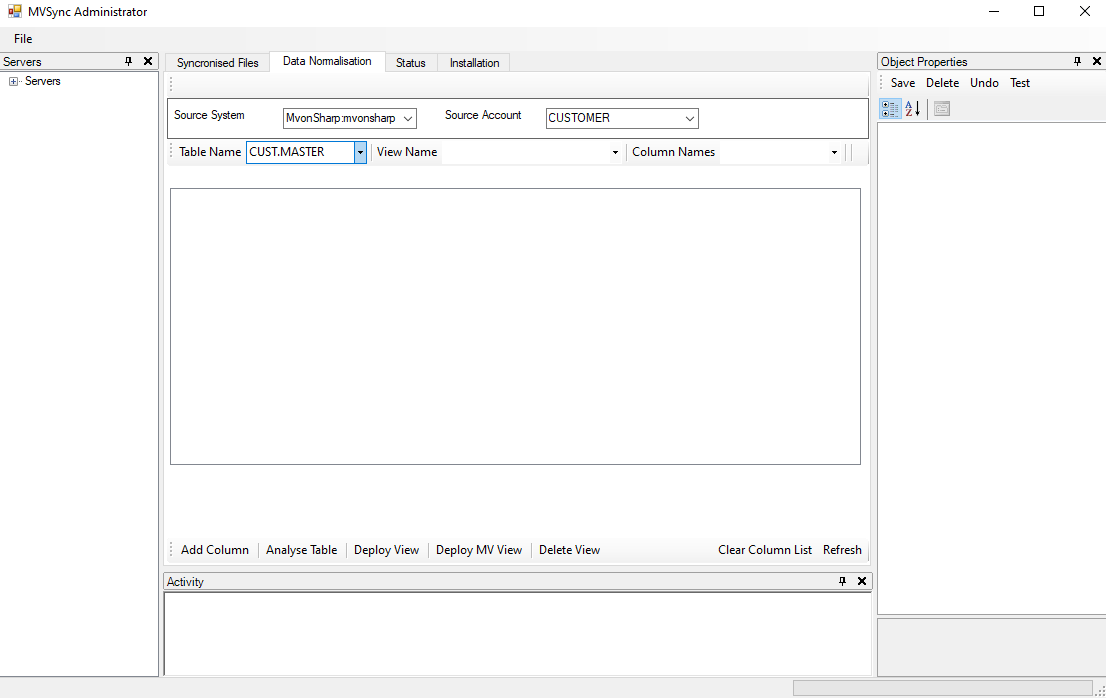
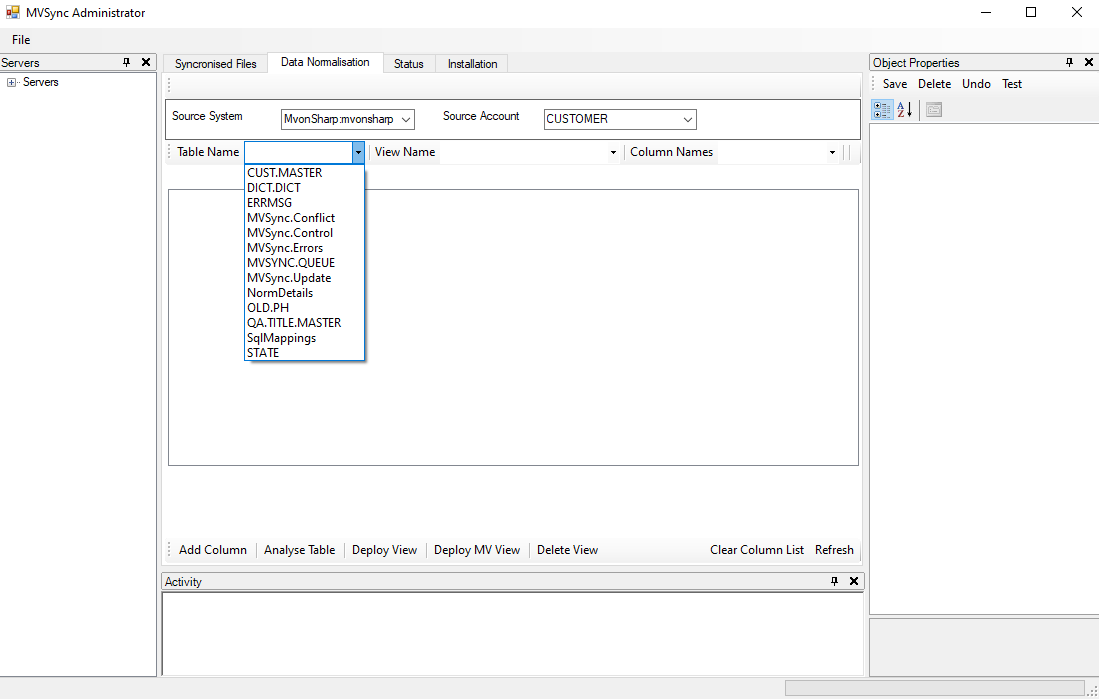
Next in the TableName drop down select the file name to be normalized, in this case CUST.MASTER which references the _CUST_MASTER table in the CUSTOMER database.
Analyzing the data
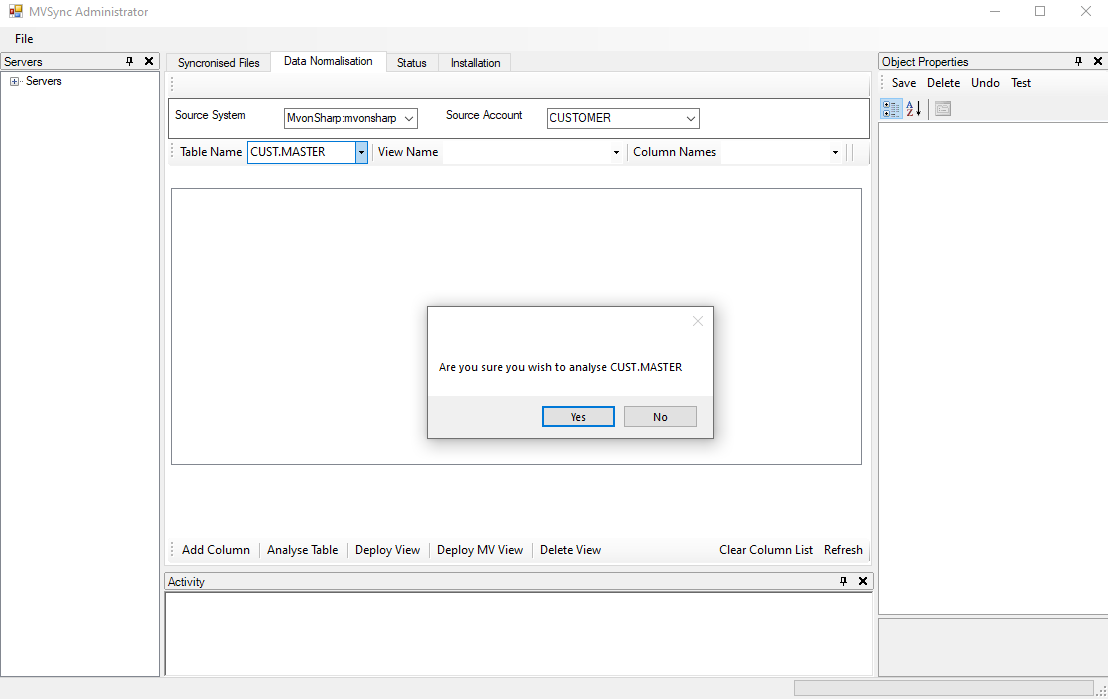
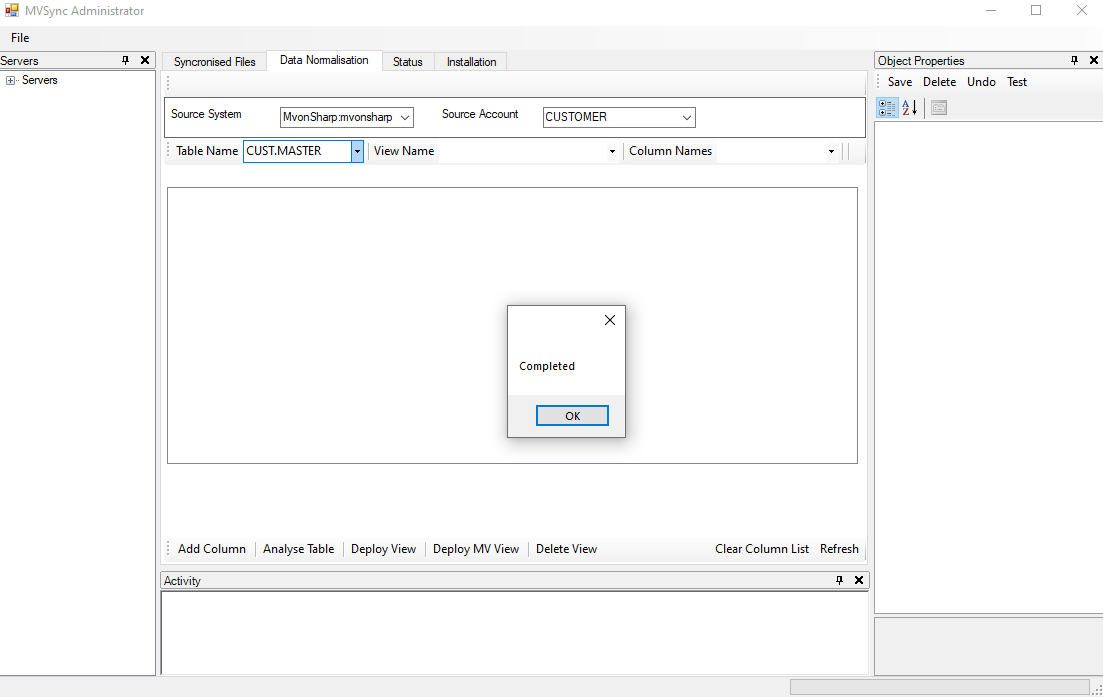
Next click on Analyze Table, and click on the Yes button in the pop up window to run the table analyzation procedure.
Analyze Table examines the dictionary of CUST.MASTER to create views on the table. All the fields identified as Single Valued are created as a view on the file with same name as the file entry, and a phrase added to the dictionary with a record key of the file name.
Next the dictionary is analyzed for associated Multi Valued fields and a view created using the name of the first field in the association, with a name of the SQL table name appended with the name of the first field adding an entry to the dictionary with the same name.
The data in the table is them analyzed, for multi valued rows and views created based on the analysis. This is especially useful where the dictionary is not complete or consistent. Any of these views created should be analyzed to ensure that they truly reflect the data structure.

Deploying the views
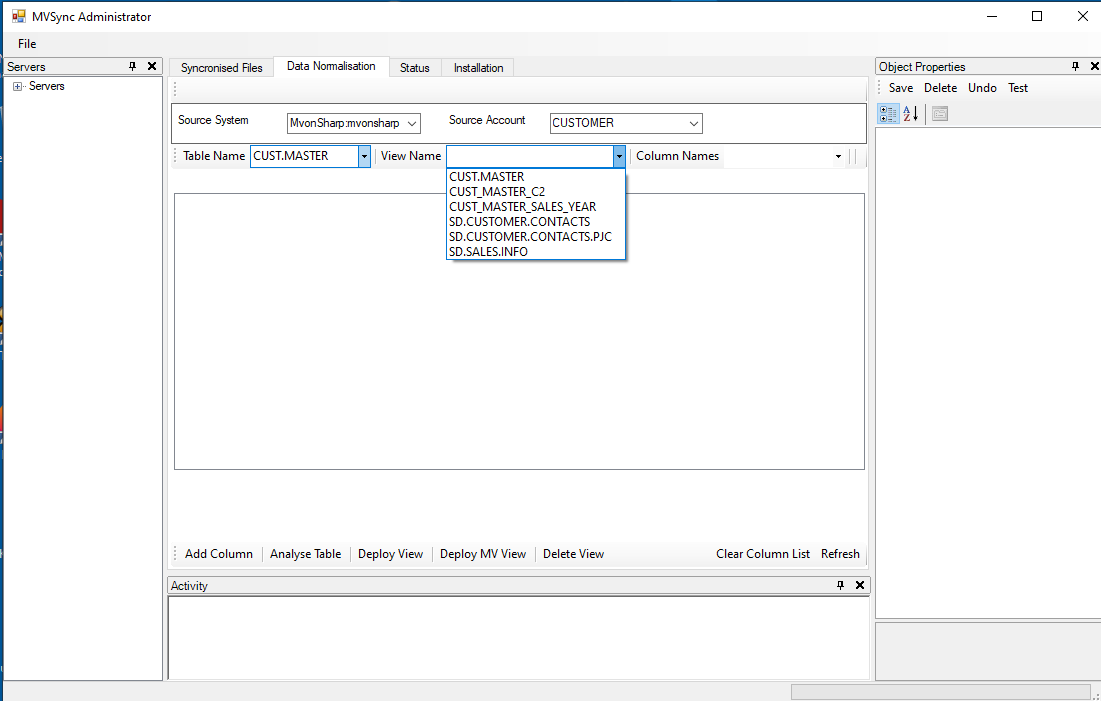
In the Data Normalization tab, click on the View Name tab, and from the drop down list click on the view to be deployed, in the following example CUST.MASTER.
At this point a list of the columns in the view will be displayed, optionally clicking on the Column Names tab will display a list of columns in the file dictionary and if required additional columns may be added by clicking on the Add Column button.
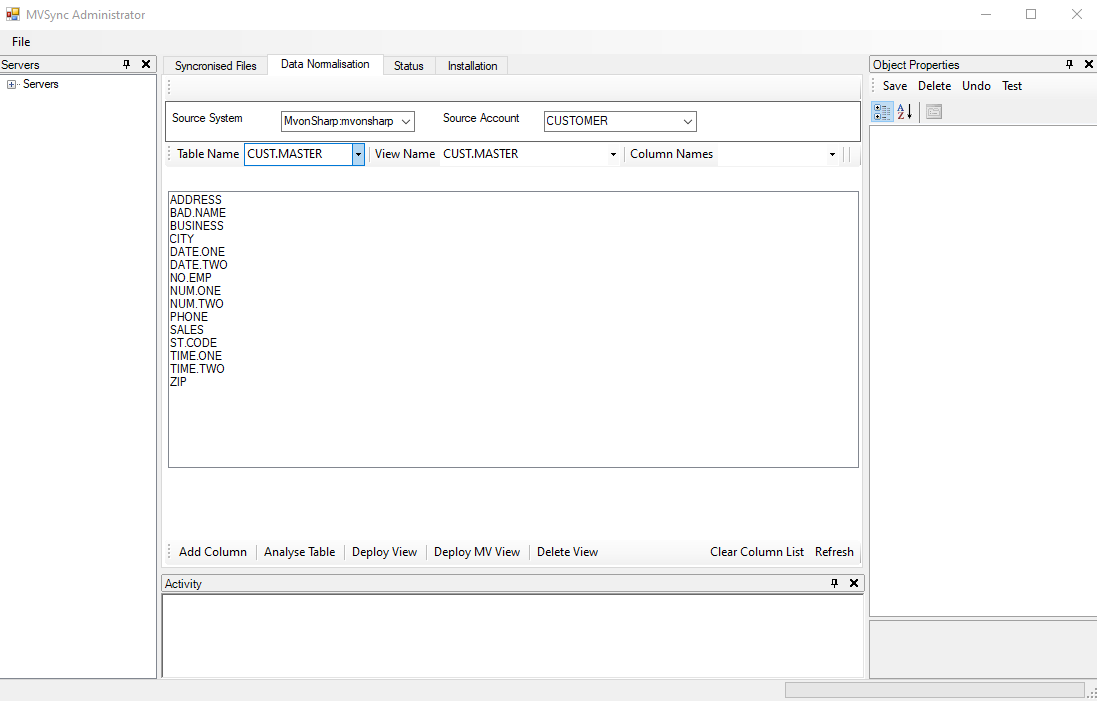
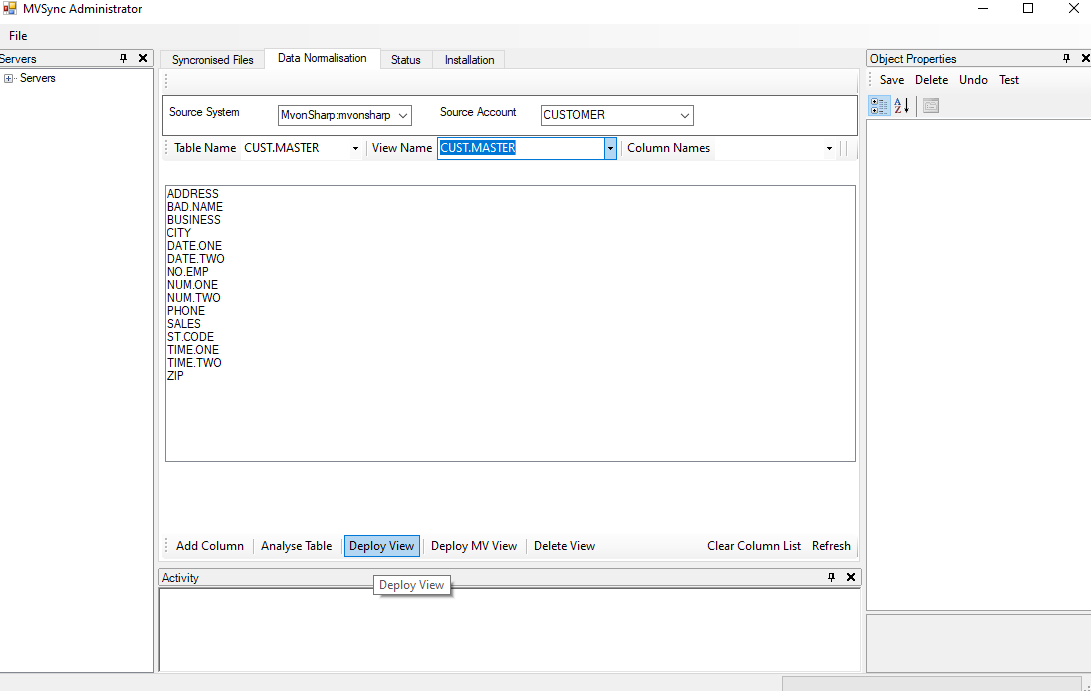
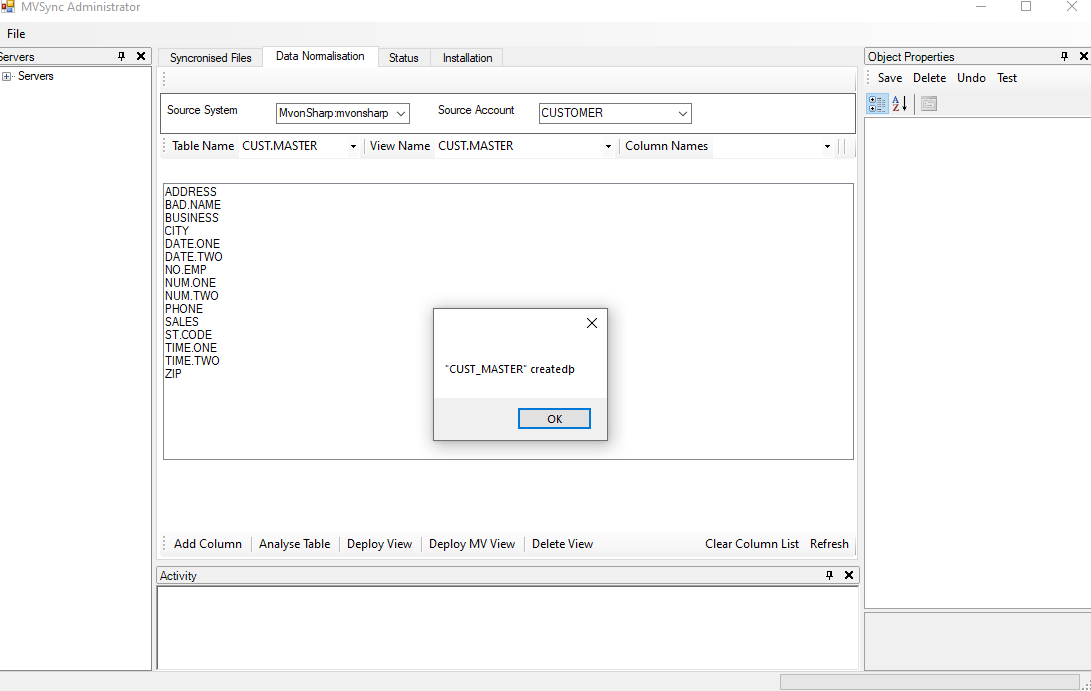
As the CUST.MASTER view contains only single values, then the Deploy View button is used to deploy the view

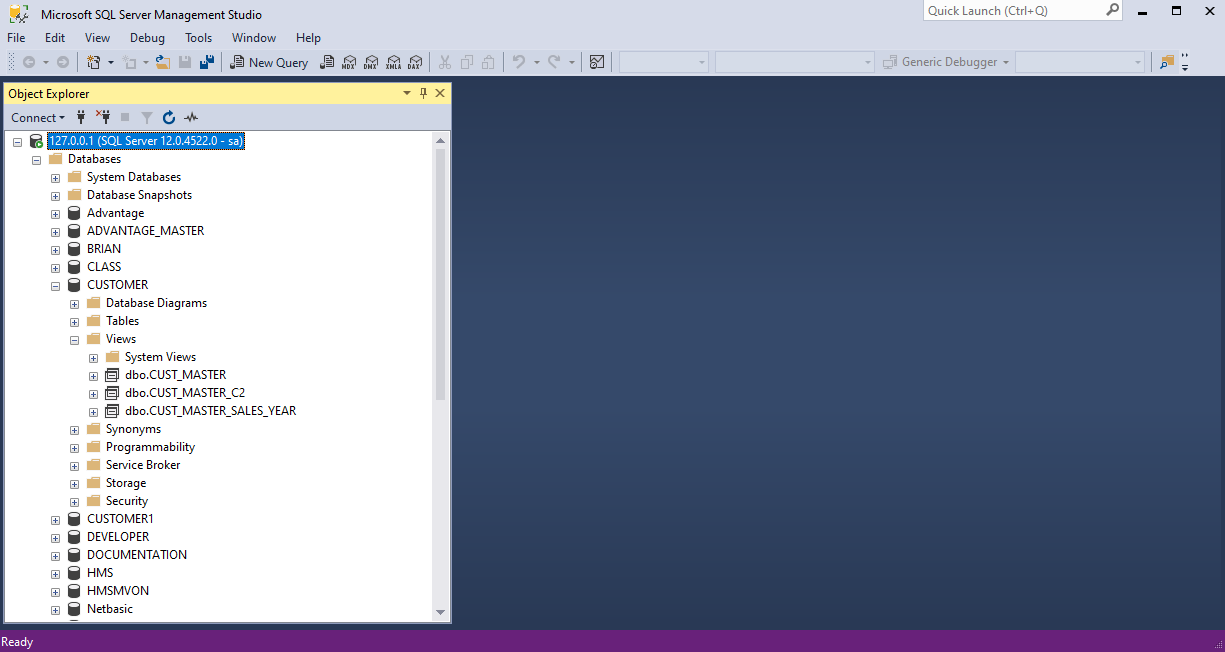
Opening a Microsoft SQL Server Management Studio session and navigating to the Views in the CUSTOMER database shows the views that have been deployed.
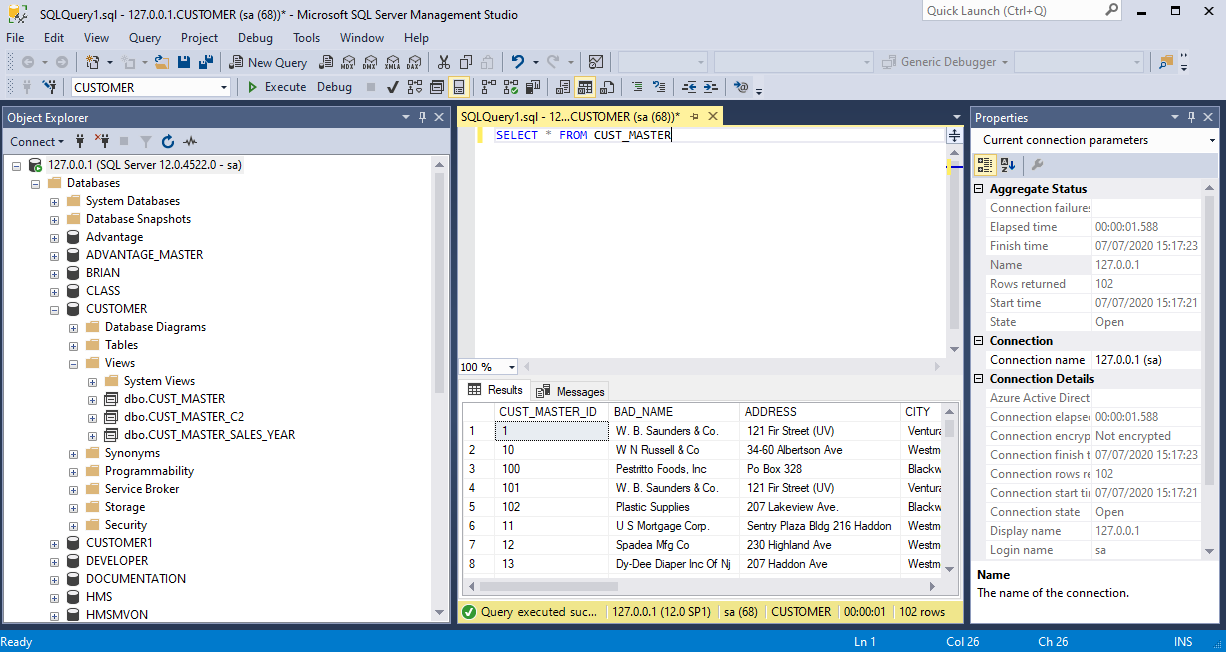
Issuing a simple SQL Server select statement in a query statement displays the rows in the CUST_MASTER view.

Creating a new view
To create a custom view, the first step is to create an entry in the file dictionary with a key of the view name, for example:
>ED DICT CUST.MASTER CUST_MASTER_C3

New record.
----: I
0001= PH
0002=
----: FI
"CUST_MASTER_C3" filed in file DICT "CUST.MASTER".
>
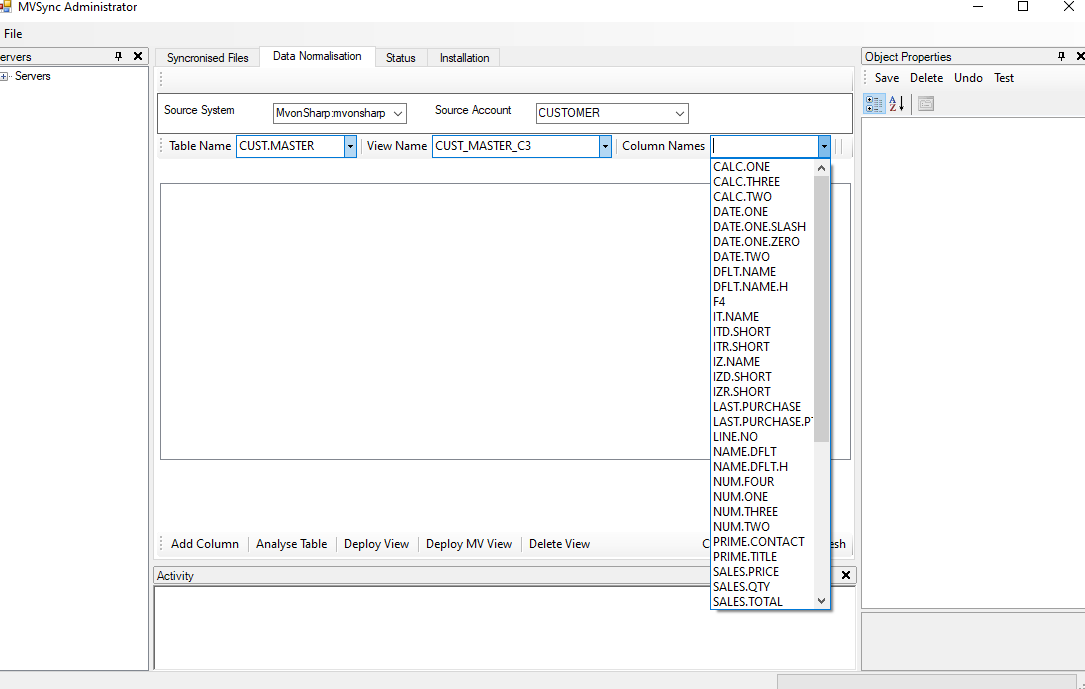
Next select the table name in the Table Name dropdown and view name in the View Name drop down. The Column Name dropdown shows all the available columns in the file dictionary.
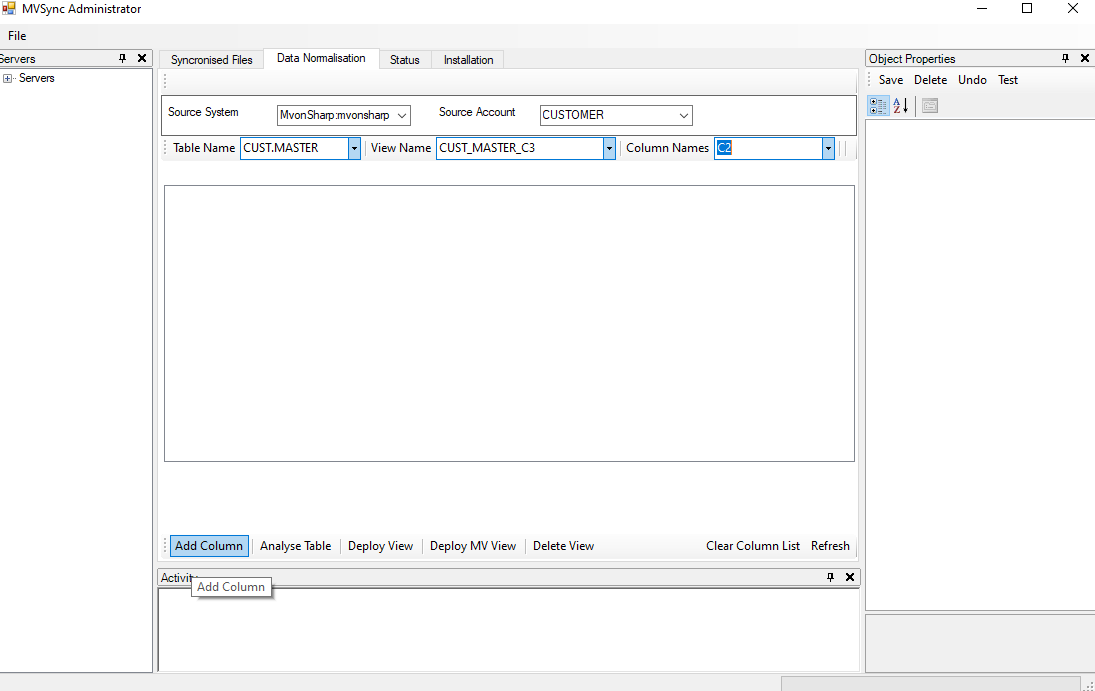
For each column required in the view, select the column name from the dropdown and click on the Add Column button.
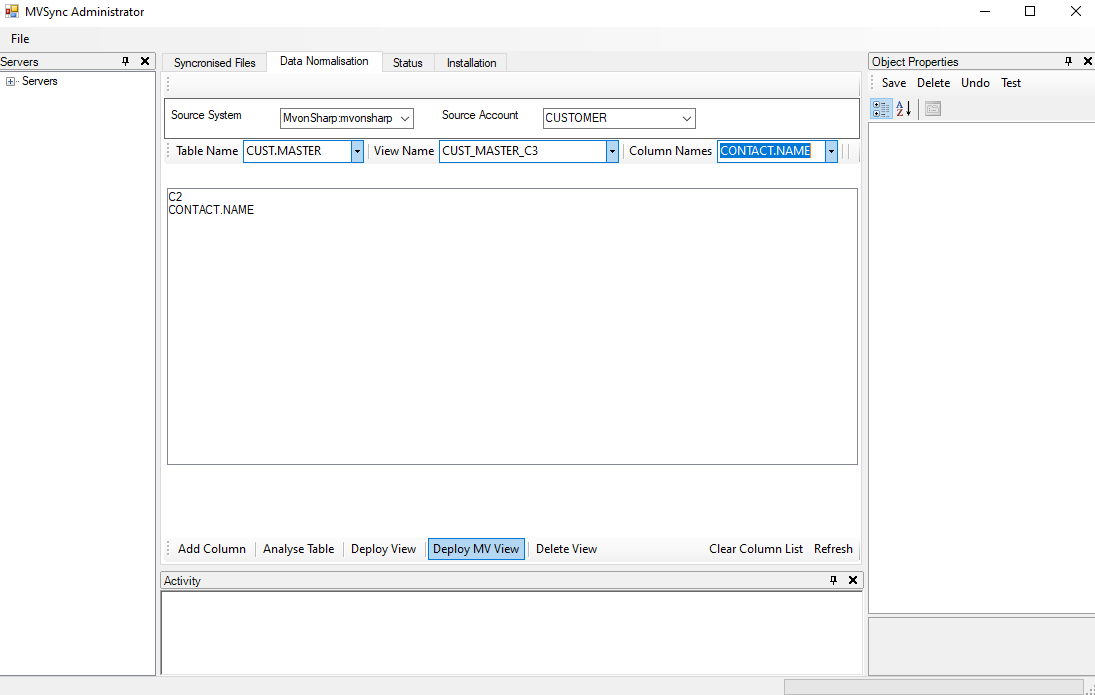
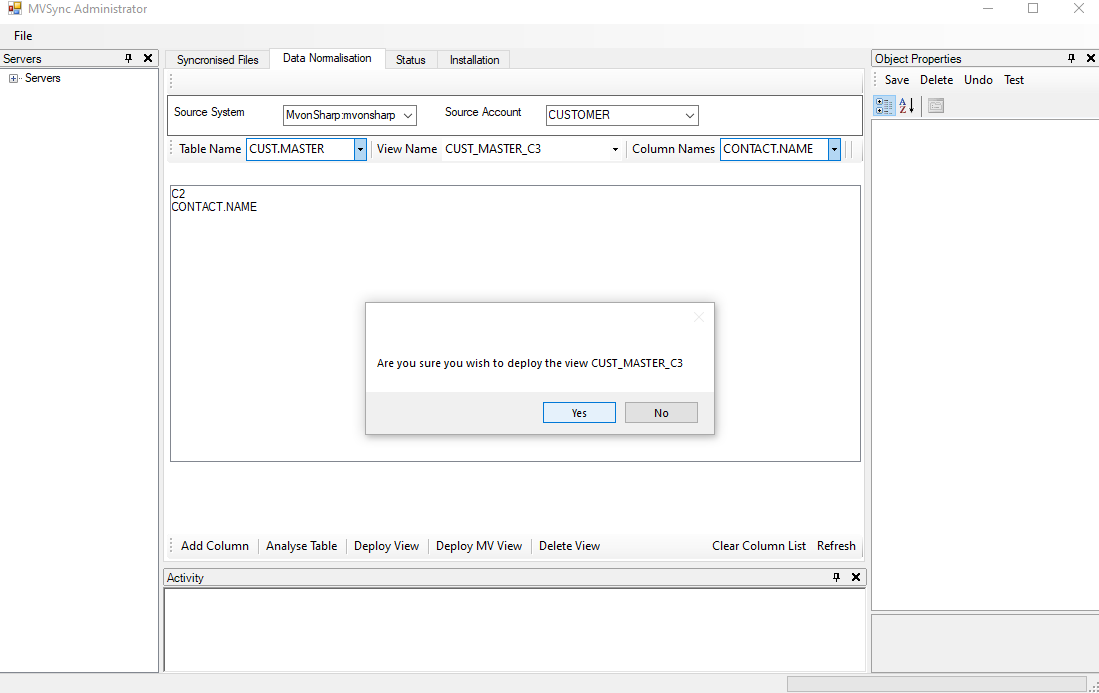
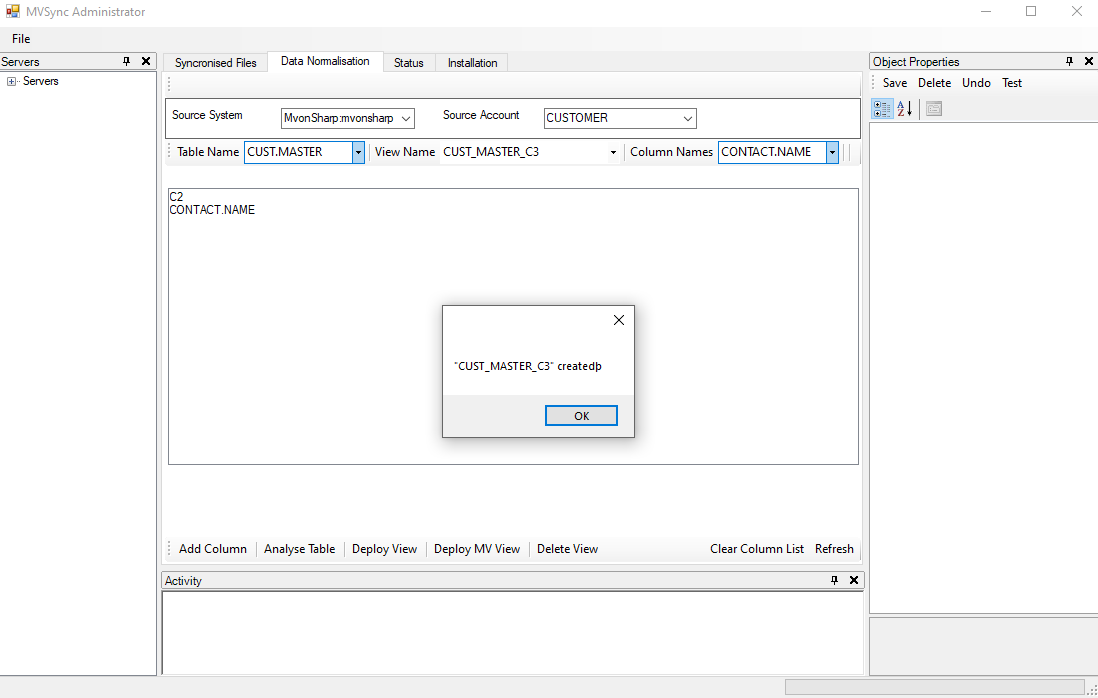
As the column CONTACT.NAME is defined as a multi valued field click on the Deploy Mv View button, and click Yes to deploy the view.
The following shows that the view definition in the file dictionary has been updated with the columns previously add.
>ED DICT CUST.MASTER CUST_MASTER_C3
2 lines long.
----: P

Top.
0001: PH
0002: C2 CONTACT.NAME
Bottom at line 2.
----:
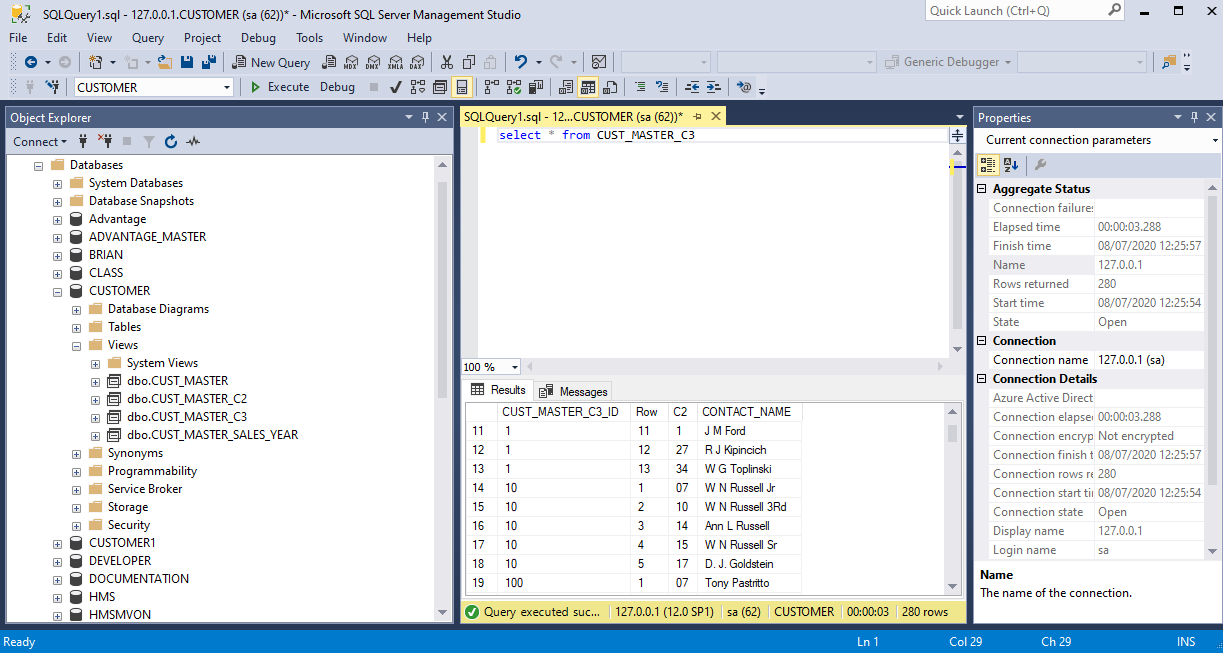
The Microsoft SQL Server Studio session shows that the CUST_MASTER_C3 view has been added. The simple SQL select statement shows the normalized data set identified by row number.
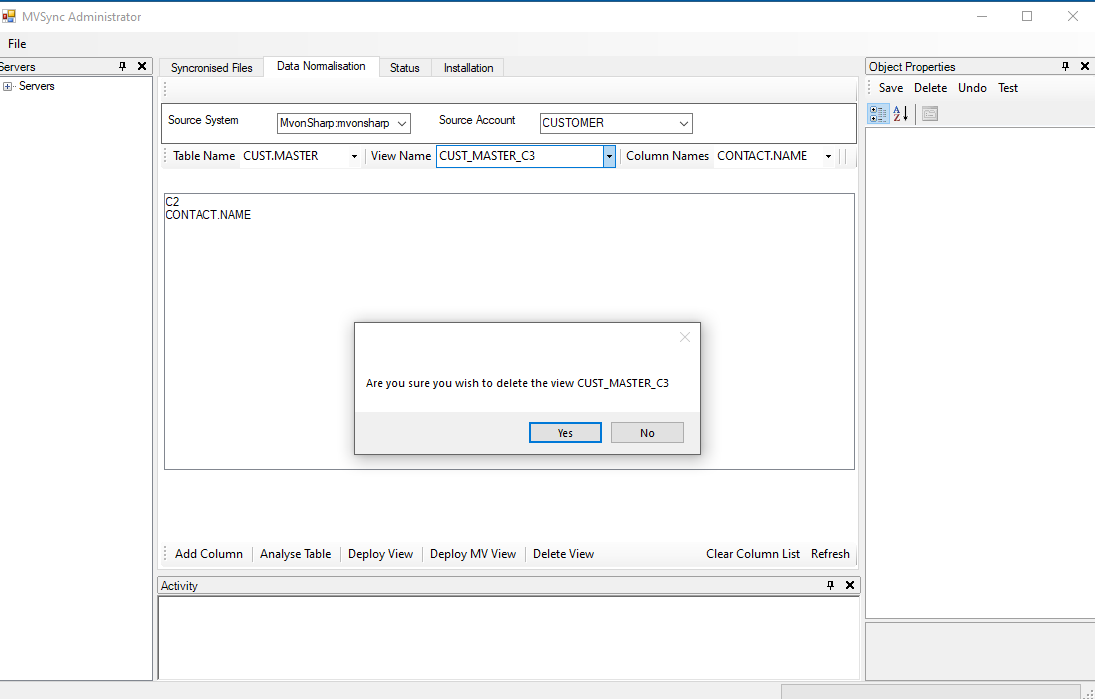
Deleting a view
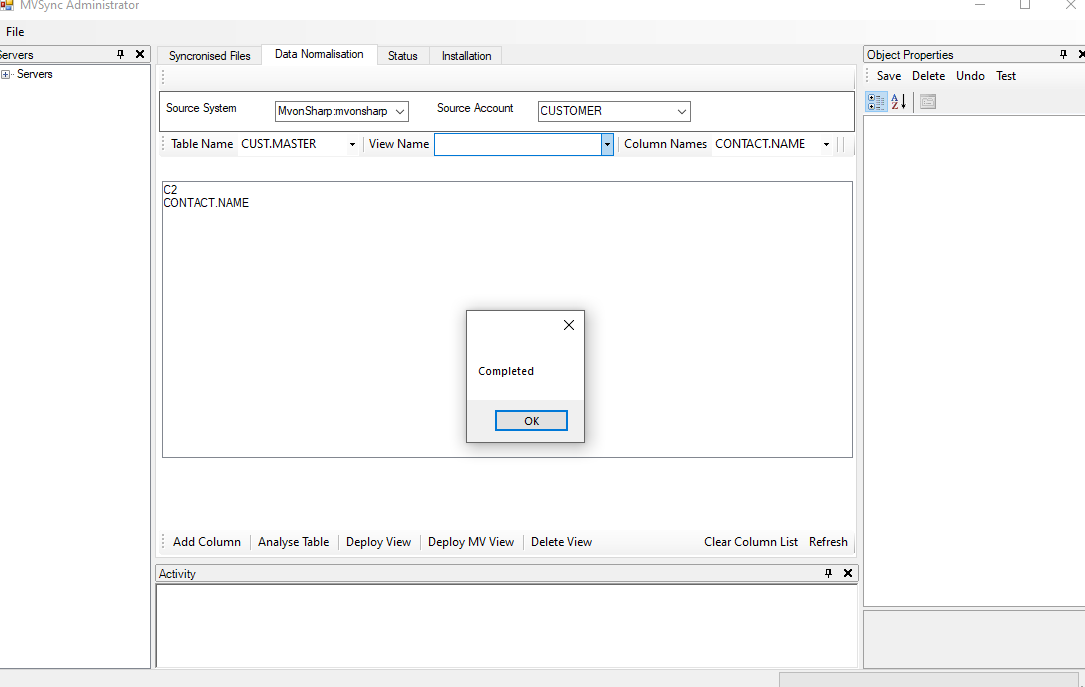
To delete a view, select the view to be deleted, and click on the Delete View button and click the Yes button.

>ED DICT CUST.MASTER CUST_MASTER_C3
New record.
----:
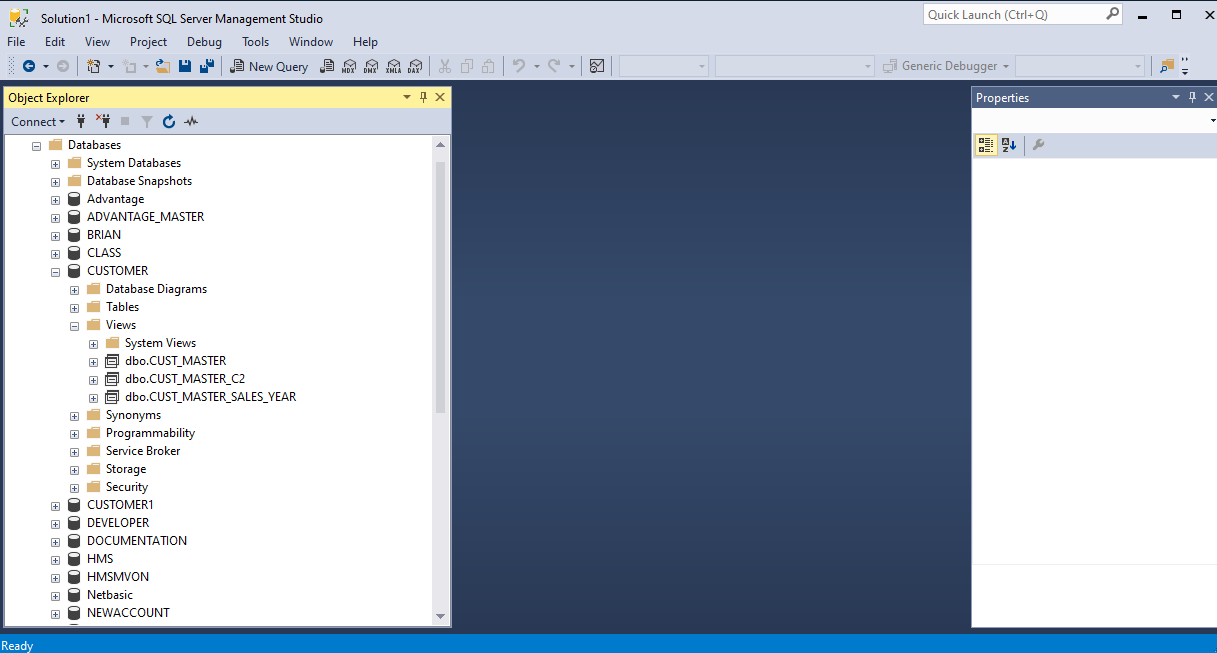
The above Microsoft SQL Server Management Studio session shows that CUST_MASTER_C3 has been deleted, and the view record in the dictionary is also deleted.
Copyright © 2018 Prosol Group
All rights reserved.
Prosol Group make no representations that the use of its products in the manner described in this publication will not infringe on existing or future patent rights, nor do the descriptions contained in this publication imply the granting of licenses to make, use, or sell equipment or software in accordance with the description.
Possession, use, or copying of the software described in this publication is authorized only pursuant to a valid written license from Prosol Group or an authorised sub licensor.
Neither Prosol Group nor its employees are responsible for any errors that may appear in this publication. The information in this publication is subject to change without notice.
All other trademarks and service marks are property of their respective holders.