MVsharp Developers Edition
How to install and use MVsharp Developers Edition.
Introduction
The MVsharp Developers Edition is a free, single-core, 10-user edition of the MVsharp suite of tools that uses SQL Server Express as the backend database. It is a full release version of the product and all its tools. The only limitations are that it uses a single core on the machine it is deployed on and targets a SQL Server Express database.
It includes the following:
-
MVsharp Service: This is the master service for MVsharp that manages users, locks and access.
-
MVsharp Runtime: This is the runtime engine including support for BASIC, C#, Python, JavaScript and Typescript.
-
MVsharp Telnet Service: Allows users to connect to MVsharp via telnet and SSH.
-
MVsharp Terminal Emulator: A VT220-compatible terminal emulator.
-
MVsharp ChangeOver Administrator: This allows you to transfer applications and data from all MV databases including MVsharp, Universe, Unidata, D3, MvBase and jBASE. It also has tools to convert your SB+ applications to Netbuilder, dynamically normalize your MV data in SQL Server and build Web Services.
-
Visual Studio Code and Extensions: This is a modern IDE for writing code with MVsharp.
Prerequisites
The following environment is required in order to run the MVsharp Developers Edition.
-
Windows 7 or above.
-
.NET Framework 4.5.
-
SQL Server Express.
Installing SQL Server Express
SQL Server Express is a free developers edition of SQL Server with some limitations. It is an ideal platform for MVsharp Developers Edition as there are no costs involved. We are using the latest version of SQL Server Express (2019) with MVsharp Developers Edition.
Download and run the SQL installer from the link:
Run the installation media and the following screen is displayed:
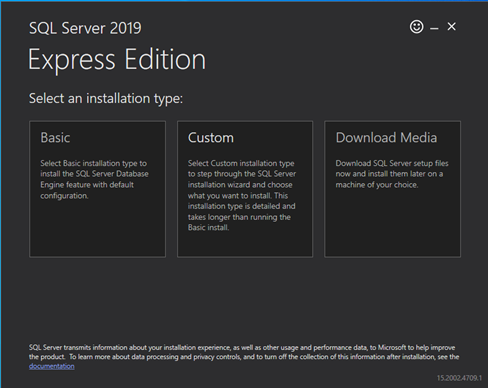
Select the "Basic" option and Accept the License Terms
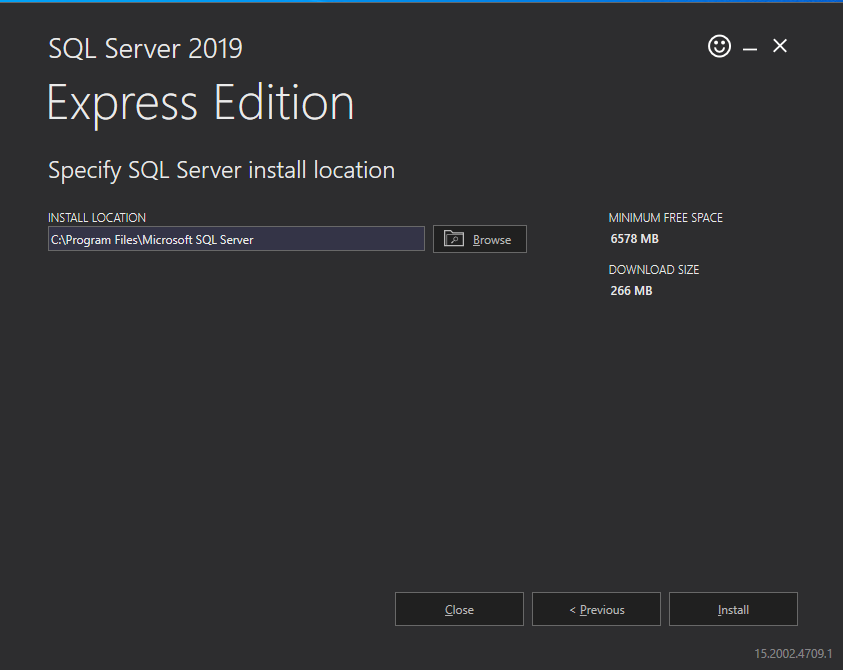
Select "Install" and SQL Server express will be downloaded and installed. When the installation is complete the following screens are displayed.
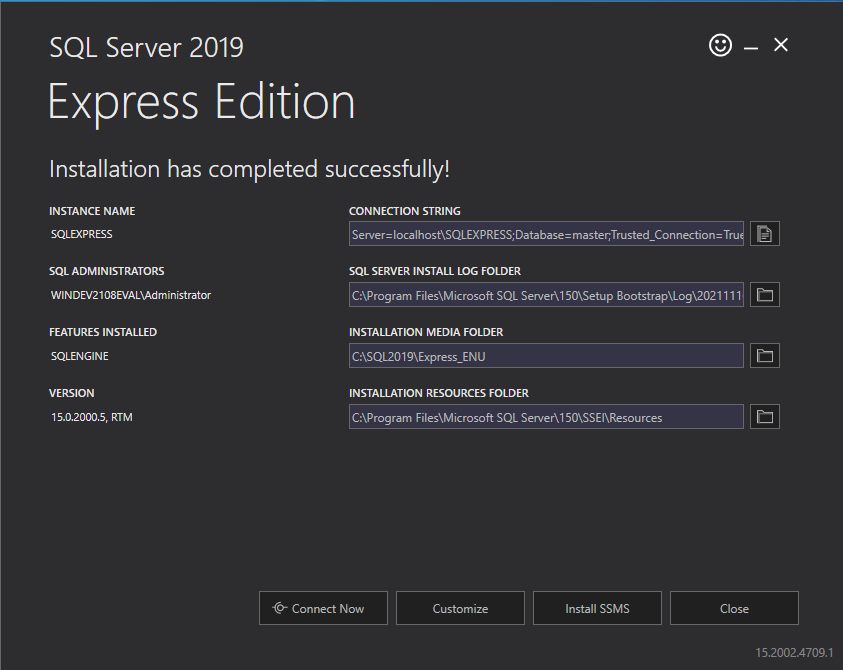
Select the "Close" button. You will need to restart the Windows machine for the installation to complete.
Install SQL Server Management Studio
SQL Server Management Studio is a powerful tool that allows you to manage your SQL server environment. It is not required for MVsharp Developers Edition but can be very useful. If you do not require SQL Server Management Studio, you can continue to Install MVsharp Developers Edition.
SSMS is installed by running SSMS-Setup-ENU.exe that can be found in the Developer Edition installation directory.
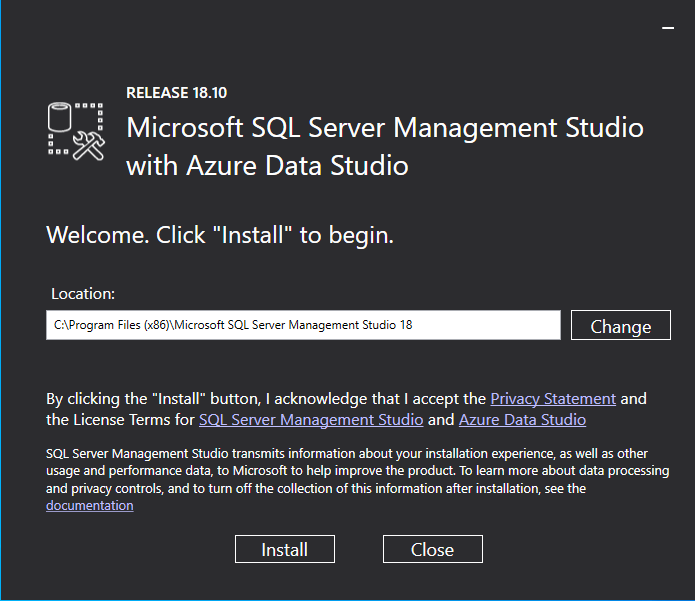
Run the installation media and select Install.
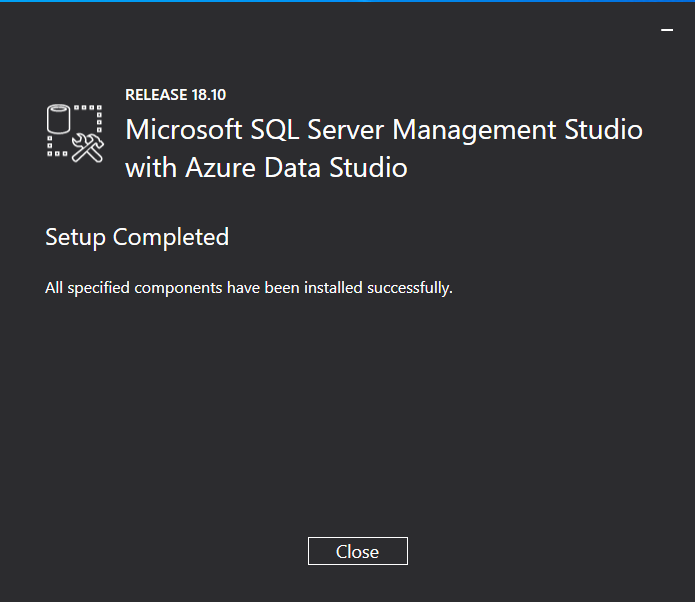
The installation is done in a single step and once completed, the following screen is displayed.
Configure SQL Server for MVsharp
You will need to set Mixed Mode Authentication and set the 'sa' password before we can install MVsharp.
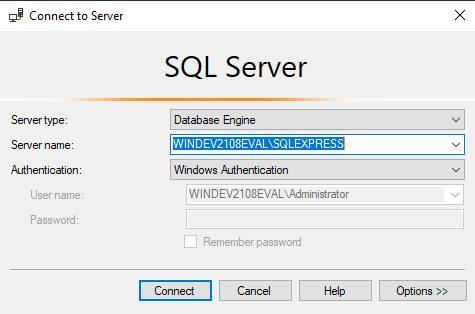
Your Machine Name and SQLEXPRESS should be defaulted in the Server name box.
- Select Connect.
If you can successfully connect the following screen is displayed.
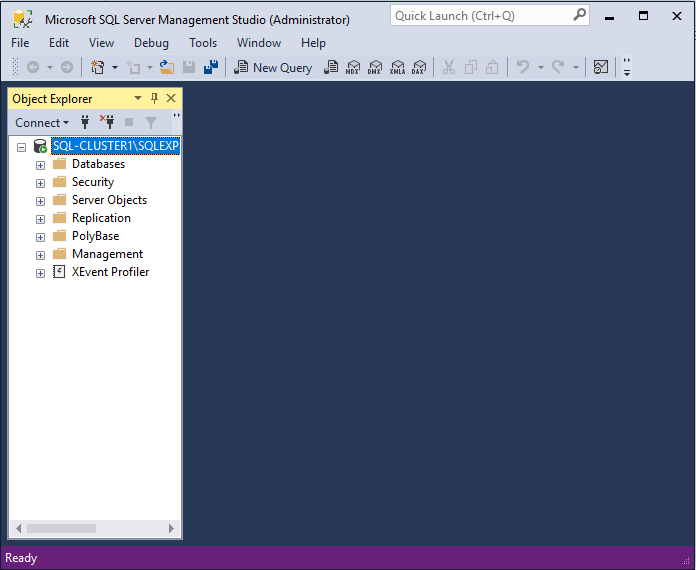
Right click on the Database Instance and select "Properties". In the Properties window, select "Security".
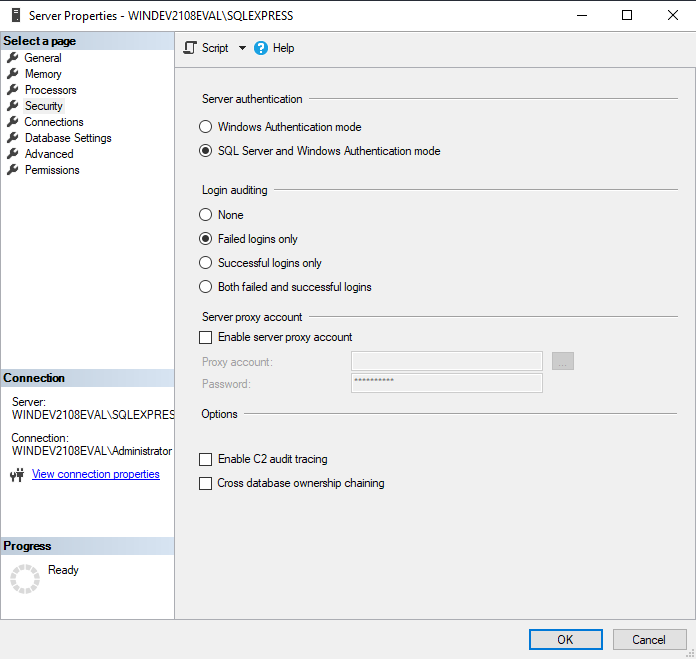
Ensure Sql Server and Windows Authentication mode is selected and press OK.
In the Object Explorer pane, expand Security, Logins and right click on the sa user and select properties.
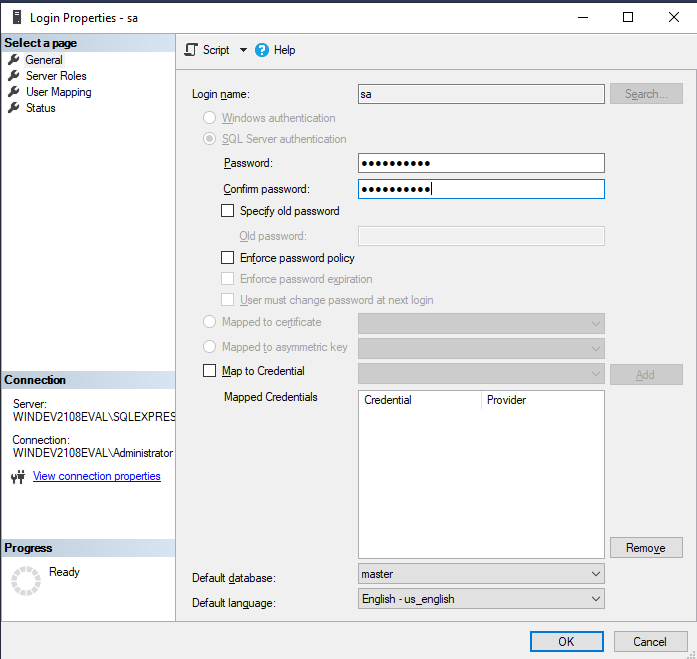
Uncheck Enforce password policy and set the Password and Confirm Password options with a password you will use to connect to SQL Server. Remember this password as we will require it when installing the MVsharp Service and creating accounts.
Now select the Status page from the menu.
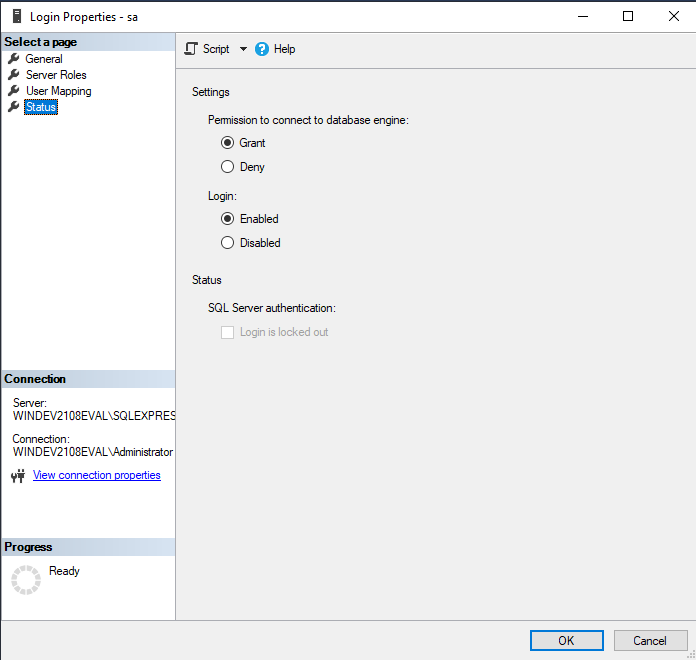
Ensure that Login is enabled and press OK.
Setup of SQL Server and SSMS is now complete.
Install MVsharp Developers Edition
In the installation media directory the following installers are located:
| Installer | Description |
|---|---|
| MVsharpService.msi | The master service that controls users, locks and access to MVsharp. |
| MVsharp.msi | The MVsharp Runtime. |
| MVsharpTelnet.msi | The MVsharp Telnet Server. |
| MVsharpTerm.msi | The MVsharp Terminal Emulator. |
| MVsharpChangeOver.msi | The MVsharp ChangeOver Administrator. |
| VSCodeUserSetup-x64-1.62.2.exe | A 64 bit version of Visual Studio Code. |
| VSCodeUserSetup-ia32-1.62.2.exe | A 32 bit version of Visual Studio Code. |
The above is also the order in which we install the software.
Installing the MVsharp Service
Run MVsharpService.msi as Administrator.
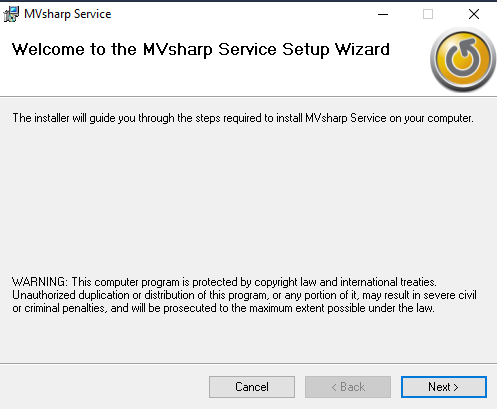
Select Next and then accept the default folder by selecting Next on the following screen.
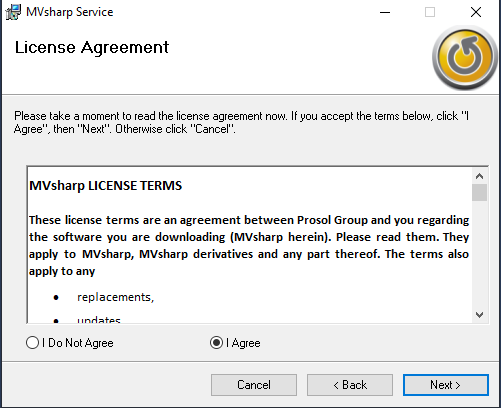
Read the License Agreement and select Next to accept the terms of the License Agreement.
The MVsharp Default Account setup screen is displayed.
Modify the above screen with:
-
Set Sql Server to localhost\SQLEXPRESS
-
Set User Id to sa
-
Set Password to xxxxx <- the password specified when we configured SQL Express
-
Select Create
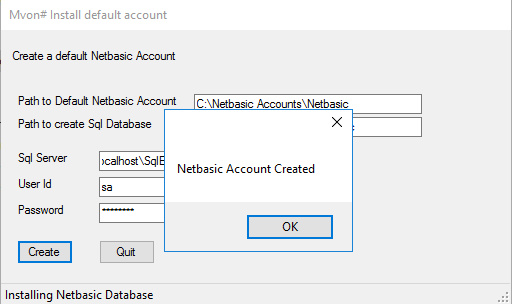
The MVsharp Service is now installed.
Installing MVsharp Runtime
Run MVsharp.msi as Administrator.
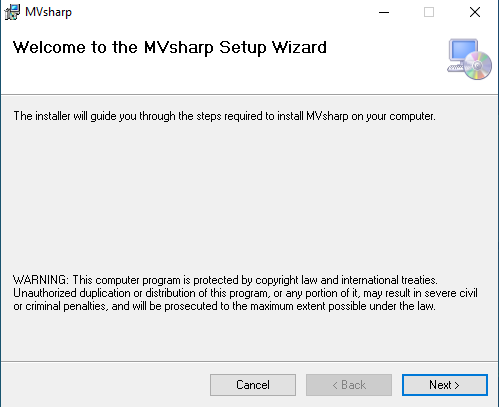
Select Next.
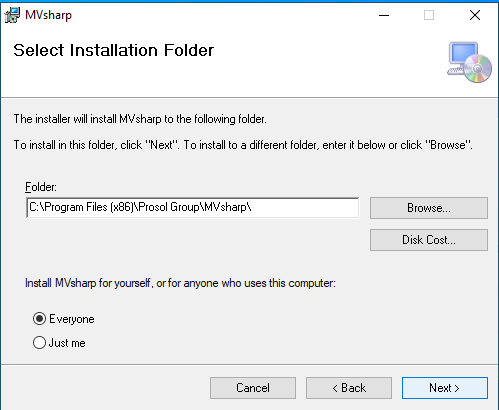
You can select the defaults or specify your own install path and press Next.
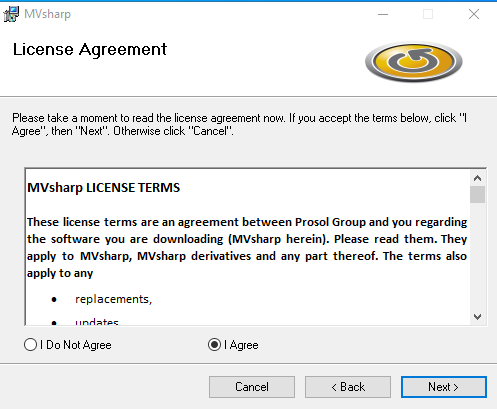
Accept the License Agreement and press Next.
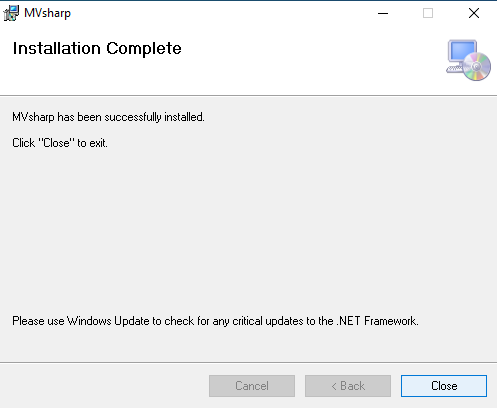
The MVsharp Runtime is now installed.
Install MVsharp Telnet Service
Run MVsharpTelnet.msi as Administrator.
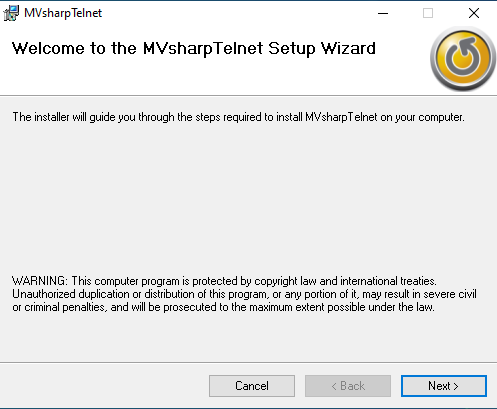
Select Next.
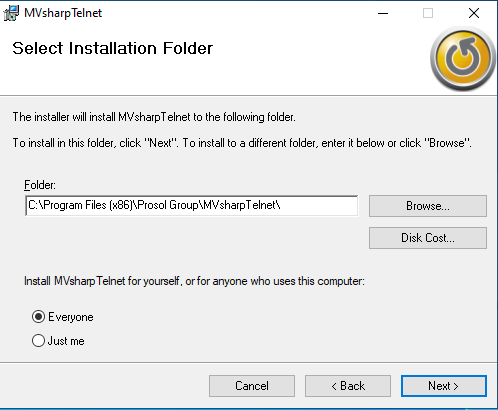
Select the defaults or specify your installation directory and select Next.
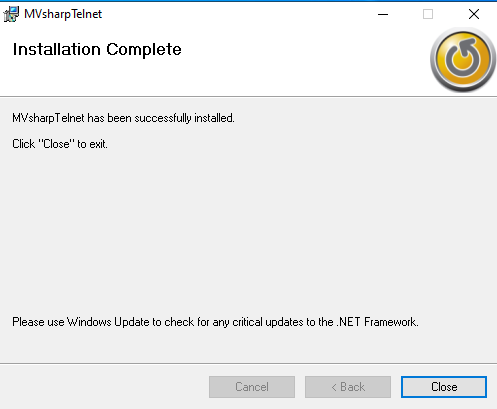
The MVsharp Telnet server is now installed.
Install the MVsharp Terminal Emulator
Run MVsharpTerm.msi as Administrator.
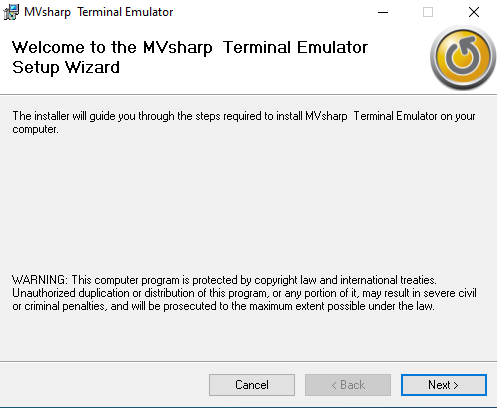
Select Next.
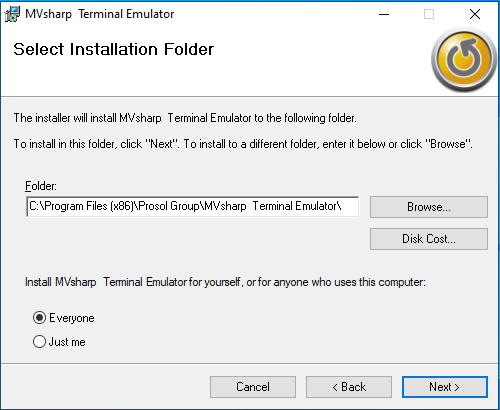
Select the defaults or specify your installation directory and select Next.
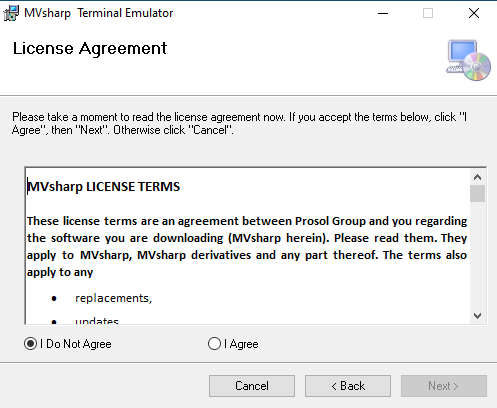
Accept the License Agreement and press Next.
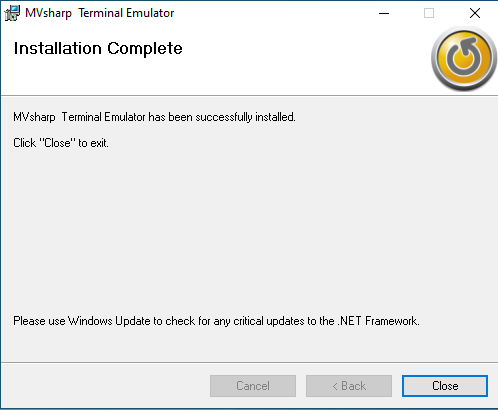
The MVsharp Terminal Emulator is now installed.
Install MVsharp ChangeOver Administrator
Run MVsharpChangeOver.msi as Administrator
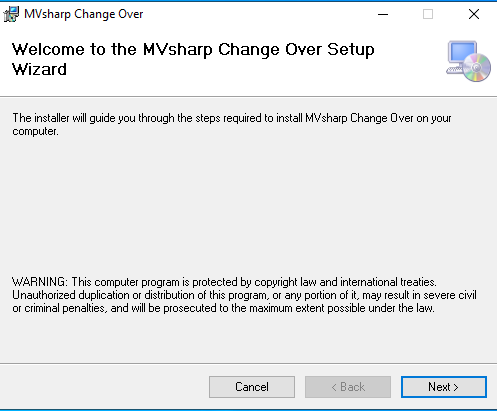
Select Next.
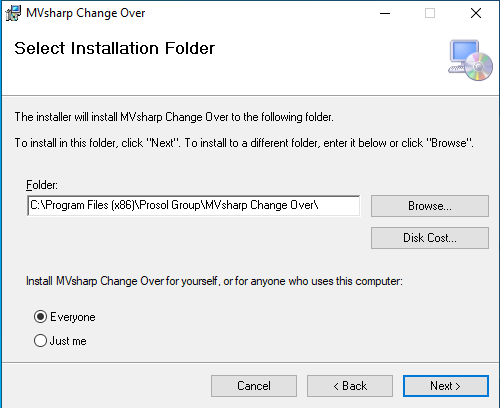
Select the defaults or specify your installation directory and select Next.
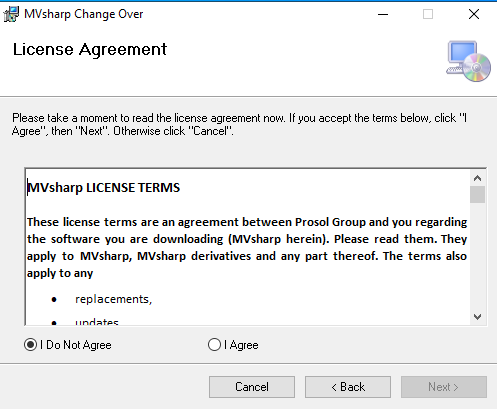
Accept the License Agreement and select Next.
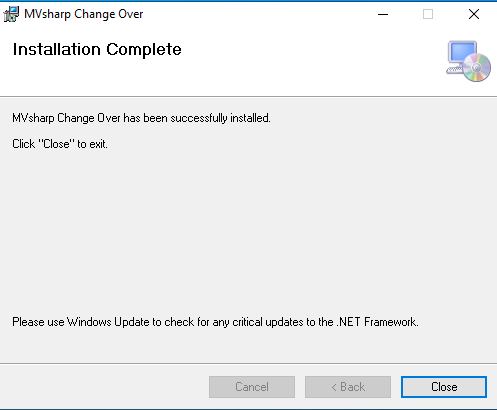
The MVsharp ChangeOver Administrator is now installed.
Install Visual Studio Code
Depending on your Windows operating system, run either the 32 bit VSCodeUserSetup-ia32-1.62.2.exe or the 64 bit VSCodeUserSetup-x64-1.62.2.exe.
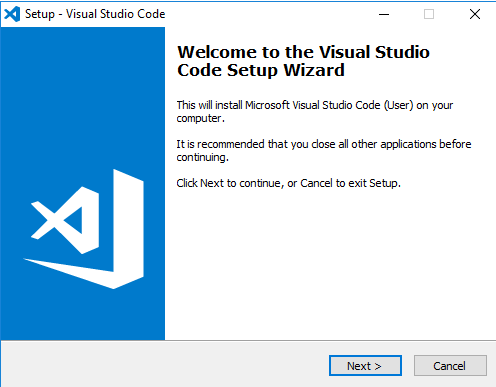
Select Next.
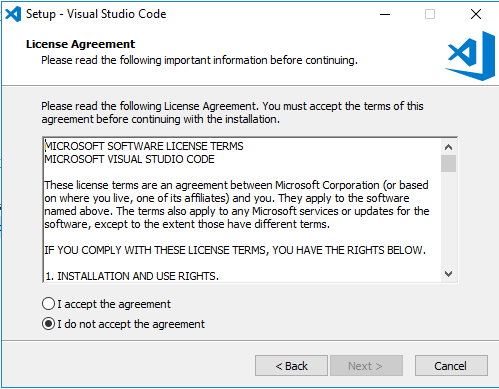
Accept the License Agreement and select Next.
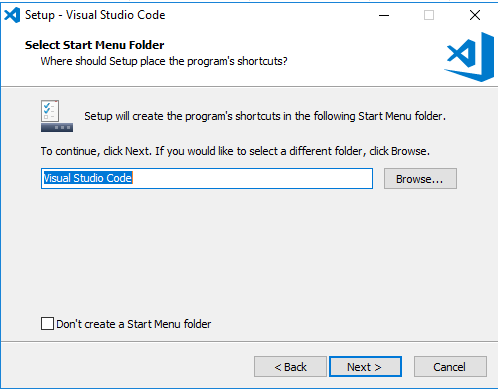
Accept the defaults or specify your folder and select Next.
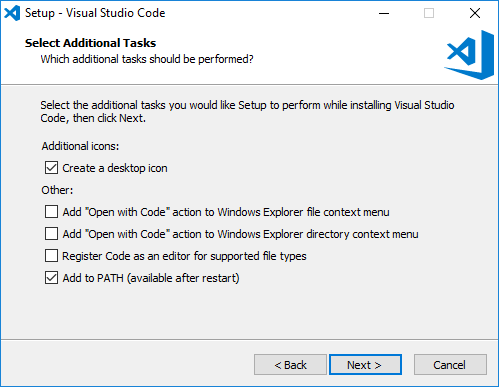
Select the options you would like to include in the install and select Next.
Success
All the software for the MVsharp Developers Edition is now installed.
Validating the MVsharp Developer Edition Software
We can now check that all the software is correctly installed and running. We first check the MVsharp Shell can connect to SQL Server and the MVsharp Service is running.
Locate the MVsharp Shell on the Windows menu under Prosol Group and run it.
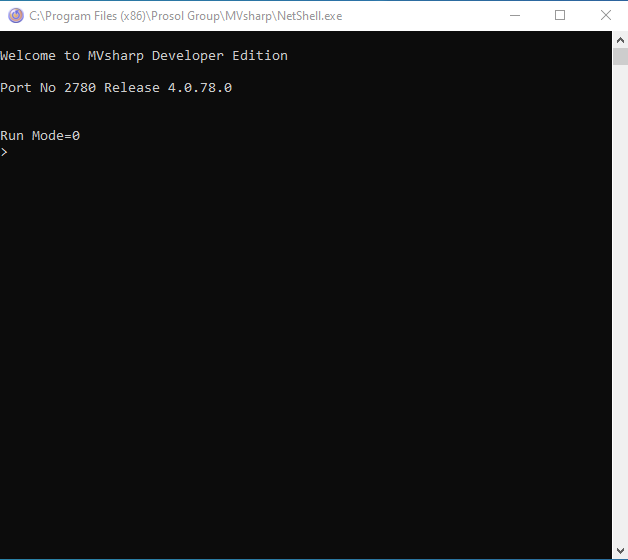
The first time the shell is run, it will create some default files and the above screen should appear. If no errors are reported, the Shell, Services and SQL Server are all configured and running correctly.
To test the Terminal Emulator and Telnet Services, locate the MVsharp Terminal Emulator on the Windows menu under Prosol Group and run it.
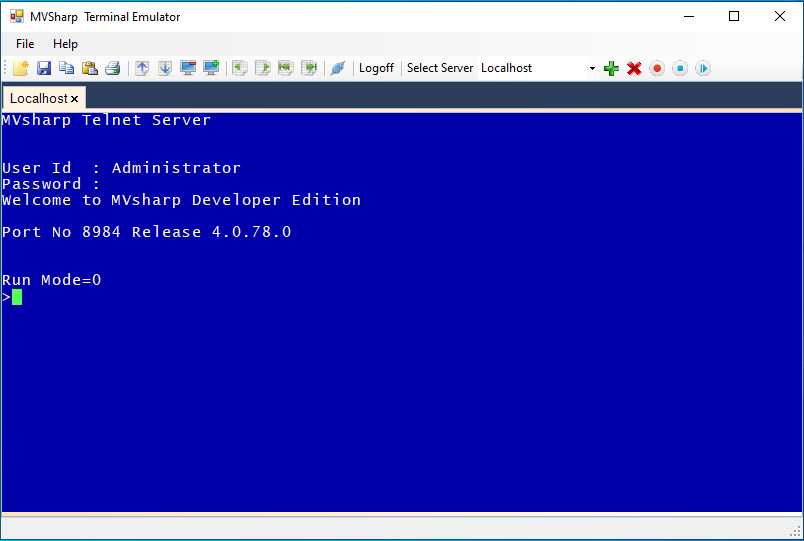
Select the Open Connection button from the toolbar and the above screen will be displayed. Enter your Windows Credentials for the telnet server to authenticate yourself.
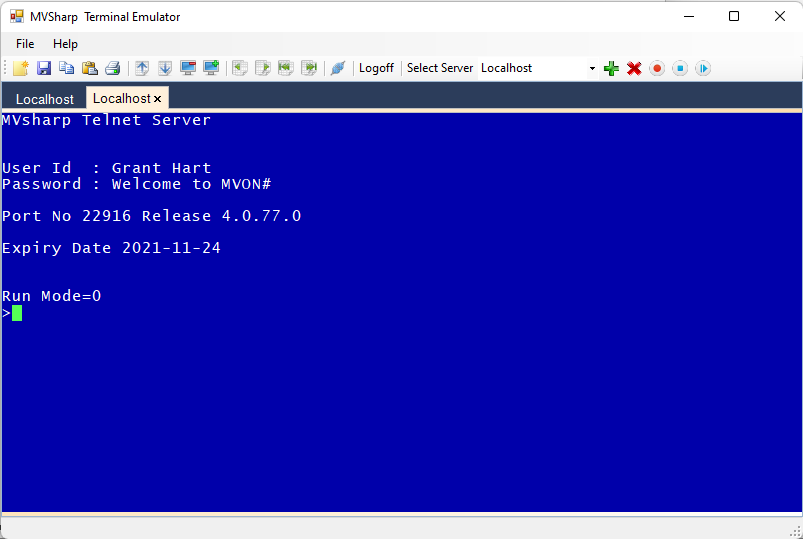
If the above screen appears, the MVsharp Terminal emulator and the MVsharp Telnet server are working correctly.
For a full description of the functionality in Terminal Emulator, please refer to the MVsharp Terminal Emulator guide.
Creating New Accounts
The concept of different accounts is supported by MVsharp. Each account is a self-contained environment that has its own VOC, File Pointers and programs.
Each MVsharp account consists of 2 parts:
-
A database in SQL Server. Initially this will only contain the VOC, ERRMSG and DICT.DICT files and its dictionary.
-
A directory containing the Account.xml setup and all Directory files including system directory files like &HOLD&, &PH& and &SAVEDLISTS&
The CREATE.ACCOUNT command will create a new Account. The syntax is:
CREATE.ACCOUNT {AccountName}
In the example below we are going to create an Account called DEMO
>CREATE.ACCOUNT DEMO
Account Name :DEMO
Sql Server Instance :localhost
User Id :sa
Password :MVsharp
MVsharp Path (C:\MVsharp Accounts):
Updating Compiler Verbs
Updating Internal Verbs
Updating Database Verbs
Updating External Verbs
Updating Dictionary of VOC
Updating VOC
Executing Statements
Creating object directory 'MVsharp.BP.Lib'
Compiling ED
ED Compiled
Compiling INIT.MS.FILES
INIT.MS.FILES Compiled
ED Cataloged
INIT.MS.FILES Cataloged
Updating Compiler Verbs
Updating Internal Verbs
Updating Database Verbs
Updating External Verbs
Updating Dictionary of VOC
Updating VOC
Executing Statements
AE Cataloged
Initializing ERRMSG...
Creating Dictionary File D_ERRMSG
Creating File _ERRMSG
Updating DICT.DICT...
Creating File _DICT_DICT
Updating Sql Extensions
Updating Sql Extensions
Successfully deployed Sql Extensions on DEMO
Account "DEMO" Created
The new account is created and ready for use.
Creating Files
MVsharp supports a variety of file types and database storage engines, all within the same account. The following is a list of supported file types and storage engines.
| File Type | Description |
|---|---|
| Hashed | These are hashed files similar to the hashed files on other MV systems. They do not support transaction processing and are created on the file system in the Accounts directory. |
| SqlArray | Data is stored in SQL Server as a key value pair. The dynamic normalization engine that MVsharp injects in SQL Server allows SQL to select and sort on these files. This is the preferred file type for SQL Server. |
| SqlServer | Data is stored in SQL Server as a key xml pair. Your MVsharp application will however still receive a key record when accessing them from a MVsharp application. |
| SqlNative | Data is stored in SQL Server as fully normalized SQL tables. The BASIC language has been enhanced to allow you to use the same BASIC syntax to select, read and write these normalized tables. |
| Directory | Data is stored as files in a directory. (BP files are required to be in this format). |
| MongoDB | Data is stored as a key list pair on a MongoDB Server. They behave exactly the same as SqlArray files except the storage engine is MongoDB. It also supports indexing. |
| Universe/Unidata | Data is stored in a Universe/Unidata database but can be accessed as if they are local files to your MVsharp account. |
The syntax for creating files is:
CREATE.FILE {FileName}
CREATE.FILE {FileName} Type={FileType}
CREATE.FILE {FileName} Type={FileType} ON {AccountName}
Structure of a VOC File Pointer
A VOC entry is created for each file in an Account. The structure of the VOC pointer is as follows:
>CT VOC CUSTOMER
CUSTOMER
0001 File
0002 _CUSTOMER
0003 D__CUSTOMER
0004 SqlServer
0005 {Account} <- only used for MongoDB, SqlNative, Universe, Unidata, QM and jBASE
Description:
-
Must contain 'F' or 'File'
-
The name of the Data Portion of the file
-
The name of the Dictionary portion of the file
-
The type of file
-
The account name where the file resides
Creating SQL Server Files and Directories
To create the default SQLARRAY type SQL Server files you use:
CREATE.FILE CUSTOMER <- this will default to SQLARRAY
or
CREATE.FILE CUSTOMER Type=SqlArray
To create directory type files:
CREATE.FILE BP Type=Directory
This will create a directory in your current account as well as a Hashed file D_BP that will be used as the dictionary portion.
Q Pointers and Remote Files
MVsharp supports two different methods for accessing files in other accounts. The first method is to use standard Q pointers to create VOC entries that point to files in other accounts. Q pointers have always been dangerous as anyone with a little knowledge can access sensitive data by simply creating a VOC entry to get financial or payroll data.
To overcome this security issue, MVsharp only allows access to data in other accounts if the account has been "Linked" to the source account. This is done in the administrator tool. Once the account has been linked, you can create normal Q pointers.
To see which accounts have been linked to your account, use the LINKED.ACCOUNTS function:
Account Name        Account Type    Database Name Path
NetbuilderPlusLD    MVsharp        CRP c:\\MVsharp Accounts/NetbuilderPlusLD
ADSV16-EXEC         MVsharp        CRP C:\\MVsharp Accounts/ADSV16-EXEC
CRP                 MVsharp        CRP C:\\MVsharp Accounts/CRP
>
A Q pointer is created like this:
The second method is helpful when you wish to split the dictionary and data portions between 2 SQL Server databases. The format for Remote Pointers is:
>CT VOC CUSTOMER
   CUSTOMER
0001 F
0002 [CRP-DATA].[dbo].[_CUSTOMER]
0003 [CRP-DATA].[dbo].[D__CUSTOMER]
0004 SqlServer
The format is always:
[SQL Database].[dbo].[SQL FileName]
These are less secure as no account linking is required.
Compiling BASIC Programs
BASIC programs are transpiled into C# code and then compiled into a .NET DLL. The DLLs are stored in a Directory file with the same name as your program file with a .Lib suffix.
BASIC programs must be stored in a Directory file.
The syntax for compiling BASIC programs is:
BASIC {ProgramFile} {ProgramName} ({Options}
BASIC {ProgramFile} * ({Options}
BASIC {ProgramFile} ({Options <- Used when there is an active selectlist
| Options | Description |
|---|---|
| D | Generate a dll that has debug and the symbol table. If this option is not specified, you will not be able to break into a program and all DEBUG statements are ignored. |
| G | By default, the C# code is transient and is discarded once the dll has been generated. When the G option is specified, the C# code is written to a src directory in the .Lib folder. |
| L | Used in conjunction with G option above. When the L option is specified, the C# source is written into the same file as the BASIC source code. |
| N | Include line numbers in the object. |
Configuring MVsharp Options
MVsharp can emulate various 'Pick' flavours and these are configured in the MVSHARP.CONFIG record in the VOC file. Each configuration option is specified as a separate attribute.
The following options can be set:
| Options | Description |
|---|---|
| ENCODING={Encoding} | This allows you to specify the encoding you wish strings to be encoded in your BASIC programs. |
| VSCODEDEBUG | When specified, the debugger will attempt to connect to the Visual Studio Code MV# Debugger. |
| DATE.EUROPE | When specified, the date is displayed in European Format: dd/MM/yyyy. |
| SHOW.TRACE | When specified, the stack trace is displayed as programs are executed. This is useful for debugging batch processes but has no value in interactive processes. |
| INFORMATION.MODE | When specified, the runtime environment emulates a PRIME INFORMATION mode. |
| PICK.MODE | When specified, the runtime environment emulates a PICK mode. |
| COUNT.SUP | When this option is specified all SELECT statements will be executed as asynchronous SQL queries. Records can be processed while the query is being executed. NOTE @SELECTED is not updated. |
| COLLATION={collation} | Set the SQL Server Collation to be used when creating new files and when processing queries. |
| PICK.TCL | Emulate the D3 TCL environment with a ':' prompt and '>' for active select list. D3 update processor commands also work on the TCL prompt. |
| UNIDATAEXEC | The BASIC EXECUTE command behaves like Unidata including the ability to execute OS commands with the "!" at the prompt. |
| D3.MODE | The compiler emulates the D3 compiler, includes case insensitivity etc. |
| LOGTCL | Every command executed from the command line is logged in the &LOGS& file. |
Executing Windows Commands
Any Windows command can be executed with the 'DOS' command from the MVsharp command line. The DOS command creates a Windows command line shell, executes the arguments passed and returns to MVsharp command line.
This is useful when executing DOS functions to copy files, run DOS executables or get your environment variables.
Example:
>DOS /c SET
PATHEXT=.COM;.EXE;.BAT;.CMD;.VBS;.VBE;.JS;.JSE;.WSF;.WSH;.MSC
PROCESSOR_ARCHITECTURE=x86
PROCESSOR_ARCHITEW6432=AMD64
PROCESSOR_IDENTIFIER=Intel64 Family 6 Model 44 Stepping 2, GenuineIntel
PROCESSOR_LEVEL=6
PROCESSOR_REVISION=2c02
ProgramData=C:\ProgramData
ProgramFiles=C:\Program Files (x86)
ProgramFiles(x86)=C:\Program Files (x86)
ProgramW6432=C:\Program Files
PROMPT=$P$G
PSModulePath=C:\WINDOWS\system32\WindowsPowerShell\v1.0\Modules\
PUBLIC=C:\Users\Public
RemoteIpAddress=169.254.107.162
SystemDrive=C:
SystemRoot=C:\WINDOWS
TEMP=C:\WINDOWS\TEMP
TMP=C:\WINDOWS\TEMP
USERDOMAIN=MVSHARP
USERNAME=MVSHARP-1$
Example:
Command = "copy c:\temp\file.txt e:\process.txt"
EXECUTE Command Capturing Output
CRT Output
Accessing Printers
MVsharp does not have its own spooler. It utilizes the Windows Spooler, removing the complexity of managing 2 different spoolers. The following commands can be used to manage your print spooling.
All Windows Spooler functionality can be used with MVsharp including local printers, remote printers, UNC printers etc.
LISTPTR
The LISTPTR command will display a list of all the printers defined on your system.
>LISTPTR
Printer..............................Port.......................... Status..
microsoft xps document writer        PORTPROMPT:                    Running
microsoft print to pdf               PORTPROMPT:                    Running
fax                                  SHRFAX:                        Running
SETPTR
The SETPTR command either displays the current printer definitions or sets the printer definition you would like to use.
>SETPTR 1
Unit No : 1
Page Width : 132
Page Depth : 66
Top Margin : 3
Bottom Margin : 3
Print Mode : 1
Default Job Name : MVsharp
Destination Printer :
SETPTR unit {, width, depth, topmargin, bottommargin, mode, options}
| Options | Description |
|---|---|
| unit | The printer unit from 0 to 10. Unit 0 is the default printer. Units 1 through 10 can be accessed by using the PRINT ON unit in BASIC. |
| width | The page width. |
| depth | The page depth. |
| topmargin | Number of lines to skip at the top of each page. |
| bottommargin | Number of lines to skip at the bottom of each page. |
| mode | Defines where the output is directed. 1 -- output is to the printer device. 3 -- output is to a hold file. |
| options | Additional options separated by commas as defined below. |
| Additional Options | Description |
|---|---|
| AT printername | Direct output to specified printer. |
| AS filename | Used with mode 3 to specify the name of the hold file. |
| AS NEXT id | Used with mode 3 to specify an incremental starting number for subsequent hold file prints. |
| BRIEF | Does not prompt you as to whether you wish to set the printer options. |