MVsharp Terminal Emulator
How to install, configure and use the MVsharp Terminal Emulator.
Introduction
The MVsharp Terminal Emulator is a VT220-compatible terminal emulator used to access the MVsharp environment.
The Terminal Emulator has many features including:
-
Multiple connections to the server from a single client.
-
Auto login to the server.
-
Supports both Telnet and SSH.
-
Configurable fonts and colours.
-
Copy and Paste.
All installation packages are built using the standard Microsoft ".msi" package.
Prerequisites
Before installing the MVsharp Terminal Emulator, the following needs to be in place:
-
Microsoft Windows XP or later.
-
Microsoft .NET Framework Version 4.5 or later.
Install MVsharp Terminal Emulator
The MVsharp Terminal Emulator is supplied as a standard Microsoft 'msi' package, MVsharpTerm.msi
Locate the above file on your installation media, launch the installer and complete the following steps:
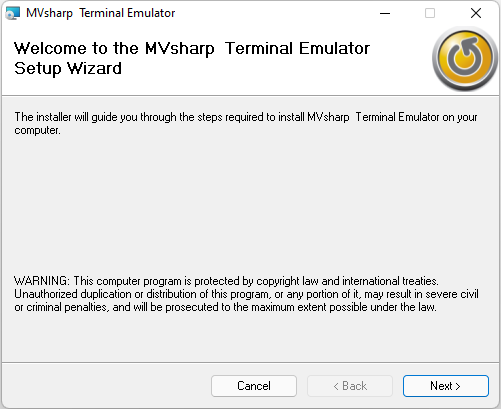
Click the Next button to begin the installation of the MVsharp Terminal Emulator.
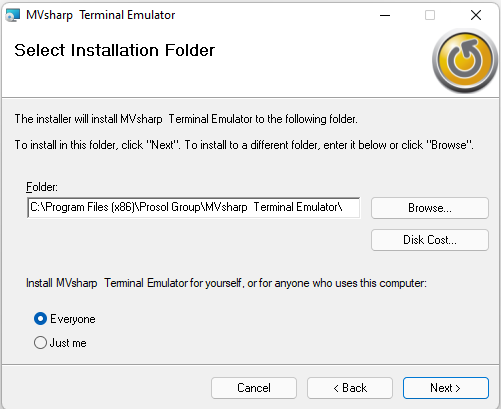
By default, the MVsharp Terminal Emulator is installed in the above folder. You can modify the path by either typing in a new path or clicking the Browse button.
Select Everyone to make sure the MVsharp Terminal Emulator is available to all users on the server.
The next screen displays the license agreement for the use of the MVsharp Terminal Emulator. Please read the agreement carefully and select I Agree in order to continue with the installation.
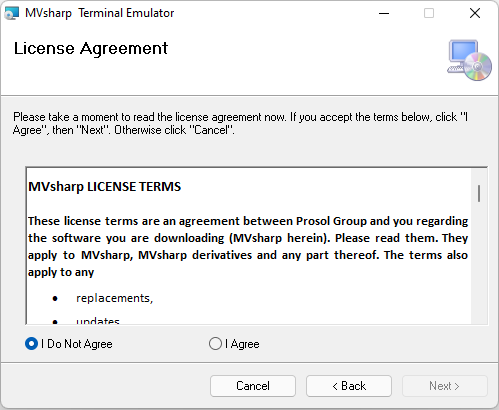
You are now ready to install the software on your server. Clicking Next will install the software on your server.
Once the installation is completed, the following screen is displayed.
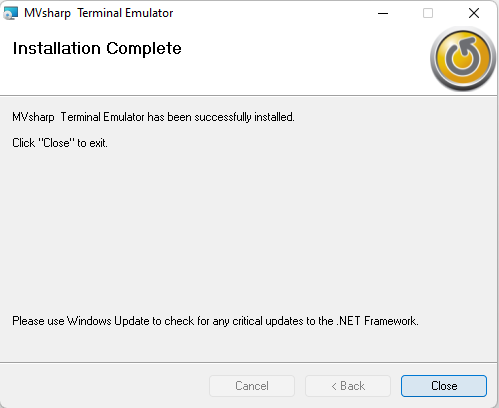
Using the MVsharp Terminal Emulator
Setting Up a Connection
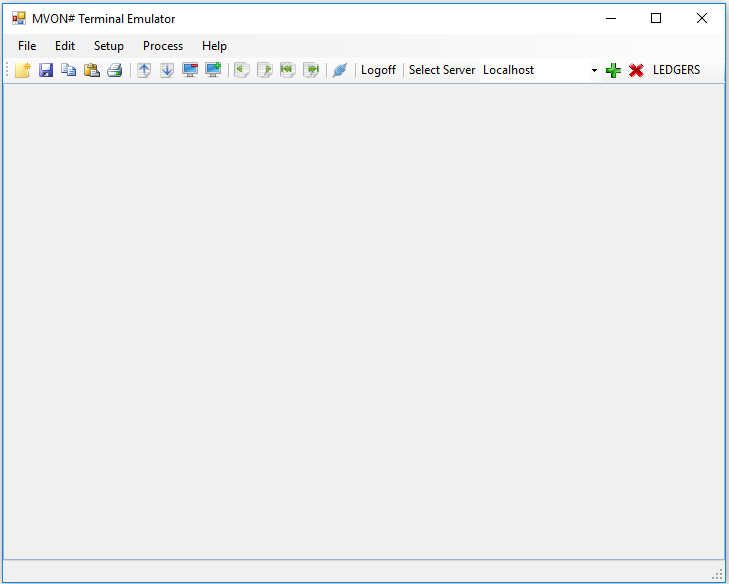
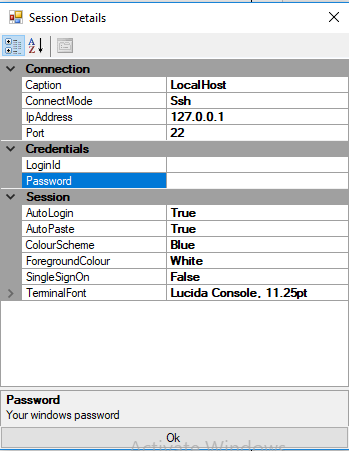
The MVsharp Terminal Emulator allows you to define connections to multiple servers. An emulation session is then started by selecting the server from the drop down box and connecting to the server. To create a new server definition, click the  button on the toolbar. The following parameters are then displayed:
| Property | Description |
|---|---|
| Caption | The name to use for the definition. This name will appear in the dropdown list. |
| ConnectionMode | Select either Telnet or SSH. SSH is a secure connection. |
| IpAddress | The IP Address or host name of the server. |
| Port | The telnet port used by the server. MVsharp uses 2023 by default. |
| LoginId | The Login Id to be used when automatically logging into the server. |
| Password | The password for the above Login Id. |
| AutoLogin | When set to true, the system will automatically use the above credentials to login. |
| AutoPaste | When set to true, a right click of the mouse will copy or paste. |
| ColourScheme | The background colour to be used. Setting different background colours per server can give you an indication of which server you are connected to. |
| ForegroundColour | The foreground colour of the font. |
| TerminalFont | The font and size to be displayed. Monospaced fonts give the best screen display. |
Once the parameters have been configured, select the OK button to save this server's parameters. The server can then be selected from the dropdown list.
To remove a server definition, select the server name from the dropdown list and press the  button on the toolbar.
Menu Options
| Options | Description |
|---|---|
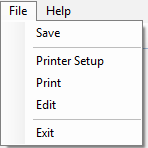
| Save | Save the current configuration. |
| Printer Setup | Allows you to configure the printer to use when printing the contents of the terminal window. |
| Print the contents of the active tab window to the printer specified above. | |
| Edit | Edit the server parameters for the current server connection. |
| Exit | Exit the MVsharp Terminal Emulator. |
MVsharp Terminal Emulator Toolbar

The MVsharp Terminal Emulator toolbar allows you to interact with the emulator by selecting a button from the toolbar to perform a function.
| Button | Description |
|---|---|
 |
Edit the current server parameters. |
 |
Save the server parameters and configuration. |
 |
Copy any text that has been selected in the active emulation tab. |
 |
Paste the contents of the Clipboard into the active emulation tab. |
 |
Print the contents of the active emulation tab to the printer. The default printer can be selected from the menu options File, Printer Setup. |
 |
Increase the size of the font in the active emulation tab. |
 |
Decrease the size of the font in the active emulation tab. |
 |
Set the active emulation tab to 80 Column mode. |
 |
Set the active emulation tab to 132 Column mode. |
 |
Scroll the screen buffer back one page. |
 |
Scroll the screen buffer forward one page. |
 |
Scroll to the first page in the screen buffer. |
 |
Scroll to the last page of the screen buffer. |
 |
Connect to the server selected in the dropdown described below. |
 |
Dropdown list to allow you to select which server you wish to connect to. Select the server name from the list and then click the Connect button described above to connect to the server. |
 |
Add a new server configuration. |
 |
Remove the current server configuration. |