Data synchronization
Install the synchronization server, choose the files to synchronize and start the server.
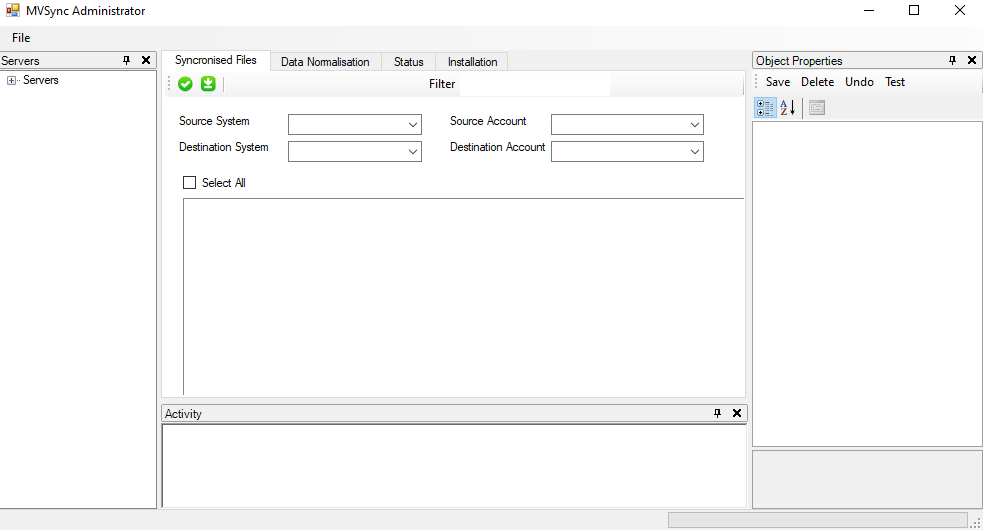
The MVsync Administrator consists of 4 separate panels:
| Panel | Description |
|---|---|
| Servers | Lists the configured MultiValue and MVsharp servers and lets you add, edit and test them. |
| Synchronization and Normalization configuration, and Server Status | The tabs used to install software, configure synchronized files, normalize data, and start and monitor the server. |
| Activity | Shows the files currently being processed. |
| Object Properties | Shows and saves the settings of the selected object. |
Installing the server software
To install the MVsync software on the multi value and MVsharp servers, expand the servers tree. If there are no servers currently configured, select the File dropdown, then select Add Server:
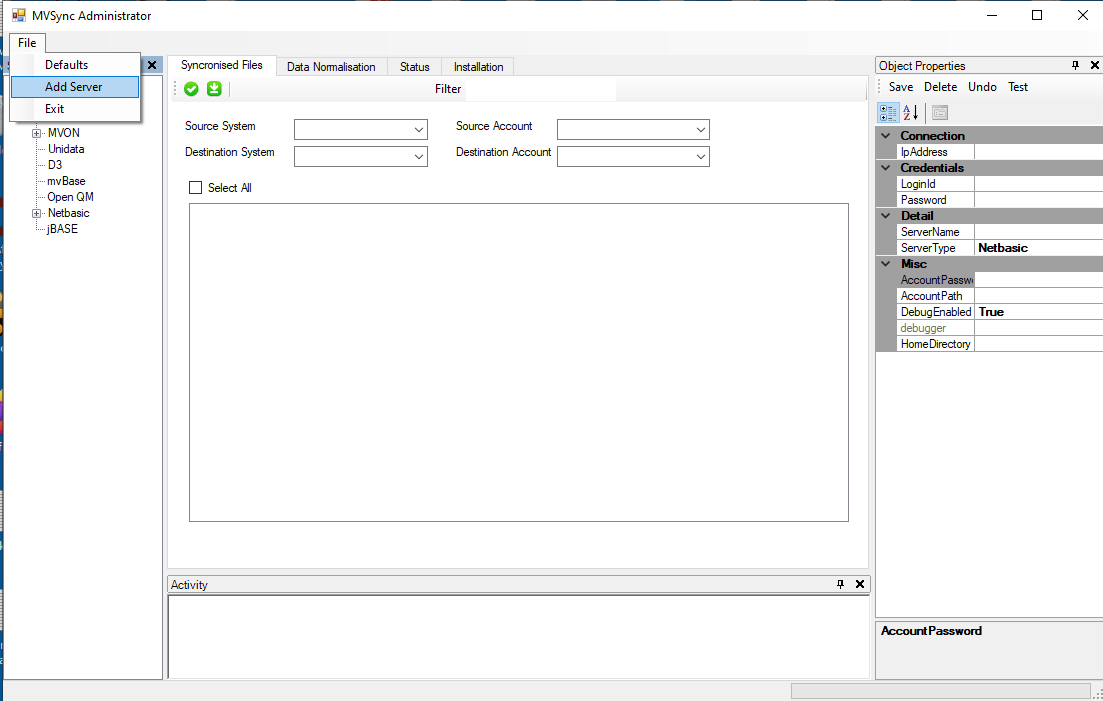
In the Object Properties pane, select the Server Type dropdown and choose the desired database type to be added. Complete the entries in the Object Properties pane, then Save the definition. To ensure that the server is correctly configured select Test to ensure a successful connection can be made.
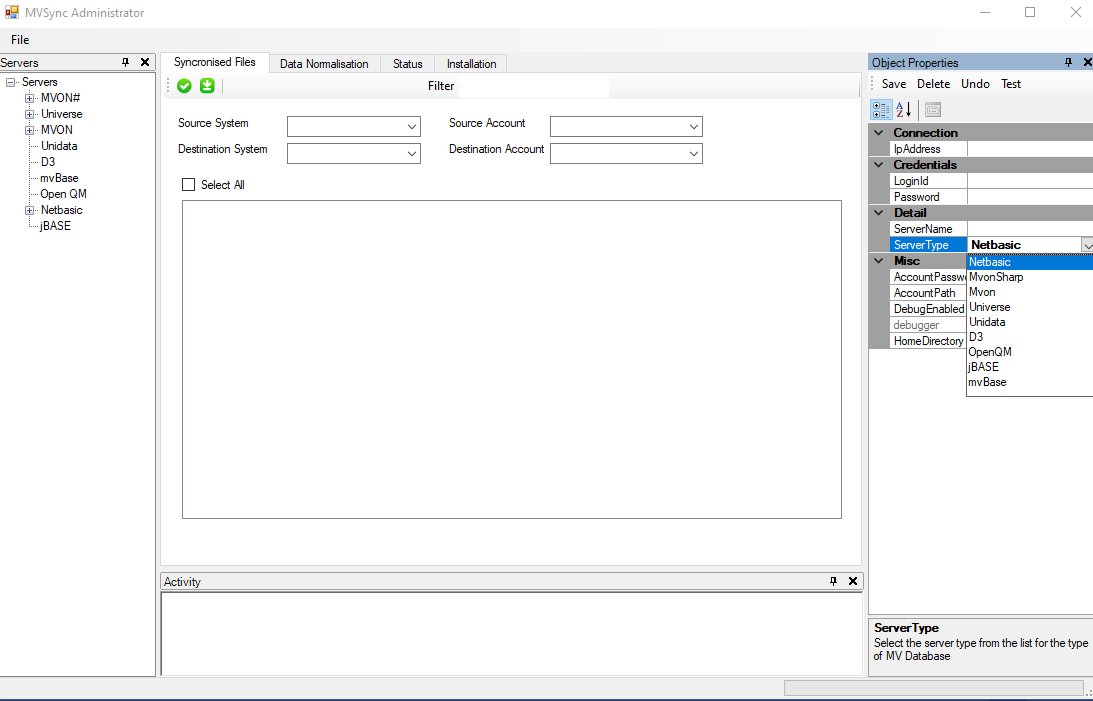
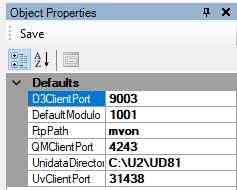
To review and make changes to the defaults for the various multi value environments, select Defaults from the File dropdown:
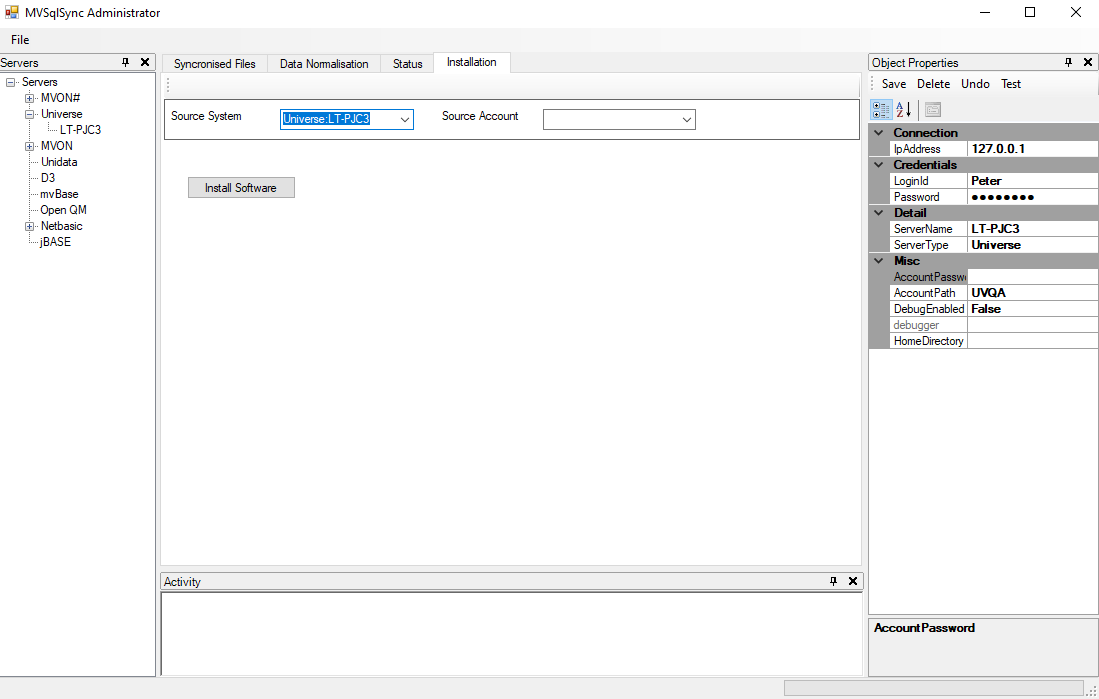
Once the servers are configured, select the Installation tab and in the Source System and Source Account drop downs select the Server and Account that the software will be installed into, the following is an example of installing the MVsync software into a UniVerse account:
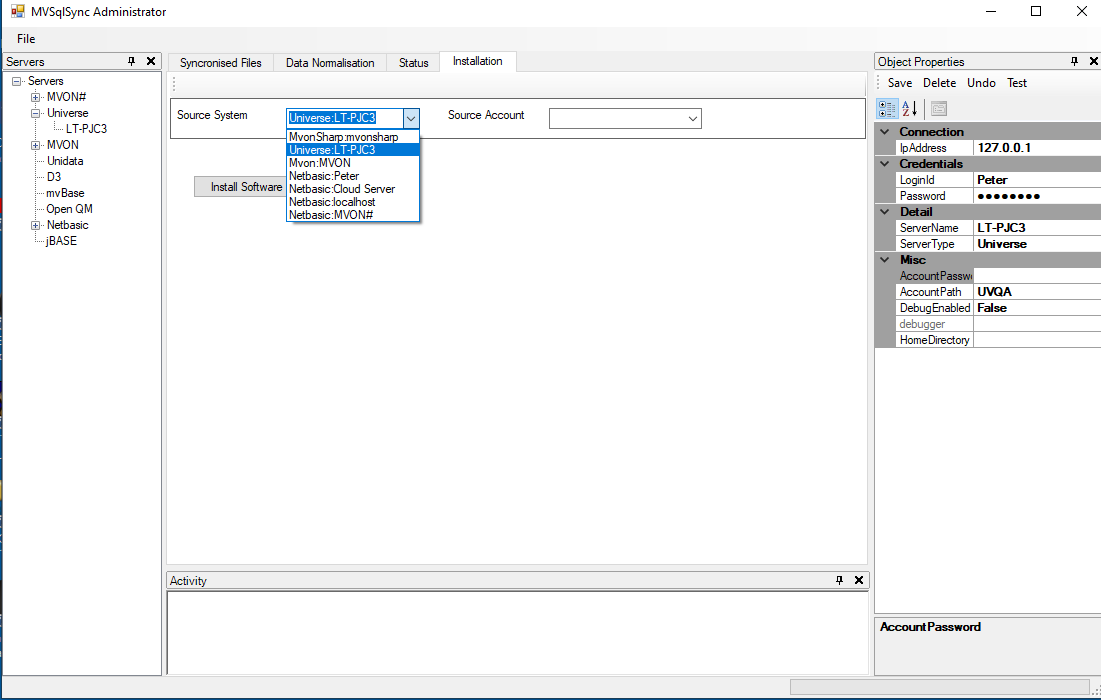
The first step is to select the source server from the 'Source System' dropdown, in this case a UniVerse server called LT-PJC.
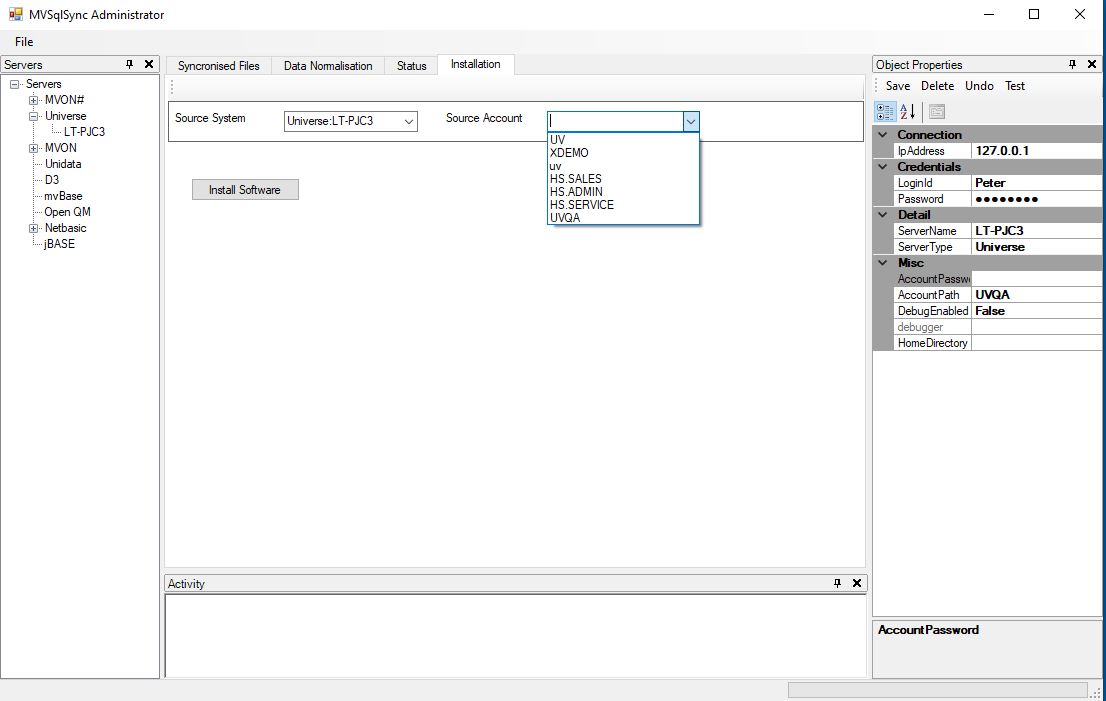
Next is to select the source account from the 'Source Account' dropdown, in this example the account is called UVQA.
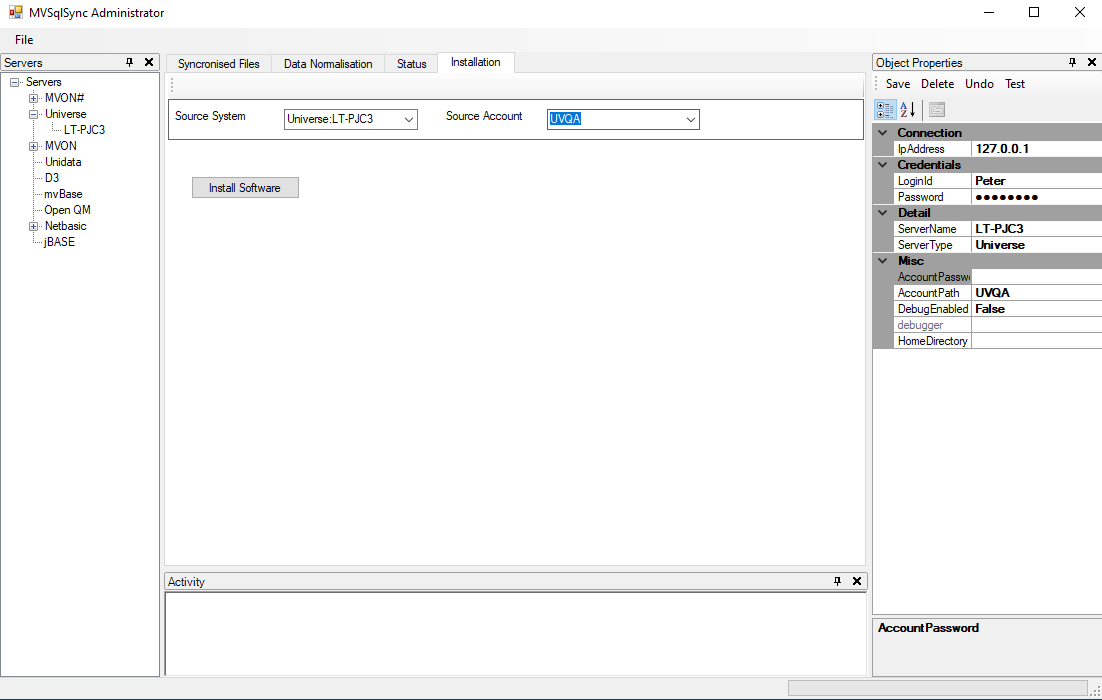
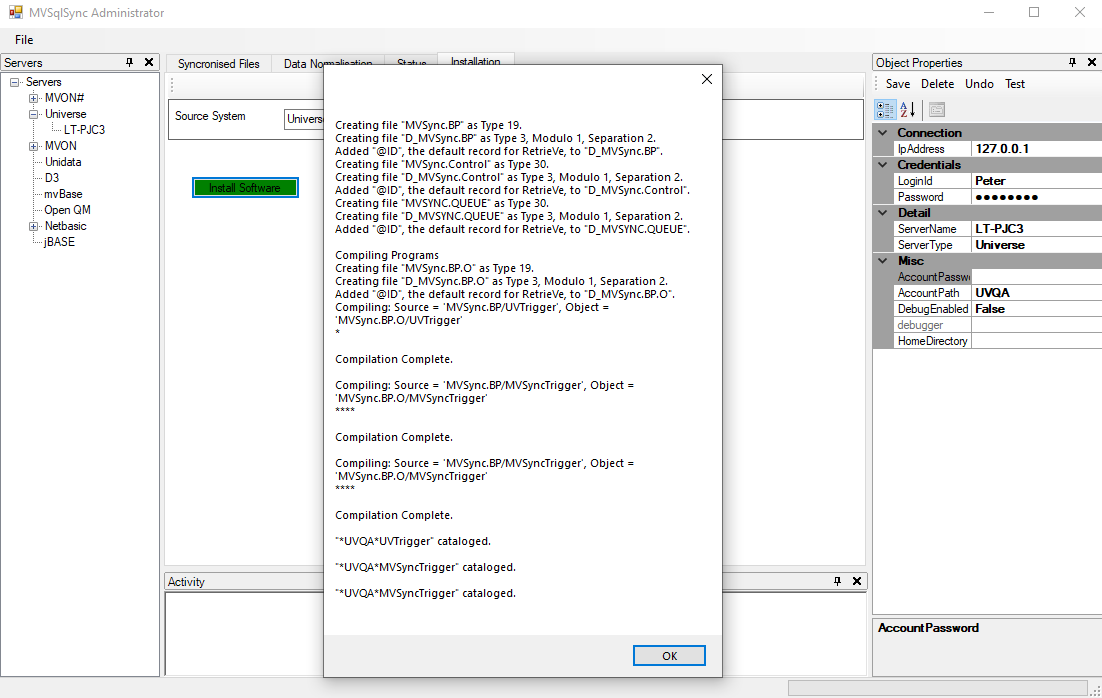
Clicking on the 'Install Software' button will result in the software being installed in the account, with a progress window being displayed. Once completed click the OK button to complete the installation.
The next step is to install the software in an MVsharp account where the data to be synchronized is located.
From the installation tab, select the Source System and Source Account. In the following example the Source System is an MVsharp server called mvsharp, and the Source Account is CUSTOMER
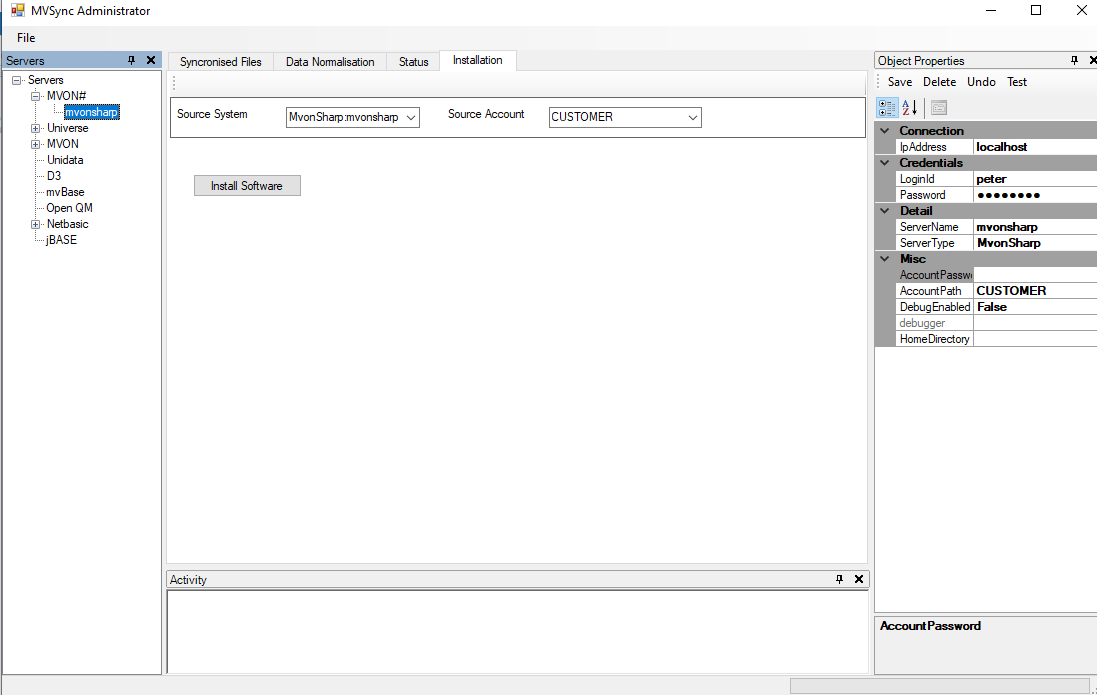
Select the Install Software button, and the following is displayed
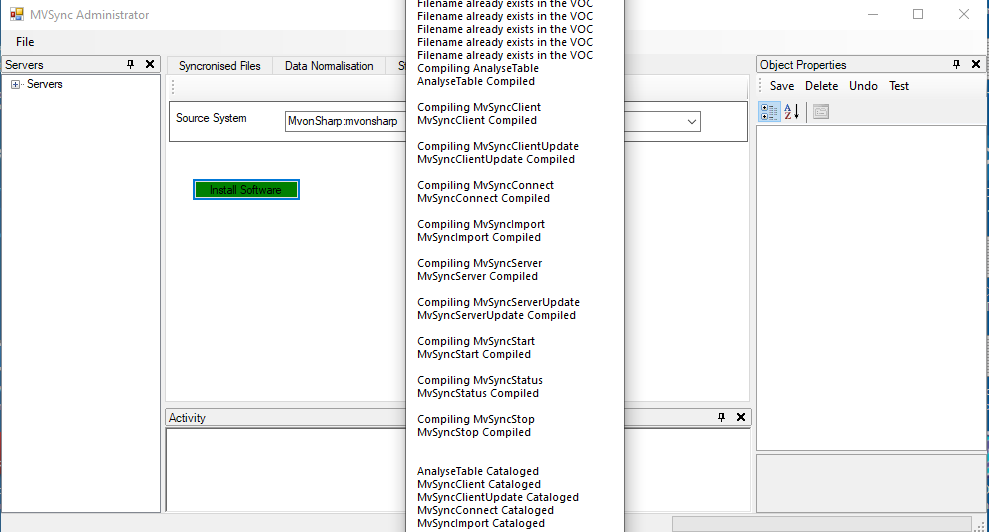
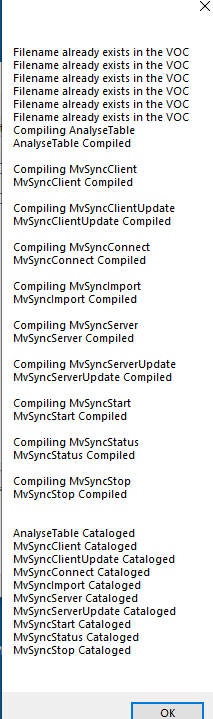
Once complete, press the OK button.
Configuring Synchronized Files
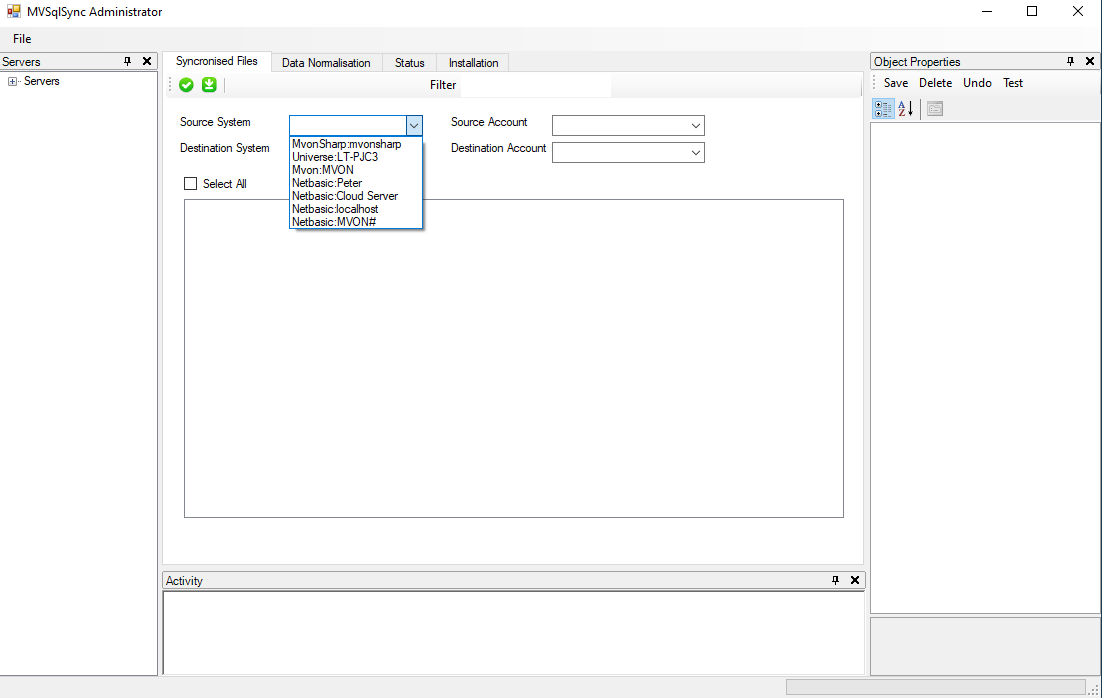
To configure files to be synchronized from a multi value account to a SQL Server account, the account on the source server is selected from the source system dropdown in the Synchronized Files tab:
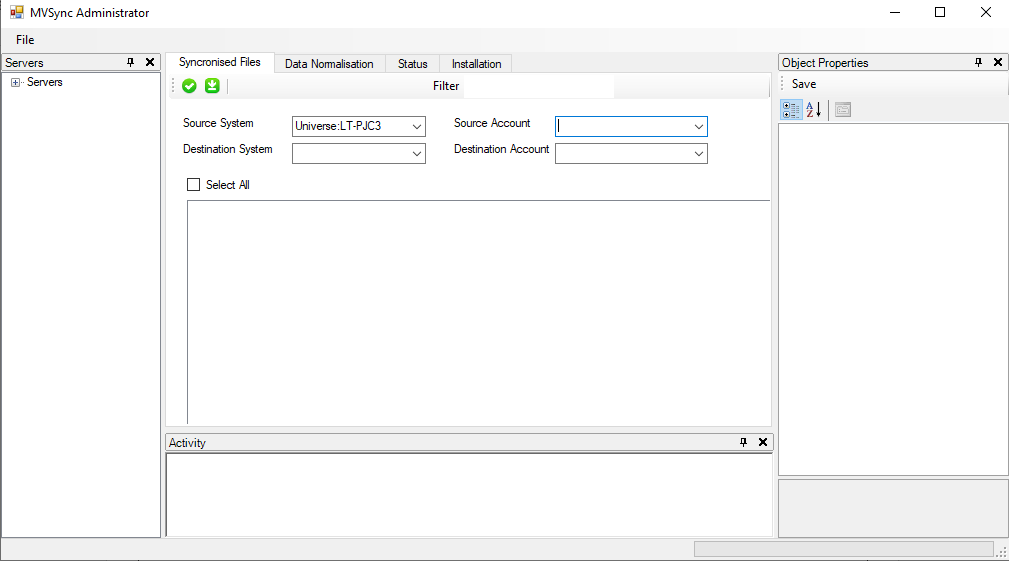
Then, from the Source Account dropdown, select the account that contains the data files to be synchronized:
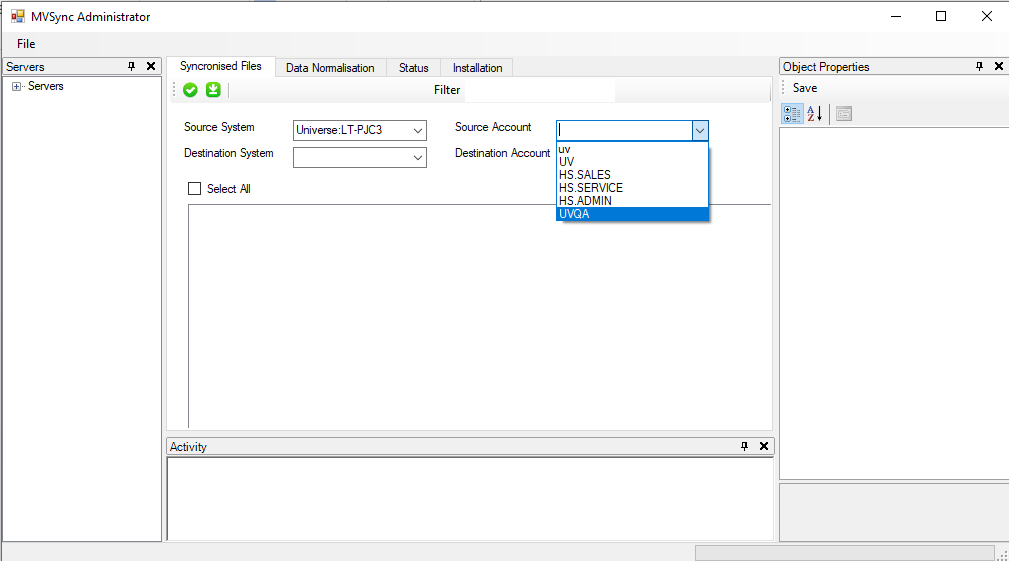
Upon selecting the source account, the available files in the account are displayed in the synchronization pane. Depending on how many files there are in the source account, this may take a while.
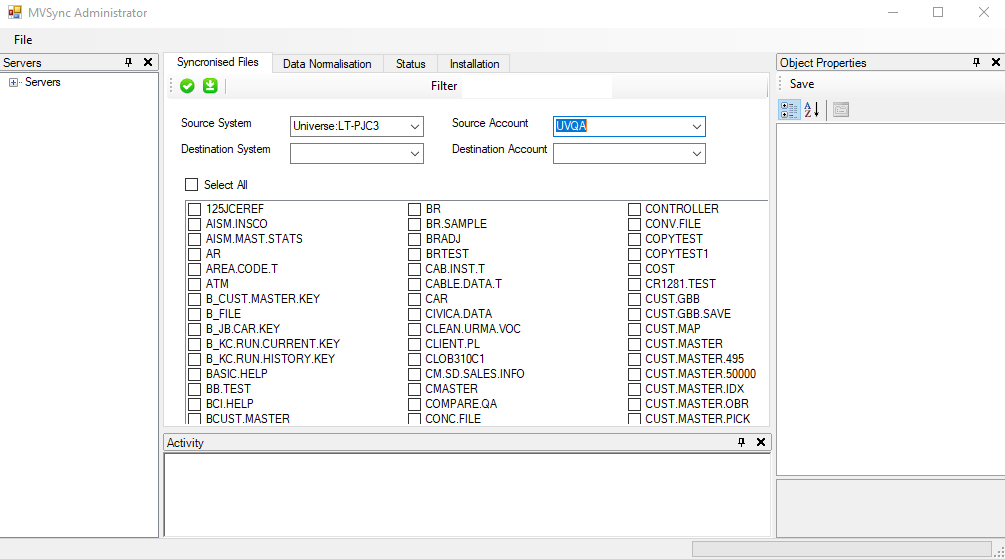
Next select the Destination System,
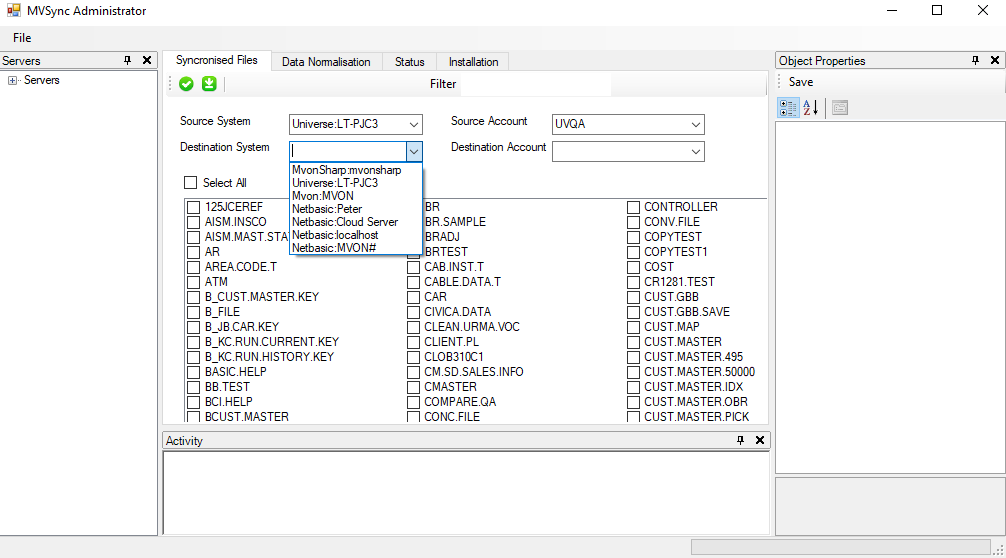
followed by the Destination Account:
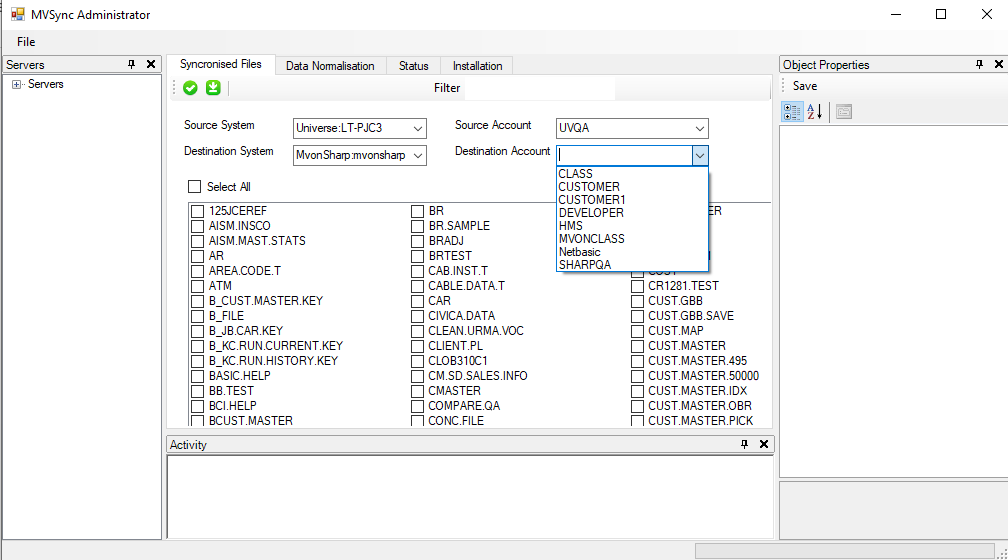
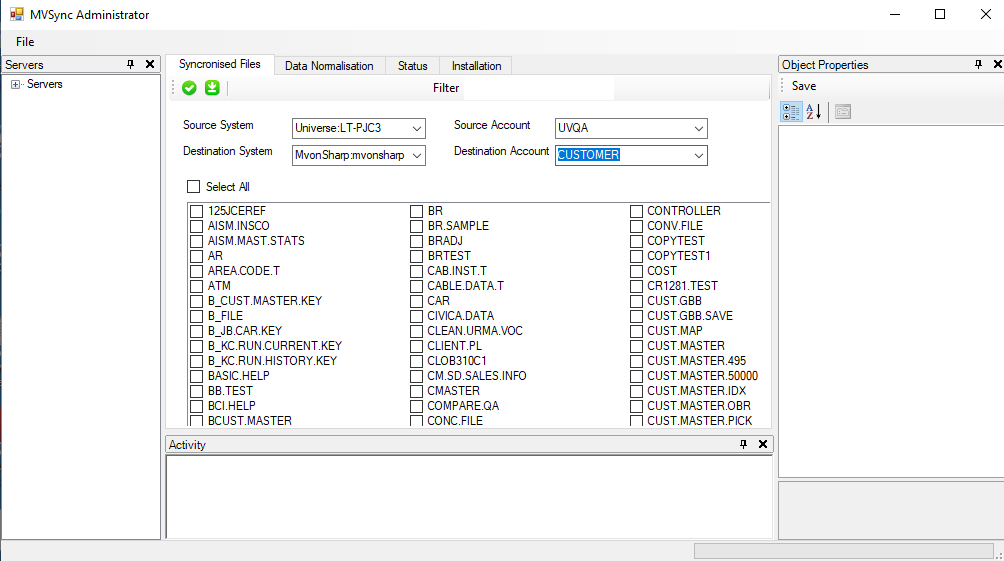
In the top left hand corner of the pane are two buttons.
 which validates synchronization settings
and
 which deploys synchronization settings
Next the file or files to be synchronized are selected. In this example the file CUST.MASTER is to be synchronized by clicking in the box to the left of CUST.MASTER.
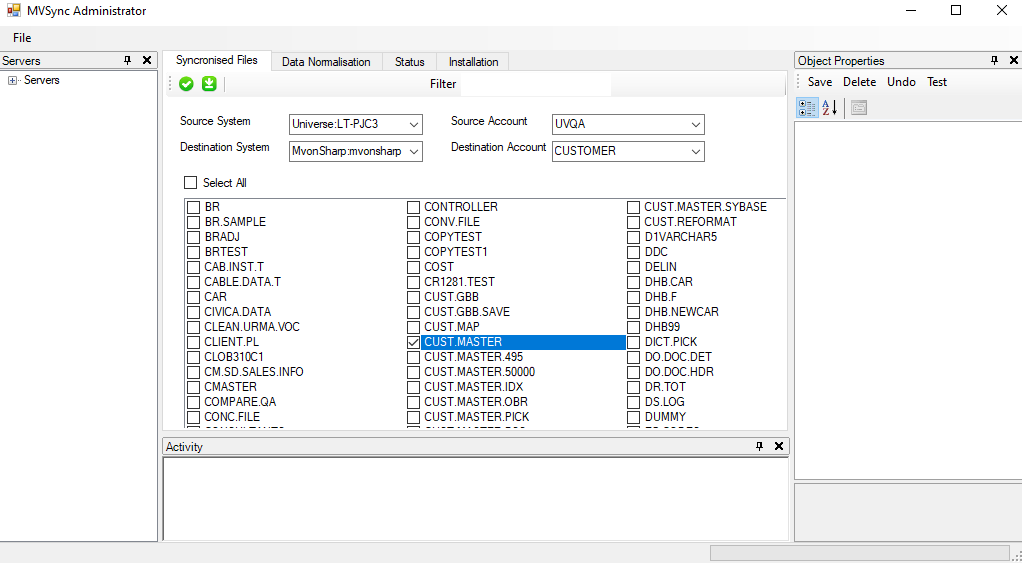
To validate the synchronization settings, click the Validate Synchronization Settings  button.
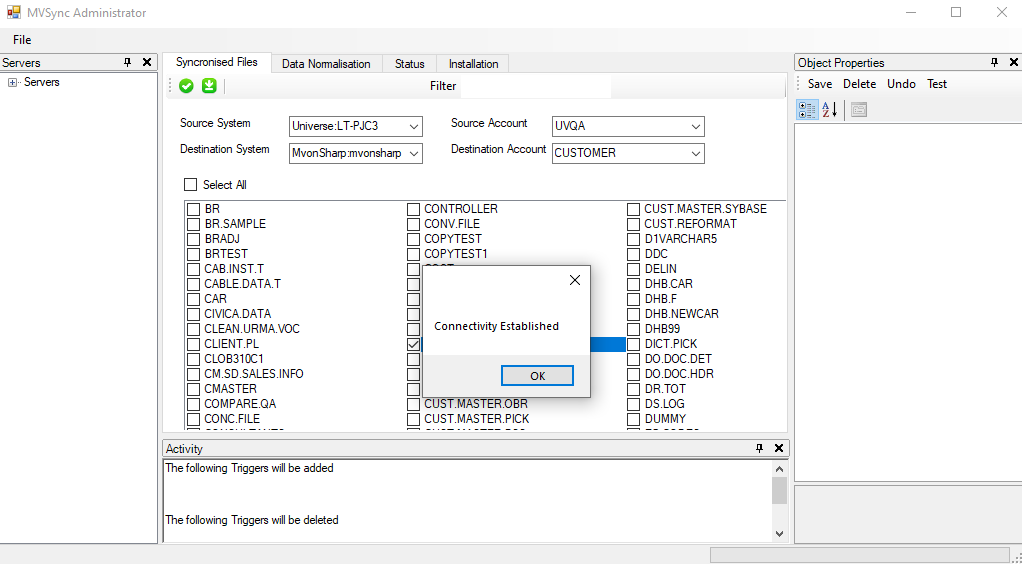
Then click the OK button.
To deploy the settings, click the Deploy Settings  button
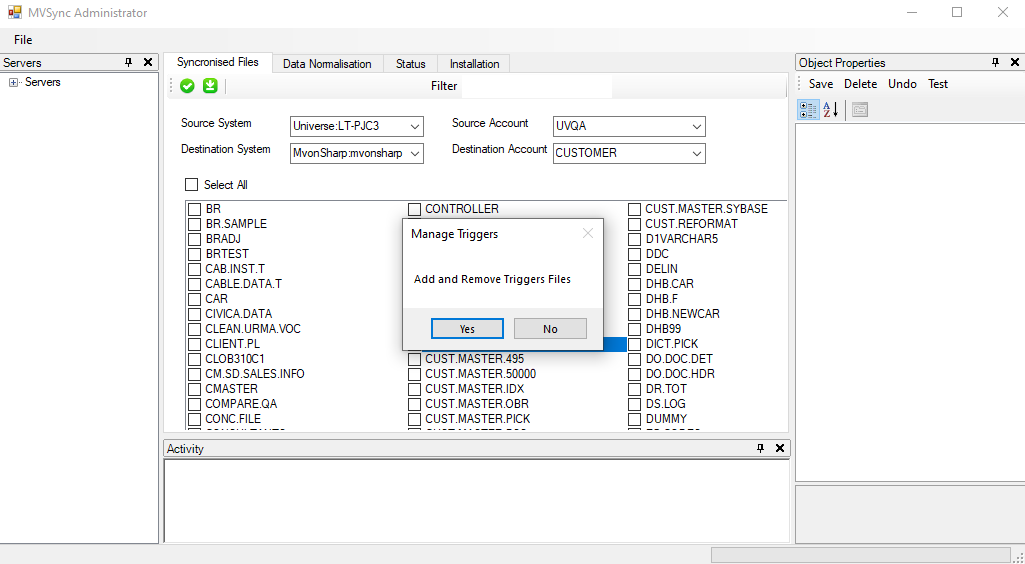
Click on the OK button
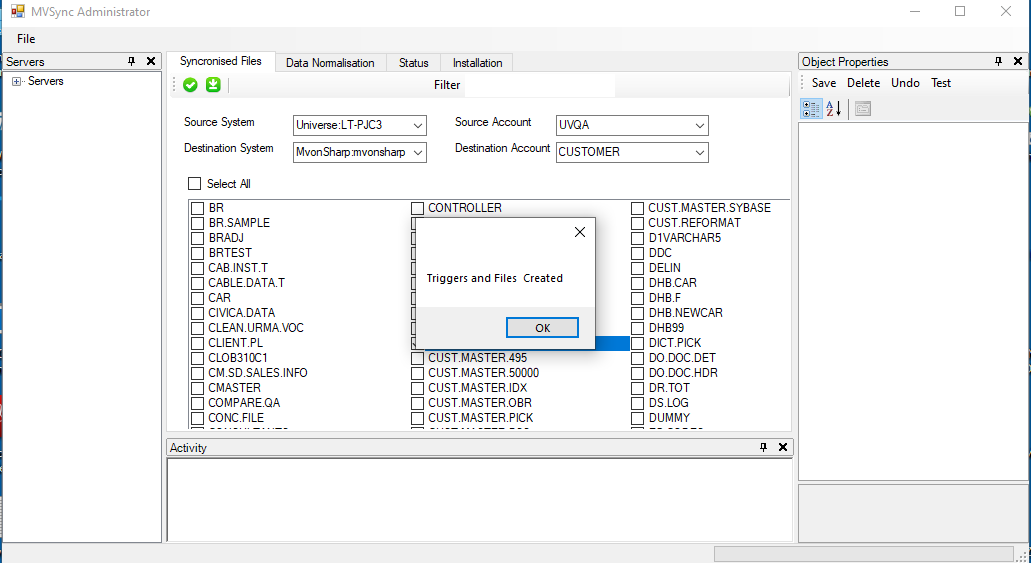
Then click OK again.
To stop synchronizing a file, click the tick in the box next to the file and click the Deploy Settings  button.
Starting the synchronization server
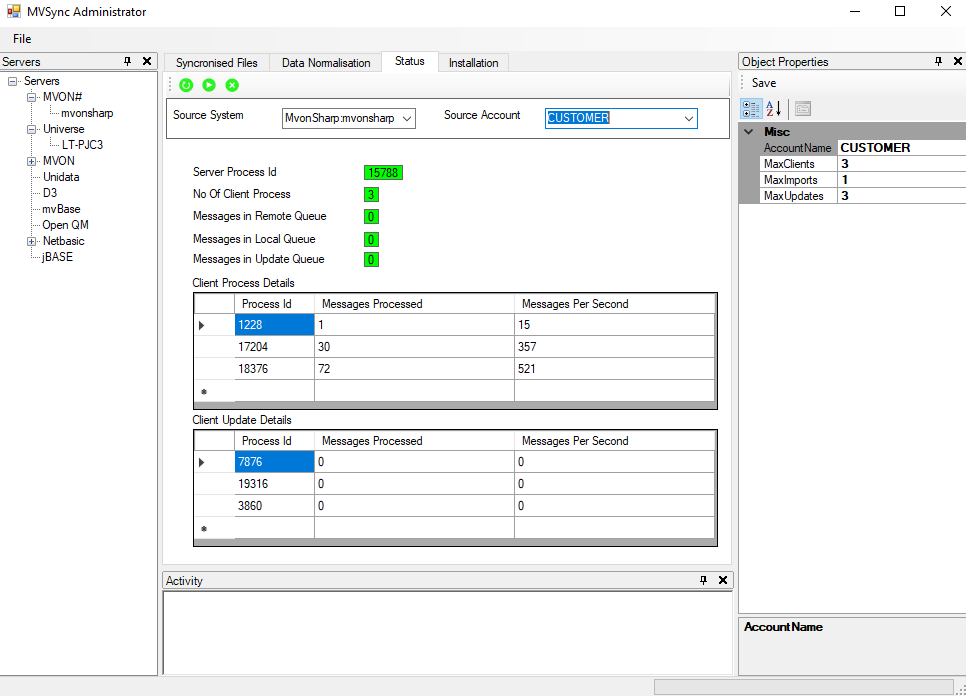
From the status tab in the MVsync Administrator select the server containing the SQL Server account from the Source Server dropdown, and then select the SQL Server account to be synchronized from the Source Account dropdown, in this example CUSTOMER.
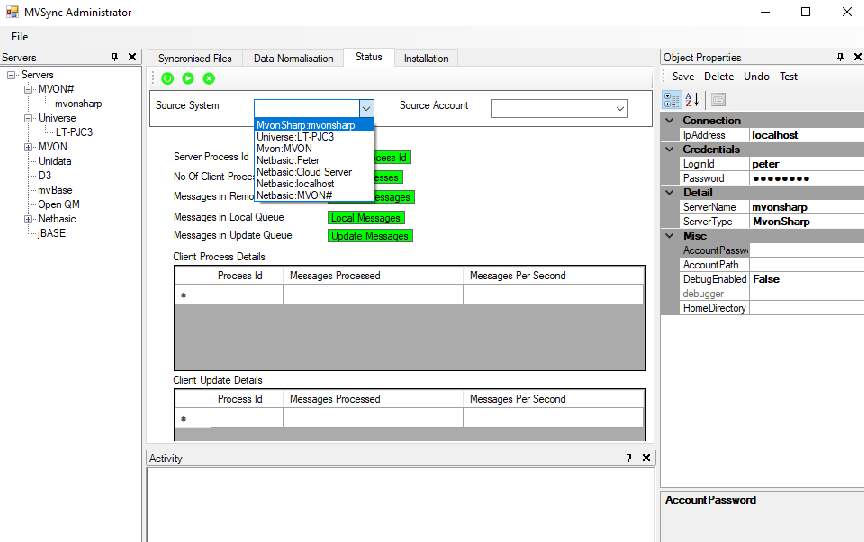
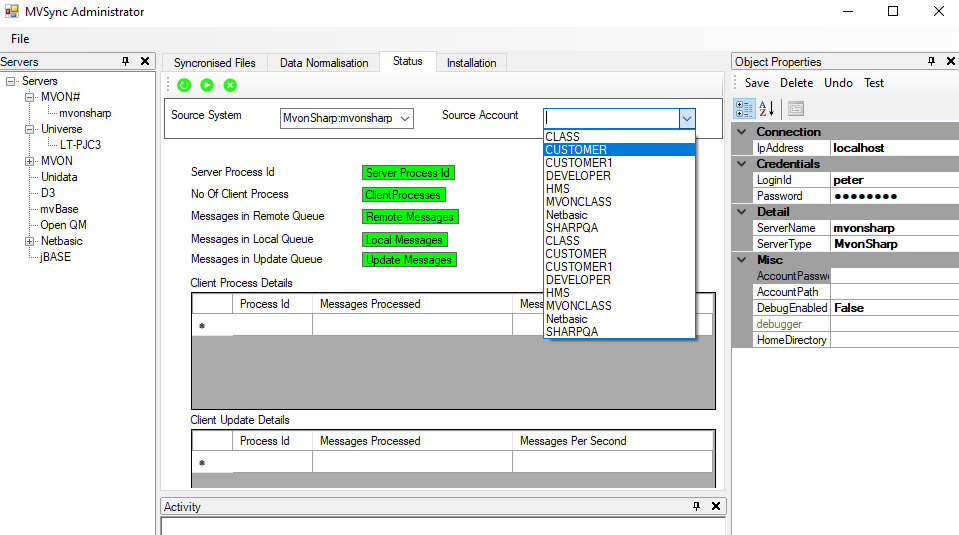
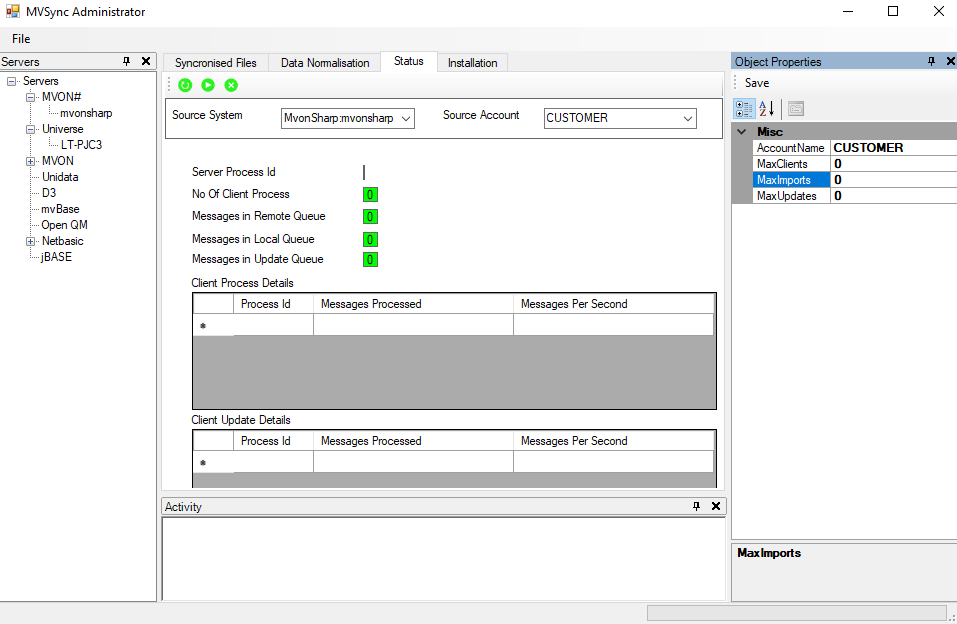
In the Object Properties pane, MaxImports should be set to the number of processes to start to initially synchronize files, in this case 1. MaxClients is the number of clients running in parallel servicing the message queue. In this example it is set to 3. Increasing the number of clients increases the potential bandwidth available. MaxUpdates should be set to the number of parallel clients that will process updates from the SQL Server views back to your multi value database.
Note
Each client requires a connection to your multi value server. This has licensing implications.
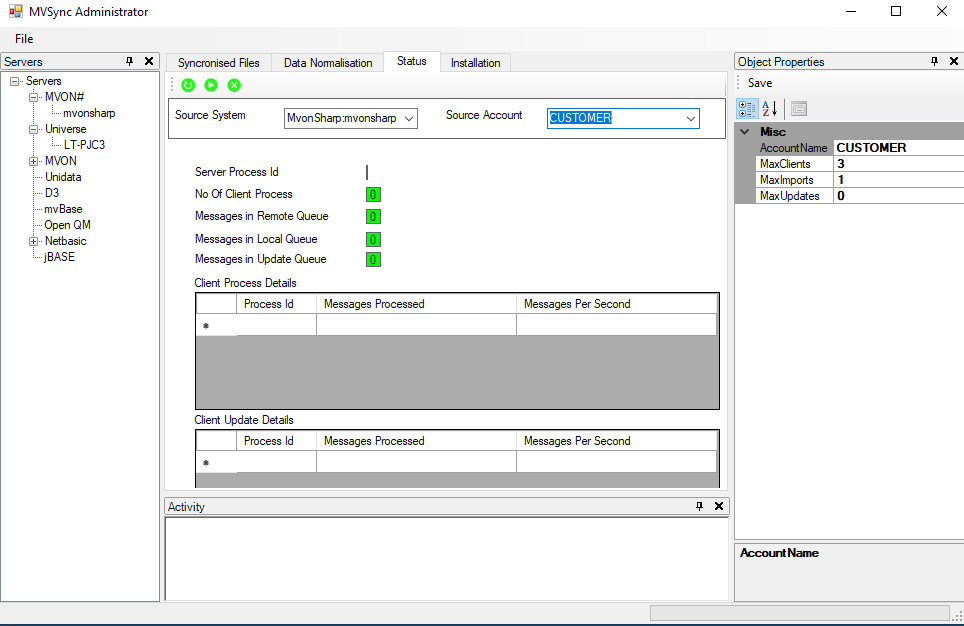
To save the changes, click on the Save button in Object Properties.
In the top left hand corner of the Status Window there are three buttons:

 Refresh the Status Window
 Start Server
 Stop Server
In the Status Window select the Source Server and Source Account and click the Start Server  button.
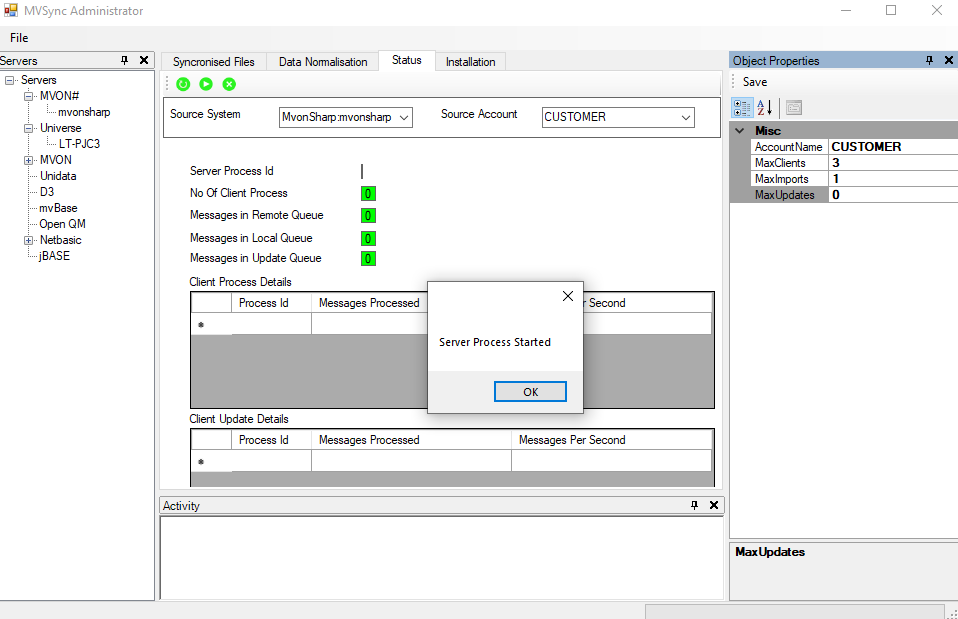
Click OK to continue.
Next click the Refresh Status button  , to refresh the Status Window
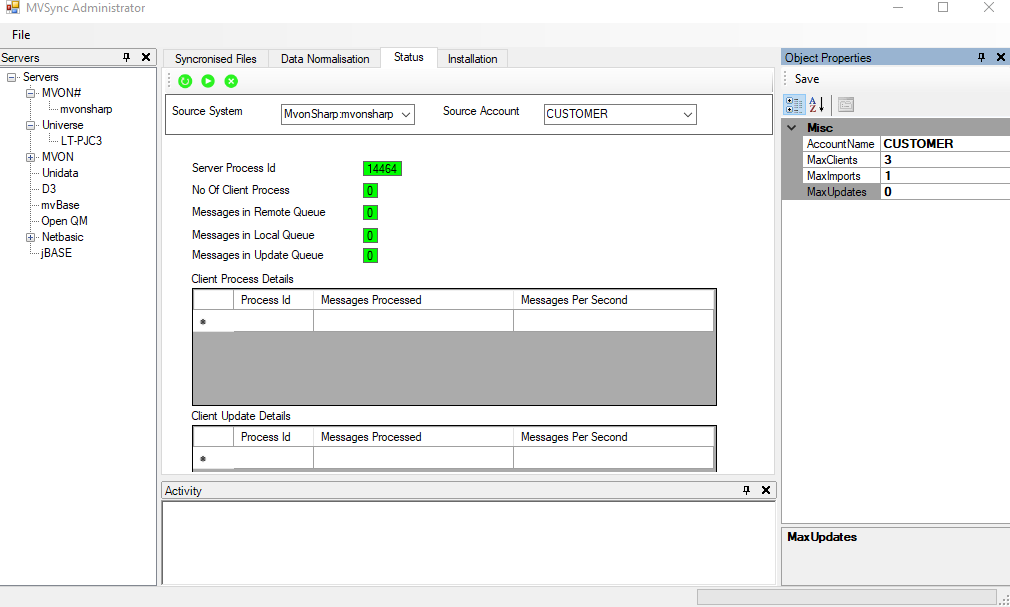
In a NetShell session logged into the CUSTOMER account, issue a COUNT CUST.MASTER command at TCL. CUST.MASTER is the file being synchronized.
In a UniVerse shell logged into the UVQA account, issue a COPY command as follows:
Next click the Refresh Status button:
 , to refresh the Status Window
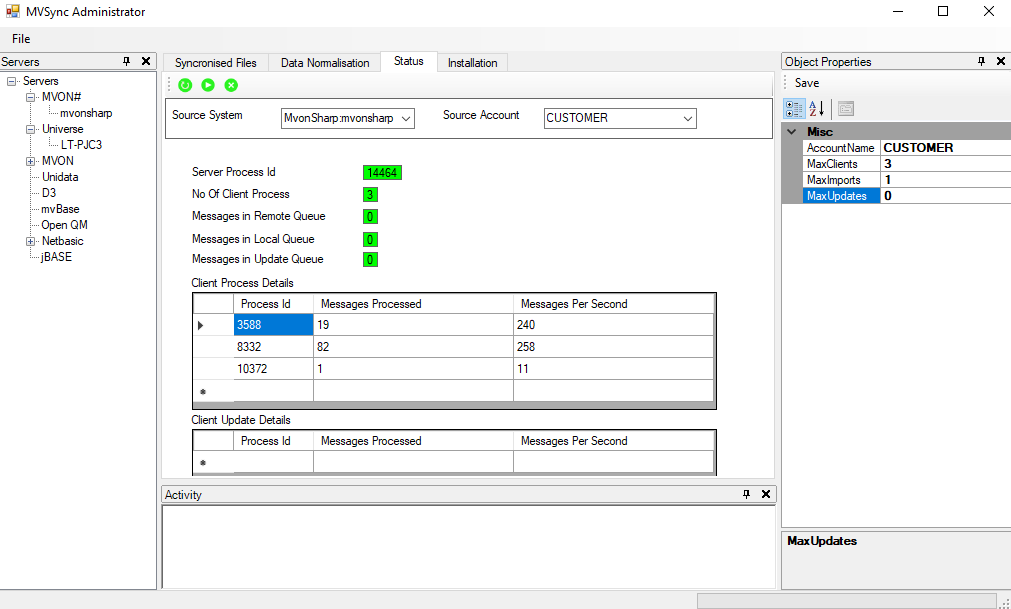
This information can also be seen at TCL in the NetShell session by issuing a MvSyncStatus command as follows:
>MvSyncStatus
No of messages on the remote queue is 0
No of messages in the process queue is 0
No of messages in the update queue is 0
No of client processes processing messages is 3

    ProcessId 3588 Messages Processed 19 At 241 Rows per second
    ProcessId 8332 Messages Processed 82 At 259 Rows per second
    ProcessId 10372 Messages Processed 1 At 11 Rows per second

No of client processes update messages is 0
In the NetShell session a COUNT of the CUST.MASTER file gives:
To enable bi-directional synchronization, set MaxUpdates to a non-zero value. This should be the same value as MaxClients.