Data normalization
Analyze multivalued data and deploy normalized SQL Server views.
MVsync provides powerful facilities to create normalized views on the underlying base table, removing the need to normalize the base table itself.
Note
If a new version of MVsharp is installed, UPGRADE.SQLSERVER should be run in each account to update and deploy the latest SQL extensions in the database.
Selecting the table to normalize
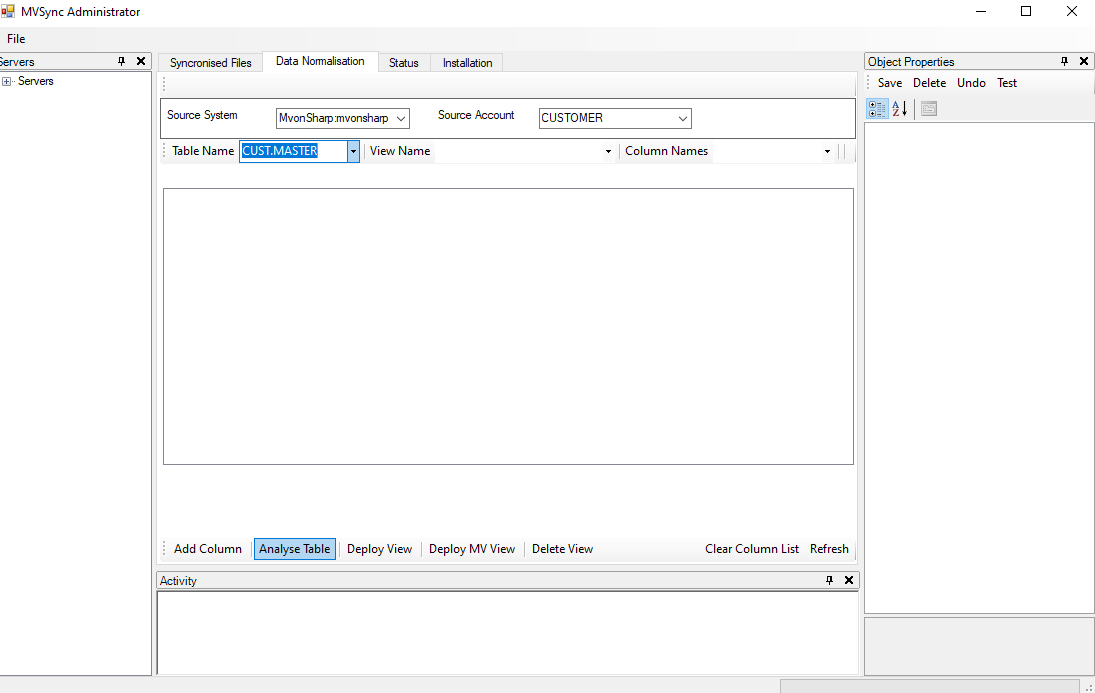
To commence the normalization process, select the Data Normalization tab.
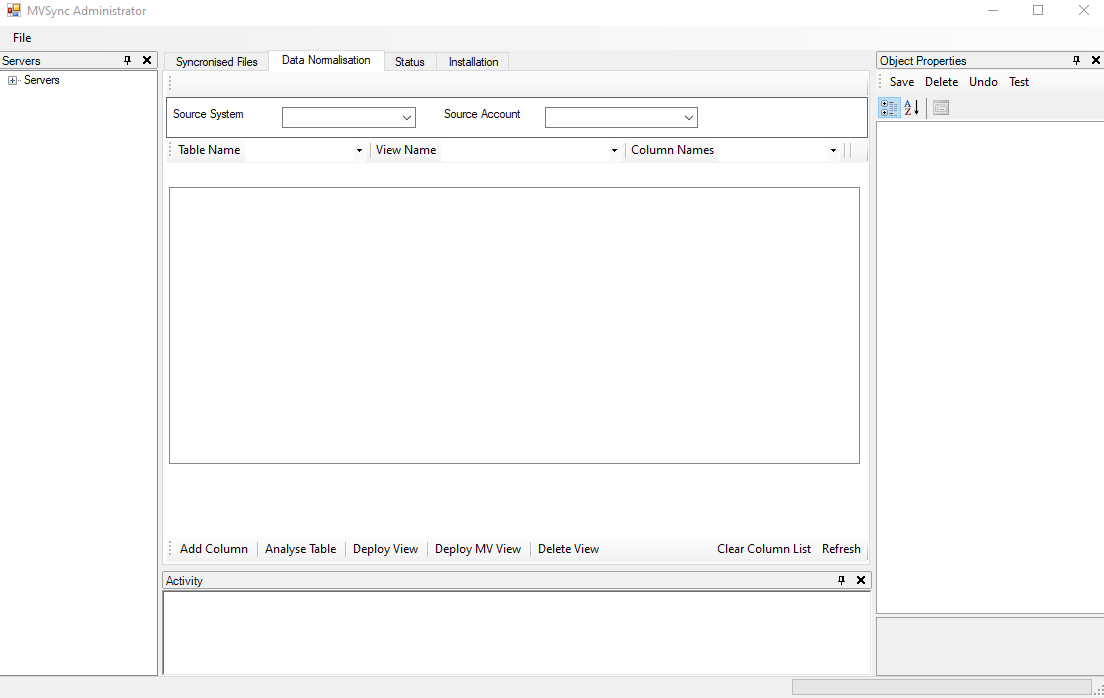
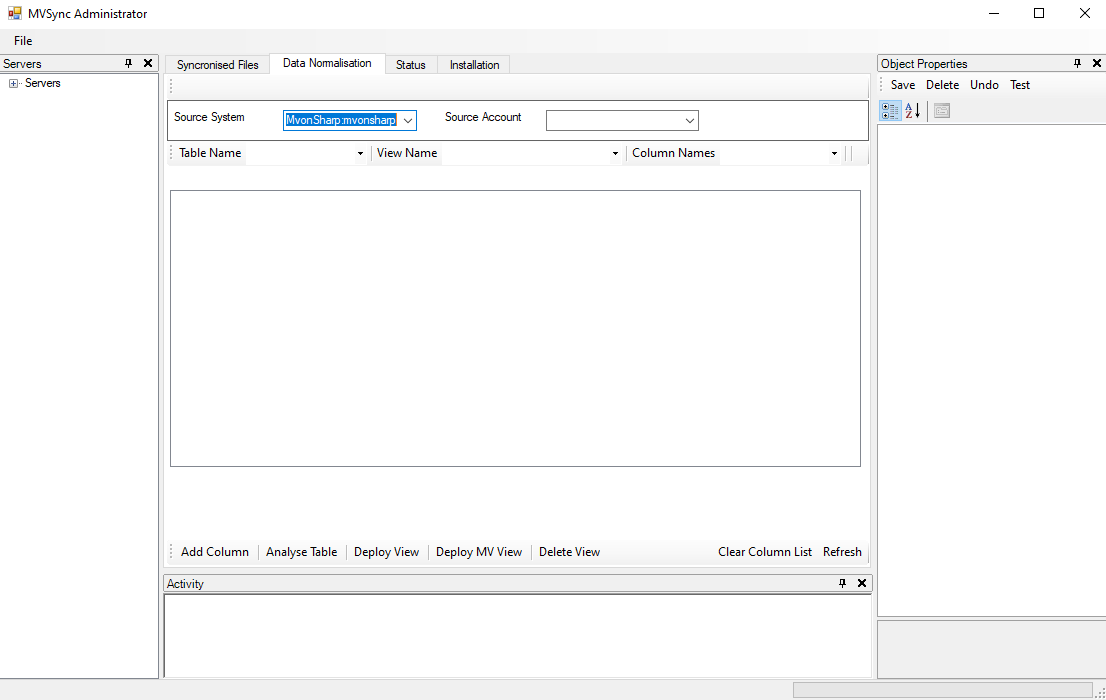
Next, in the Source System dropdown select the server containing the SQL Server database, in this example MVonsharp:mvonsharp.
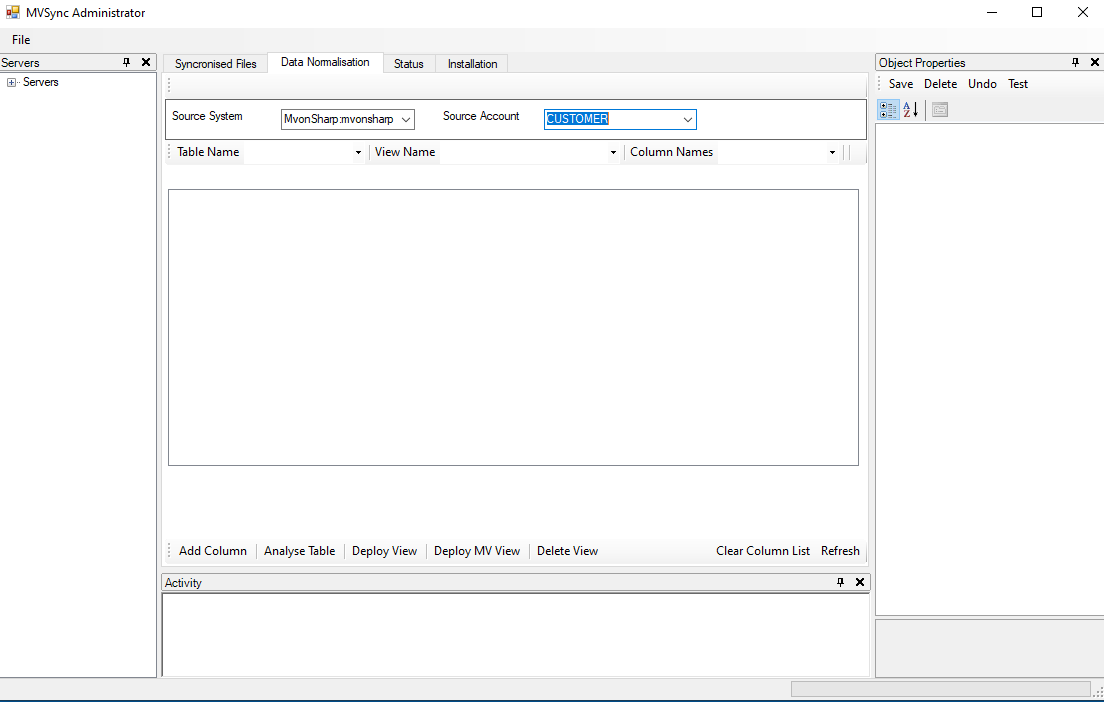
Next, select the database containing the table or tables to be normalized, in this example the CUSTOMER database.
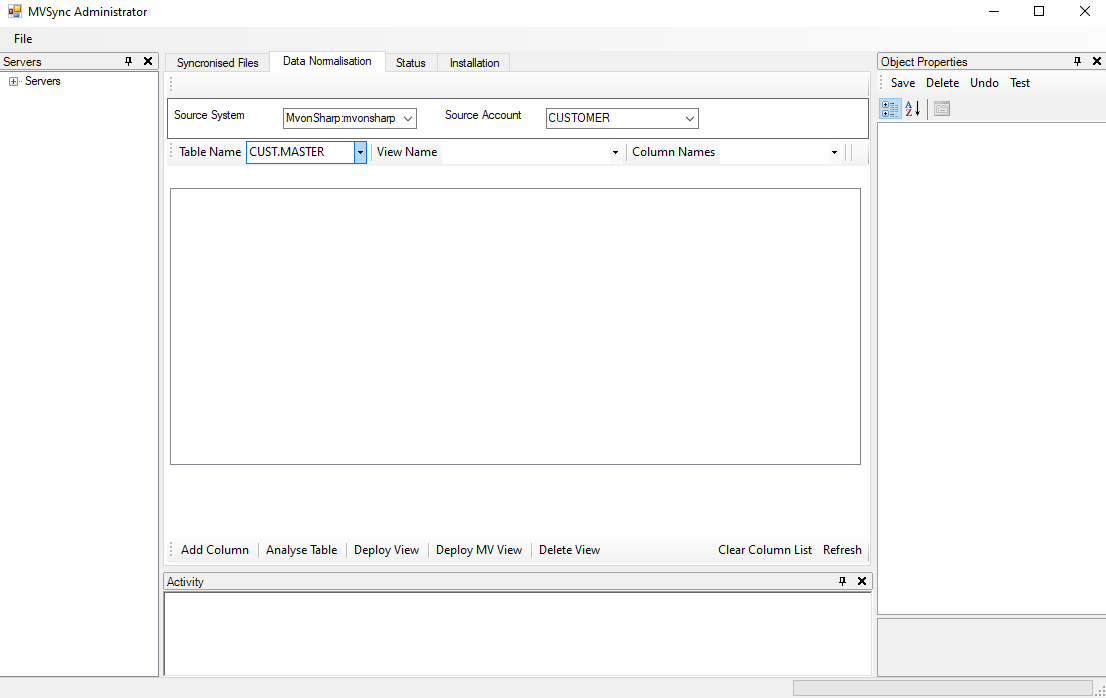
Next, in the TableName dropdown, select the file name to be normalized, in this case CUST.MASTER which references the _CUST_MASTER table in the CUSTOMER database.
Analyzing the data
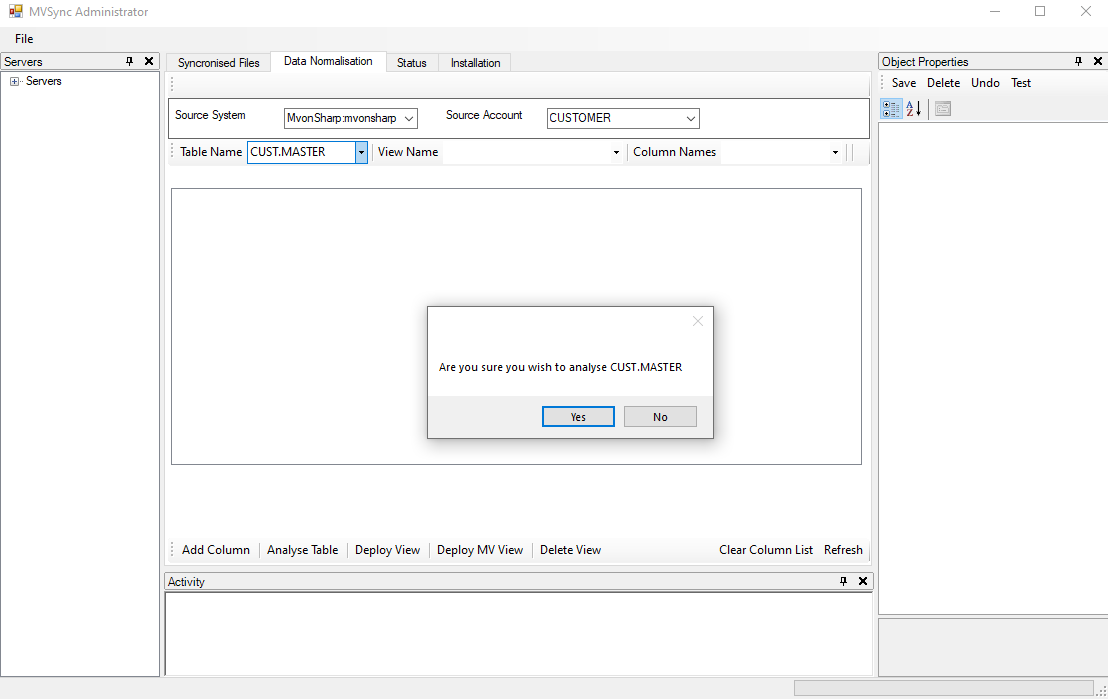
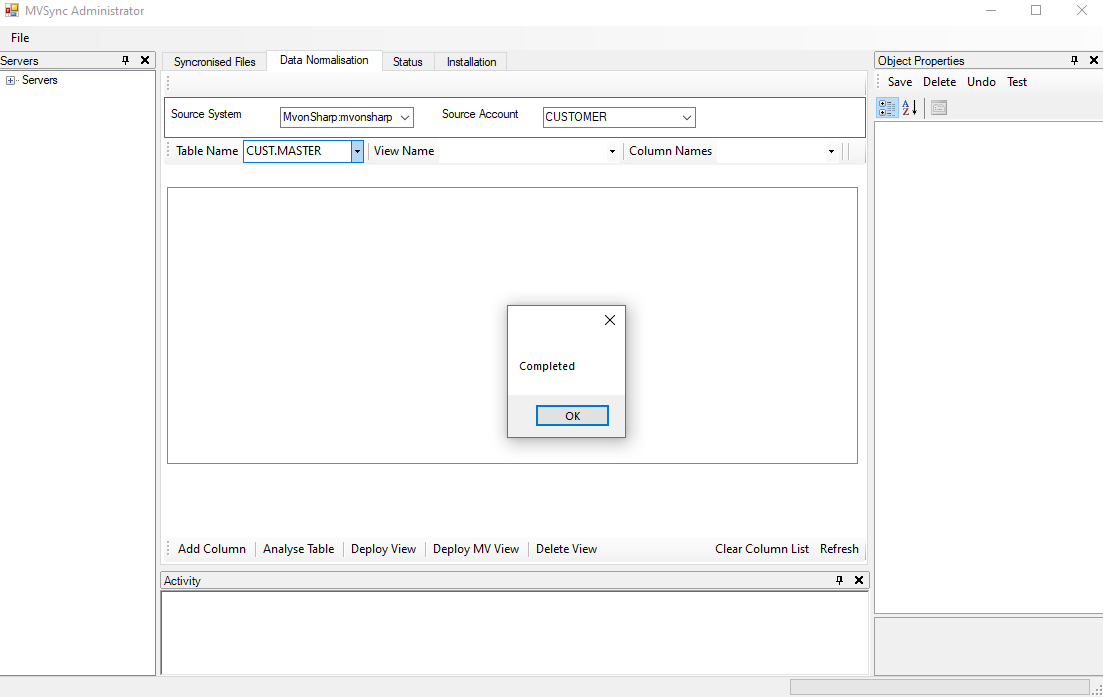
Next click on Analyze Table, and click the Yes button in the pop-up window to run the table analysis.
Analyze Table examines the dictionary of CUST.MASTER to create views on the table. All the fields identified as Single Valued are created as a view on the file with the same name as the file entry, and a phrase is added to the dictionary with a record key of the file name.
Next, the dictionary is analyzed for associated multi valued fields. A view is created for each association, named after the SQL table name followed by the name of the first field in the association, and an entry with the same name is added to the dictionary.
The data in the table is then analyzed for multi valued rows and views are created based on the analysis. This is especially useful where the dictionary is not complete or consistent. Any views created this way should be reviewed to ensure that they truly reflect the data structure.
Deploying the views
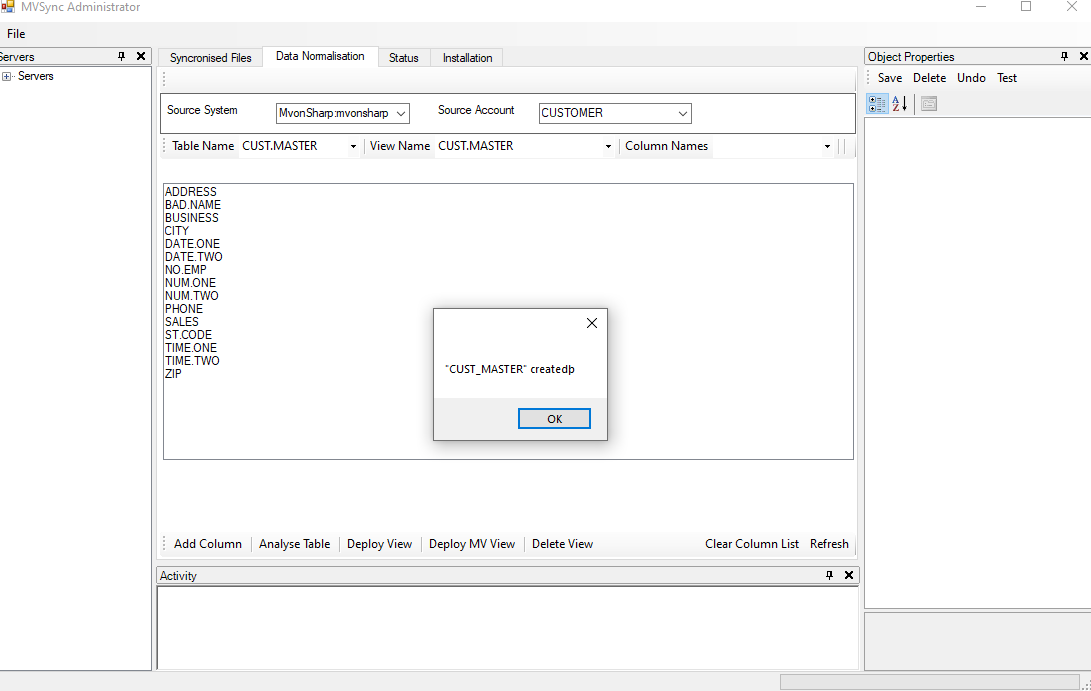
In the Data Normalization tab, click the View Name tab, and from the dropdown list click the view to be deployed, in the following example CUST.MASTER.
At this point a list of the columns in the view will be displayed. Optionally, clicking the Column Names tab will display a list of columns in the file dictionary and if required additional columns may be added by clicking the Add Column button.
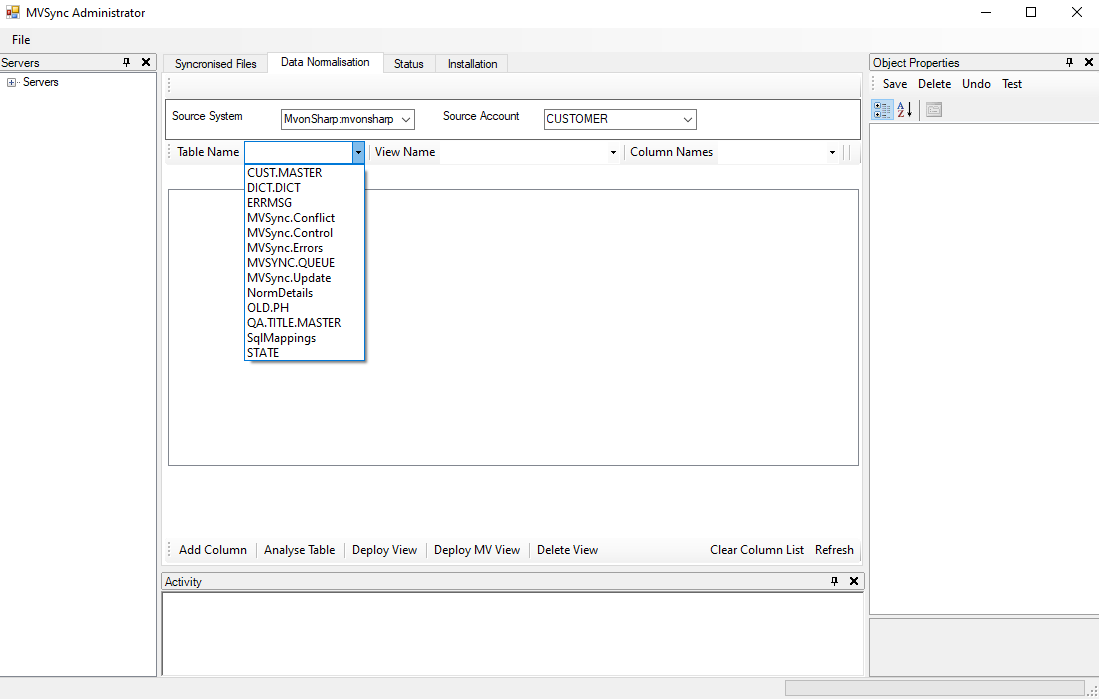
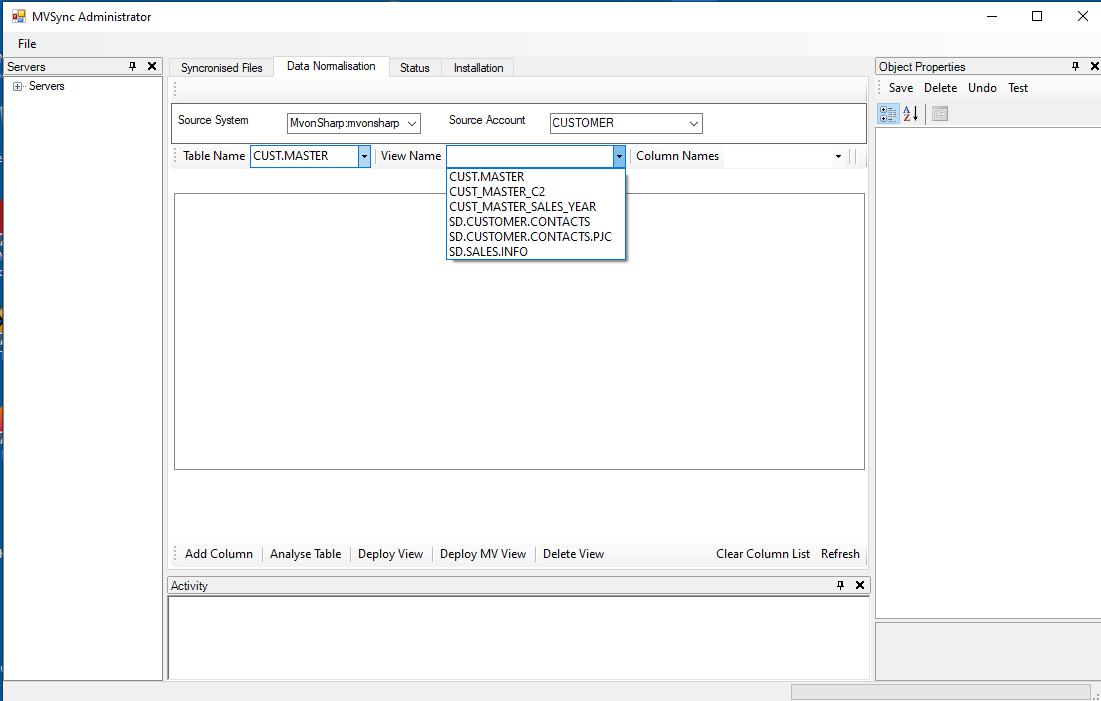
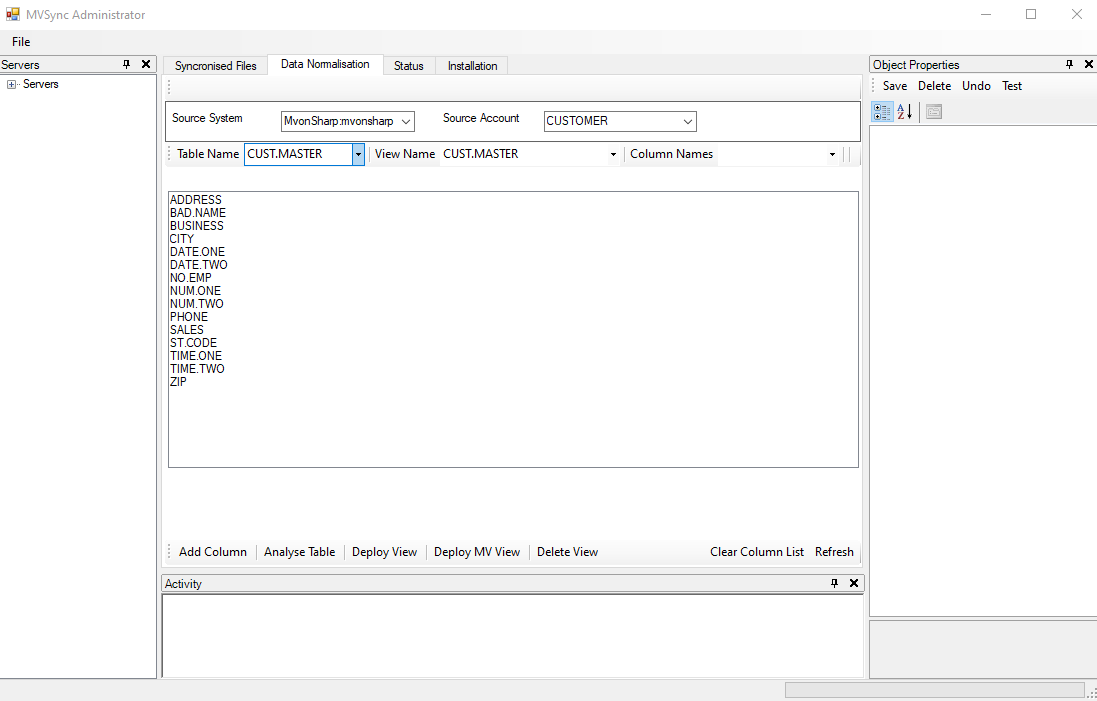
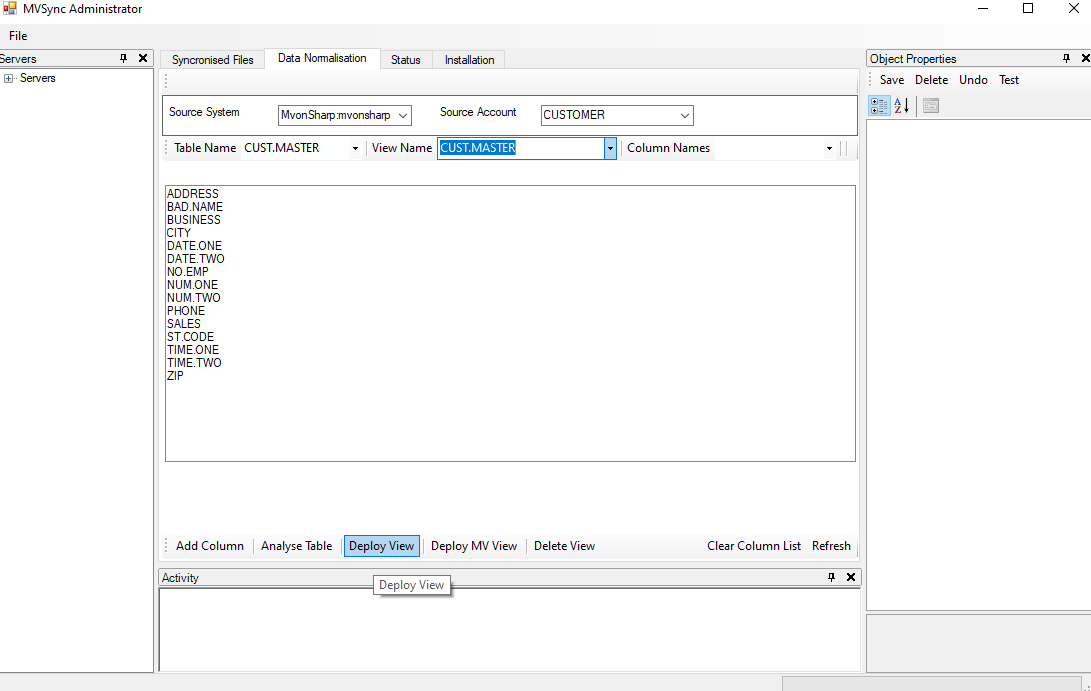
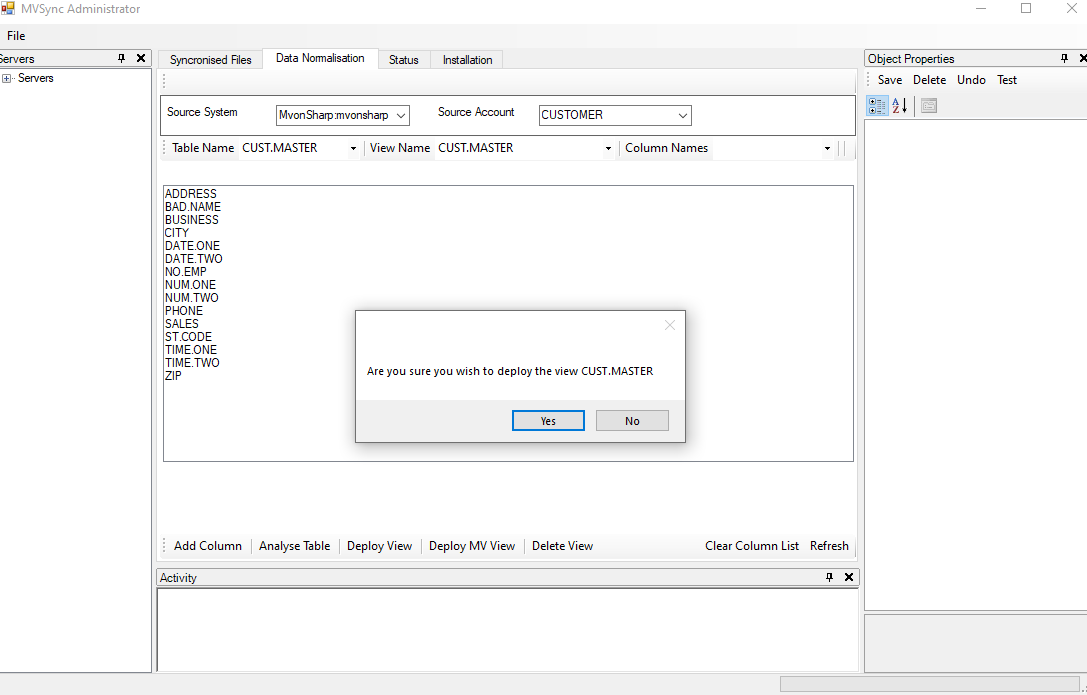
As the CUST.MASTER view contains only single values, the Deploy View button is used to deploy the view.
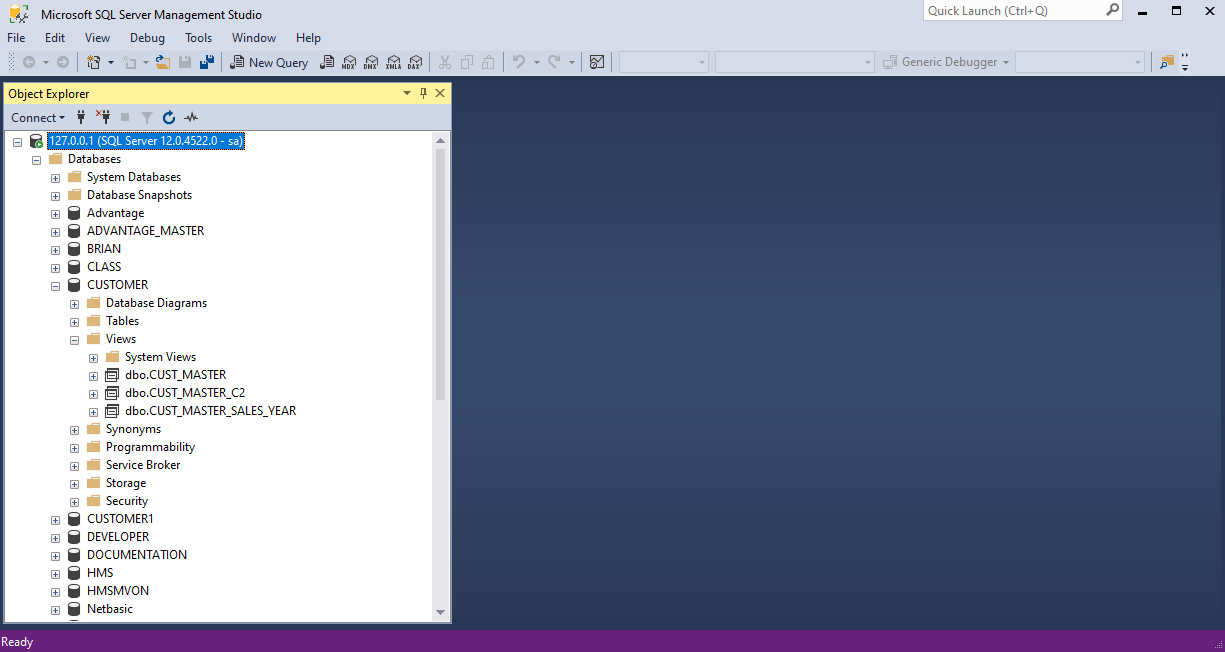
Opening a Microsoft SQL Server Management Studio session and navigating to the Views in the CUSTOMER database shows the views that have been deployed.
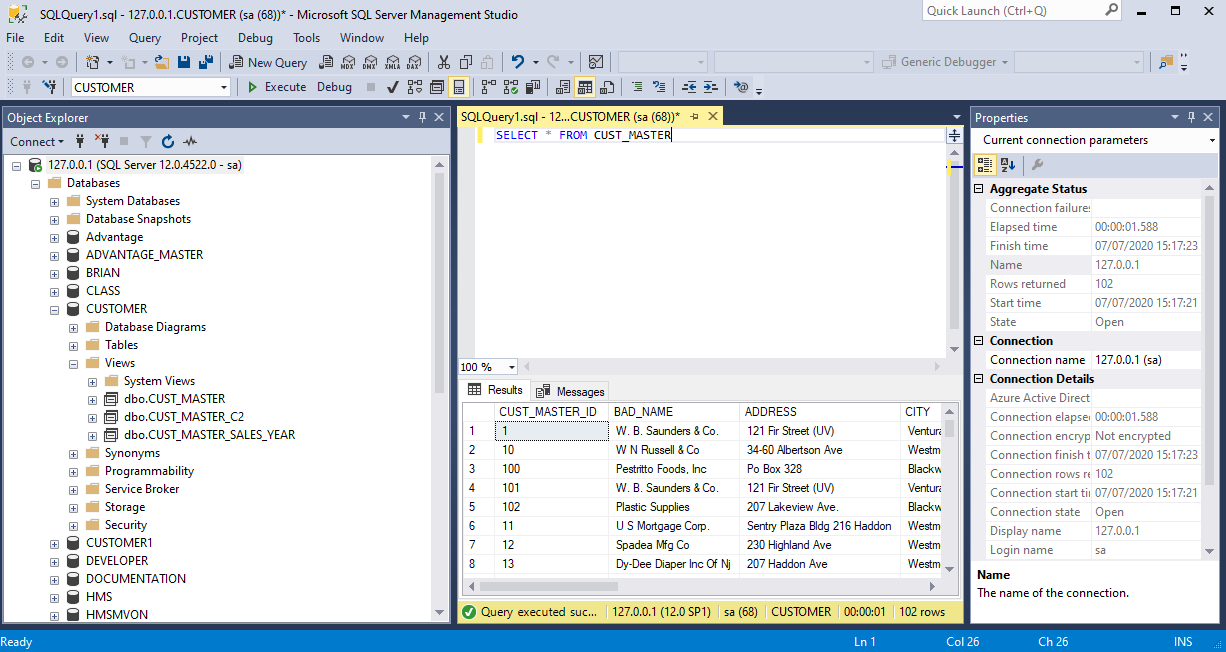
Issuing a simple SQL select statement in a query window displays the rows in the CUST_MASTER view.
Creating a new view
To create a custom view, the first step is to create an entry in the file dictionary with a key of the view name, for example:
>ED DICT CUST.MASTER CUST_MASTER_C3

New record.
----: I
0001= PH
0002=
----: FI
"CUST_MASTER_C3" filed in file DICT "CUST.MASTER".
>
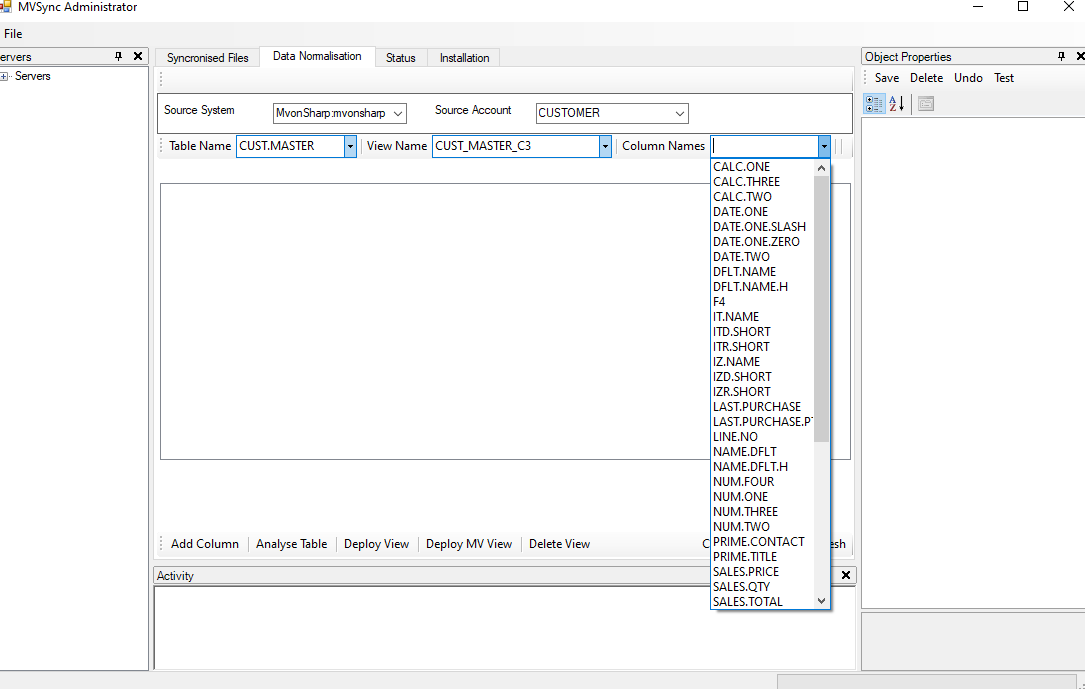
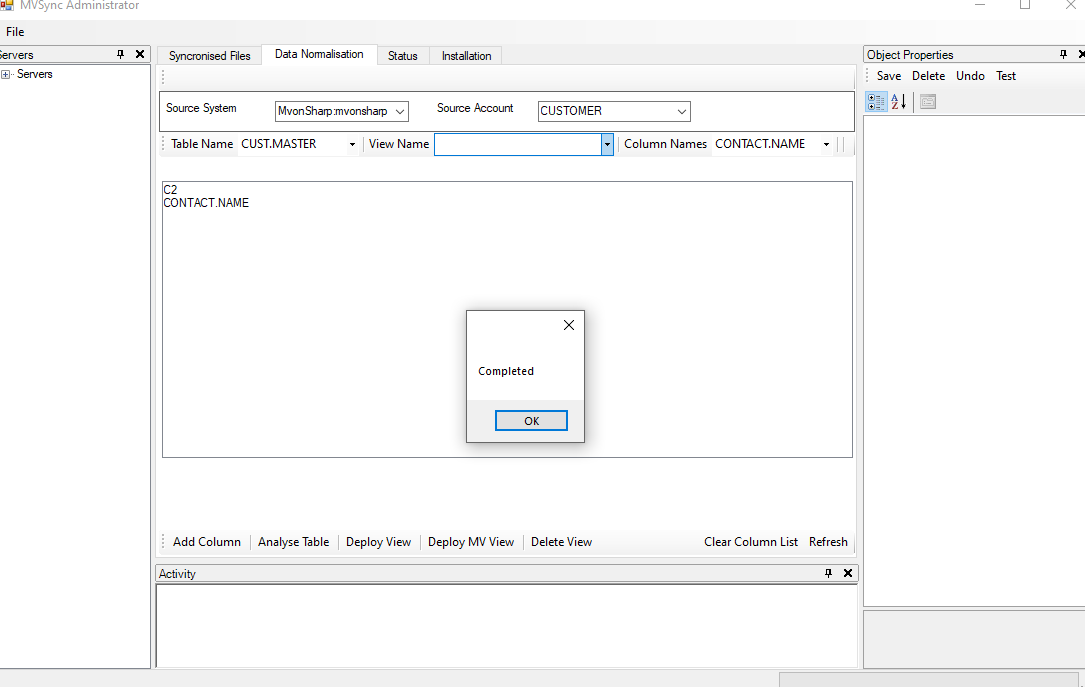
Next, select the table name in the Table Name dropdown and the view name in the View Name dropdown. The Column Name dropdown shows all the available columns in the file dictionary.
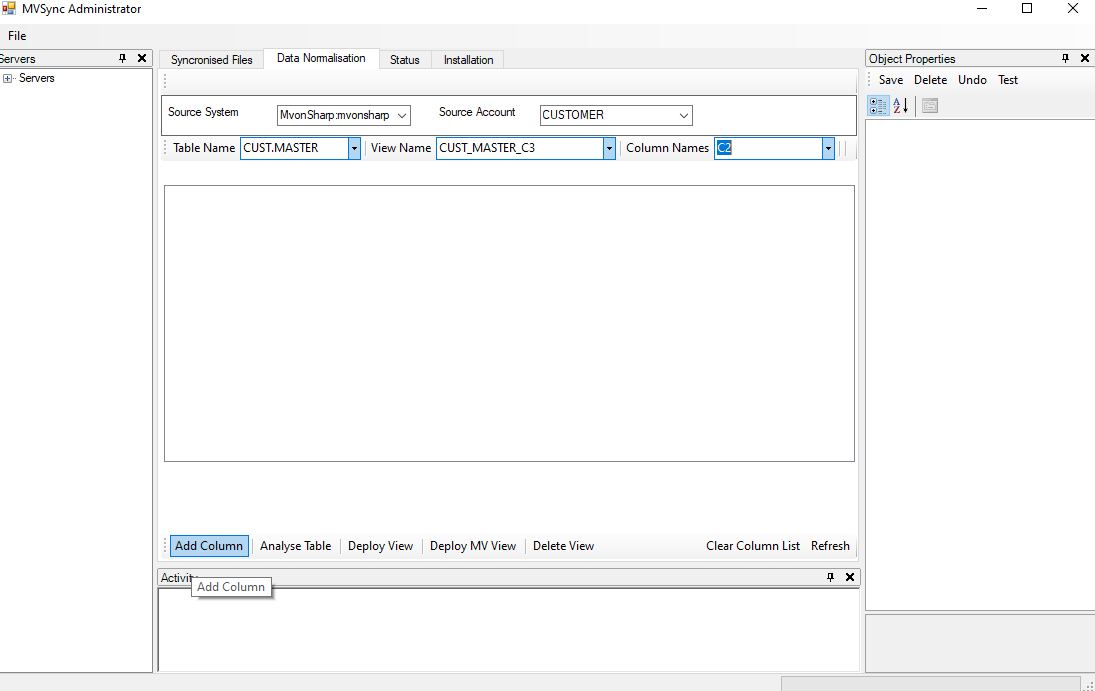
For each column required in the view, select the column name from the dropdown and click on the Add Column button.
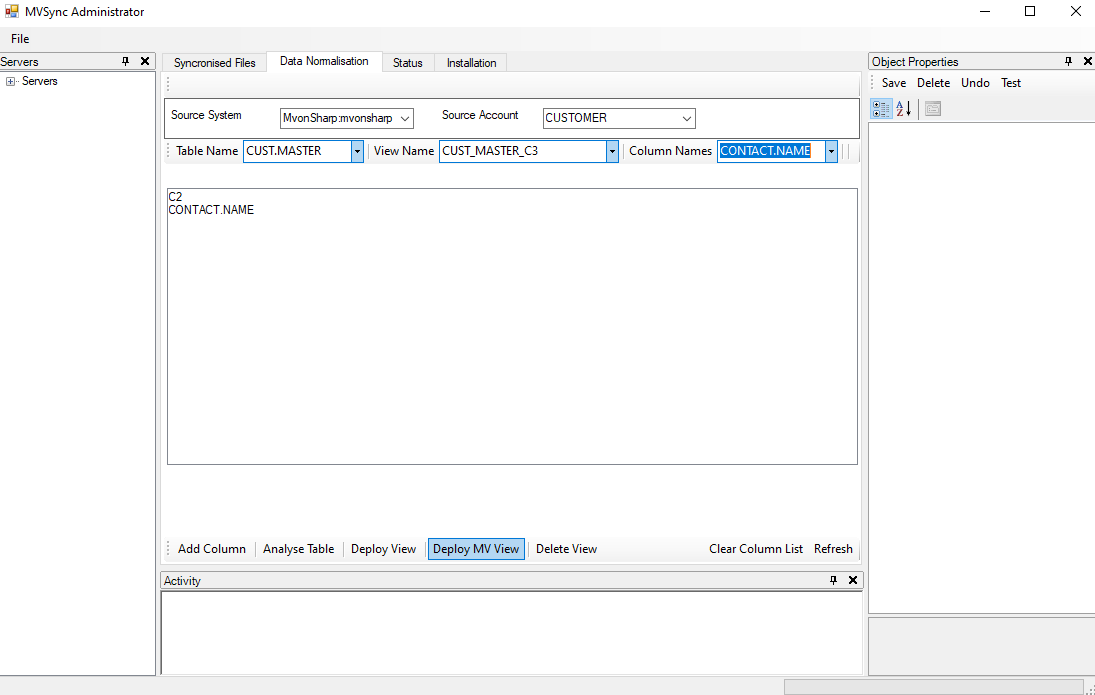
As the column CONTACT.NAME is defined as a multi valued field, click the Deploy Mv View button, and click Yes to deploy the view.
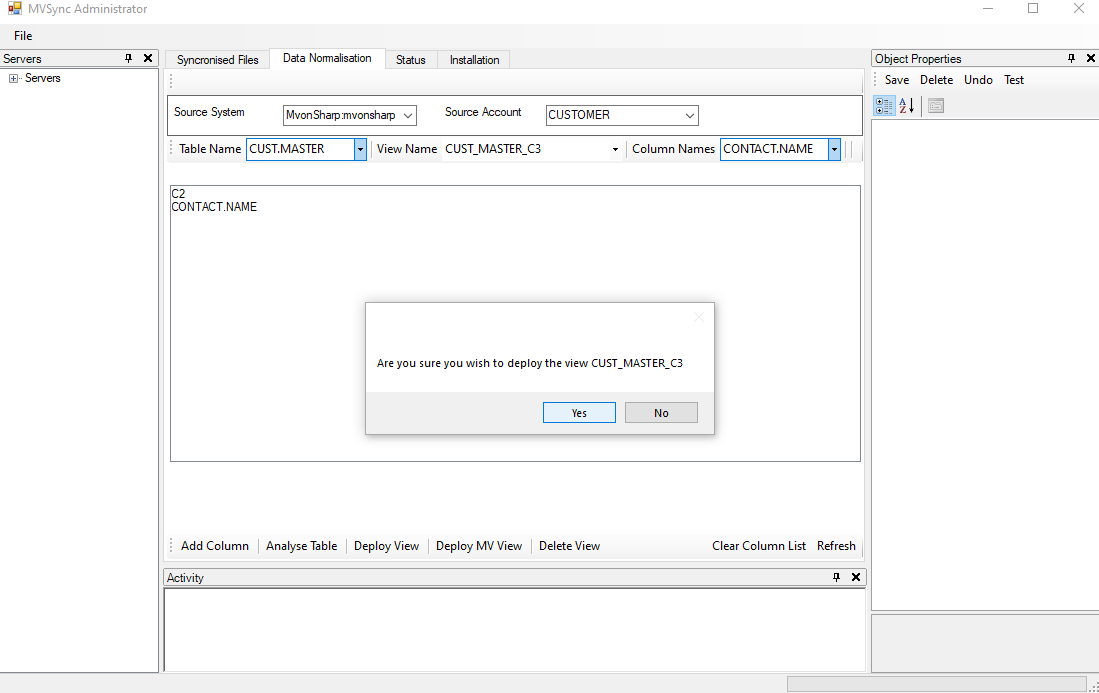
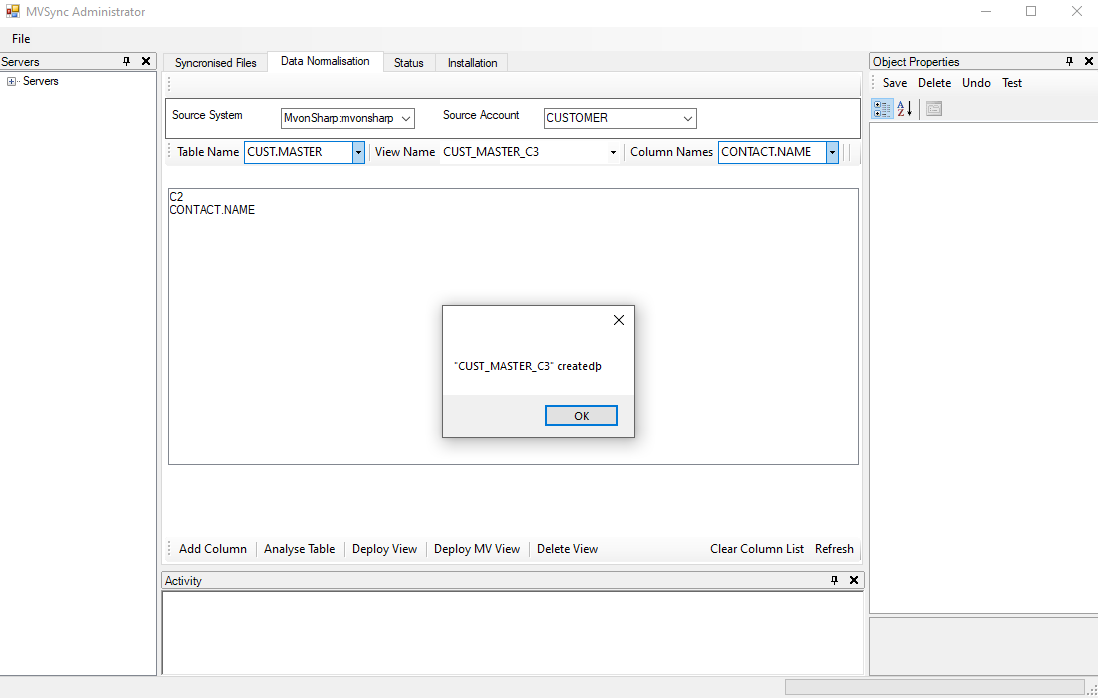
The following shows that the view definition in the file dictionary has been updated with the columns previously added.
>ED DICT CUST.MASTER CUST_MASTER_C3
2 lines long.
----: P

Top.
0001: PH
0002: C2 CONTACT.NAME
Bottom at line 2.
----:
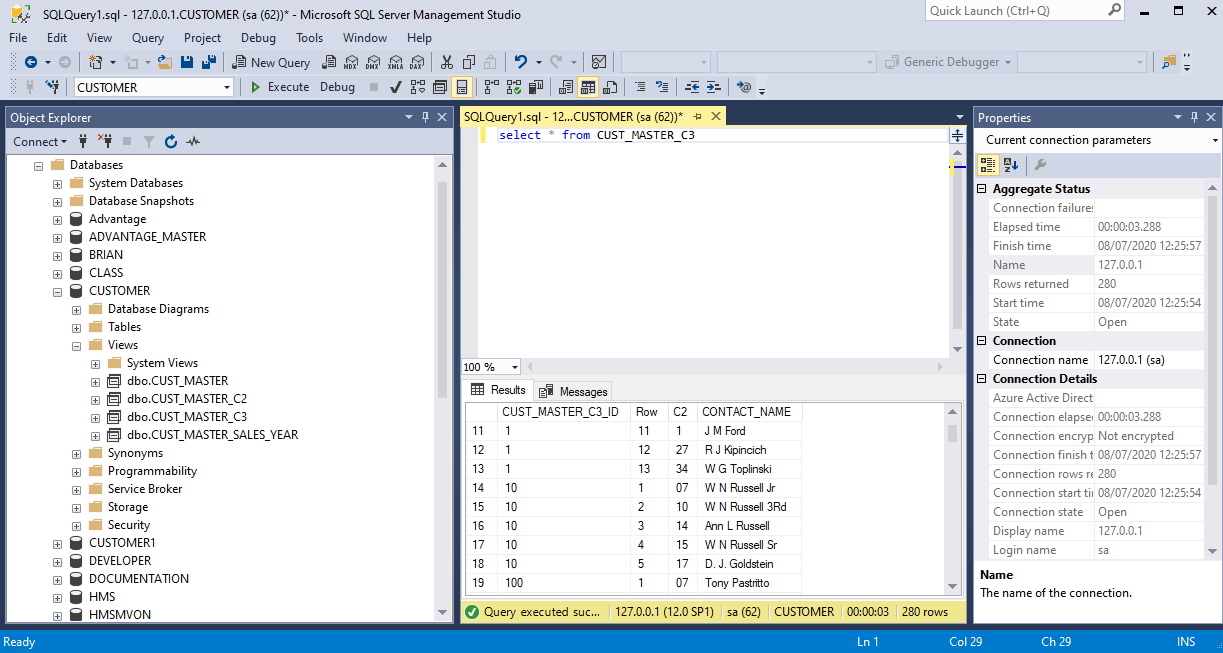
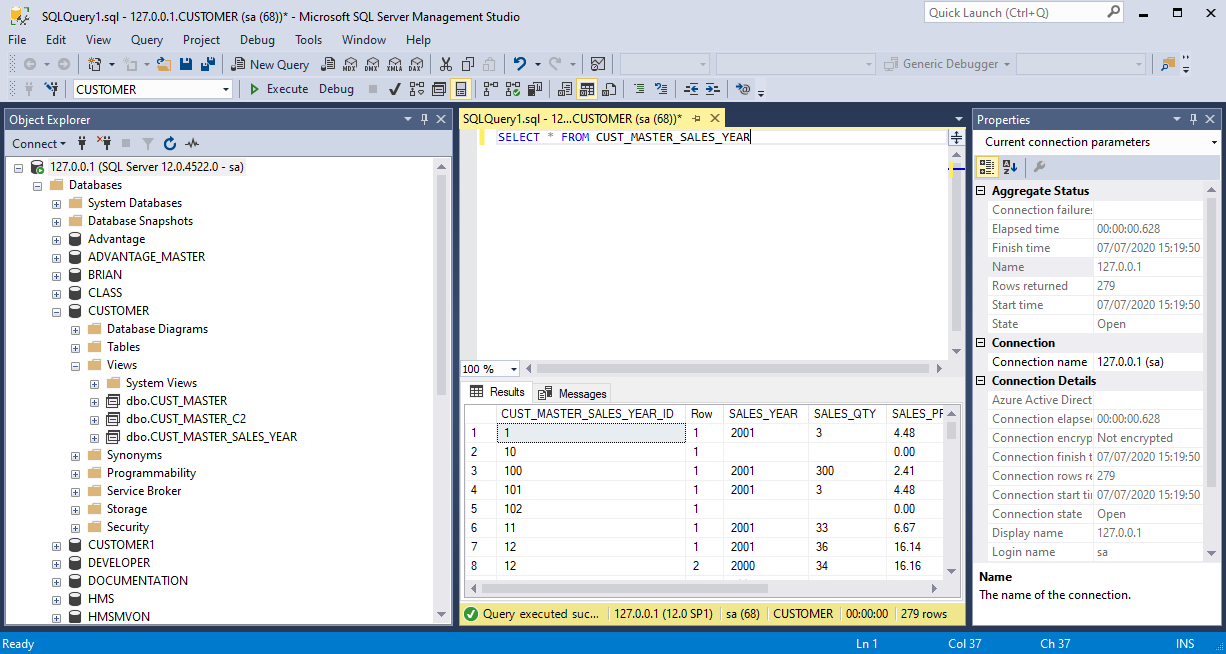
The Microsoft SQL Server Management Studio session shows that the CUST_MASTER_C3 view has been added. The simple SQL select statement shows the normalized data set identified by row number.
Deleting a view
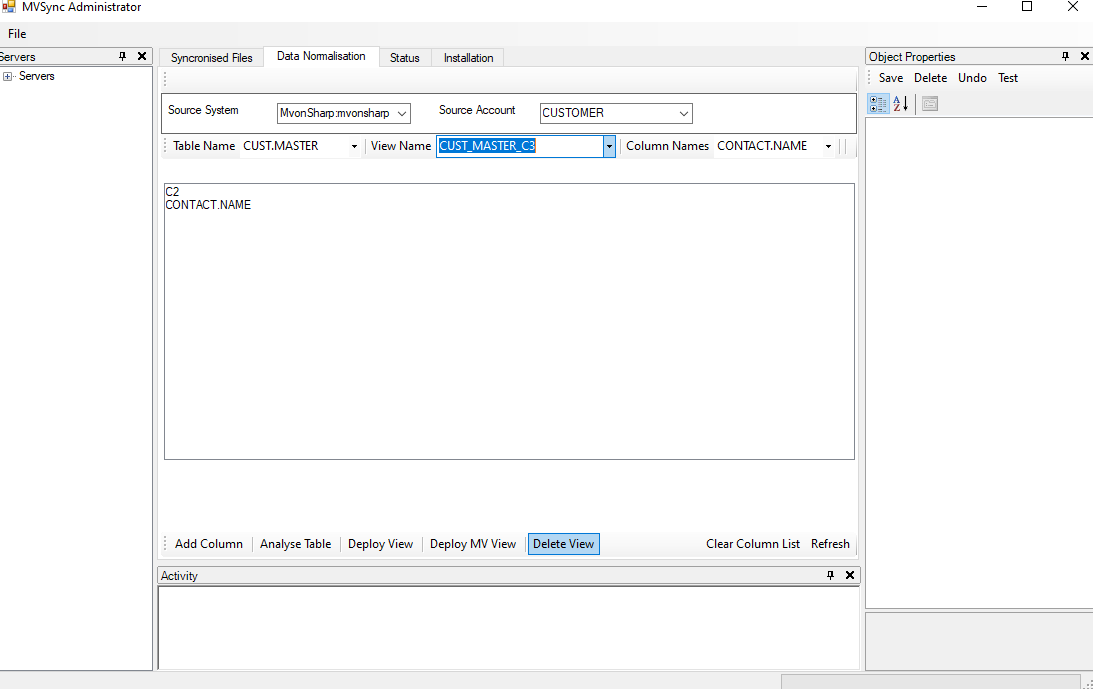
To delete a view, select the view to be deleted, click the Delete View button and click the Yes button.
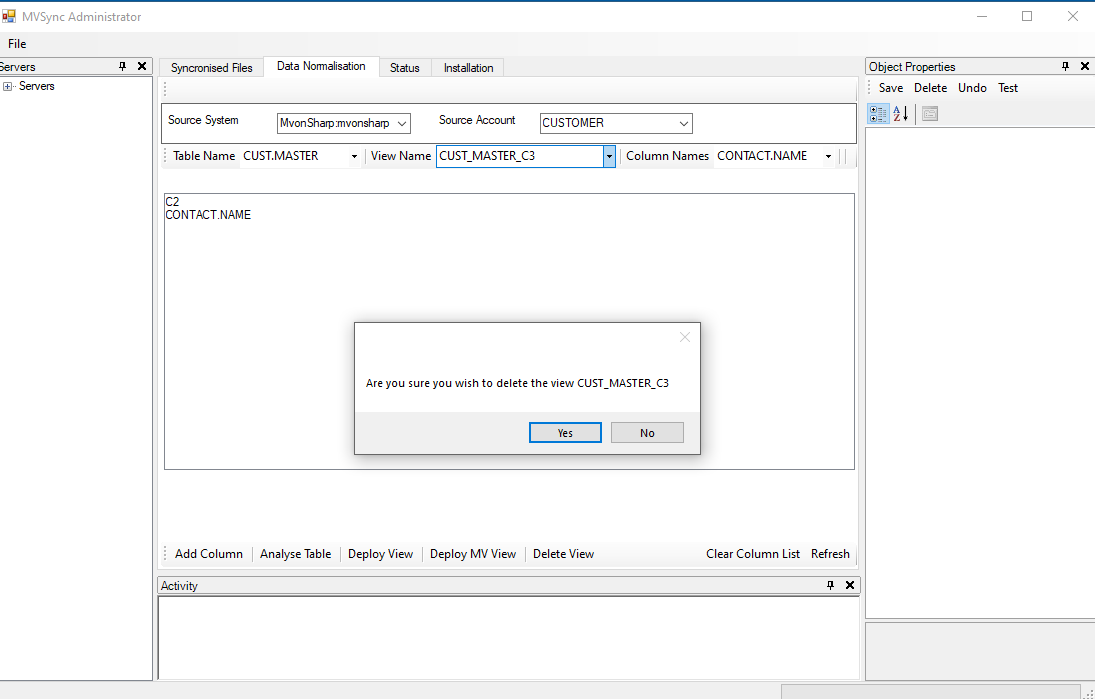
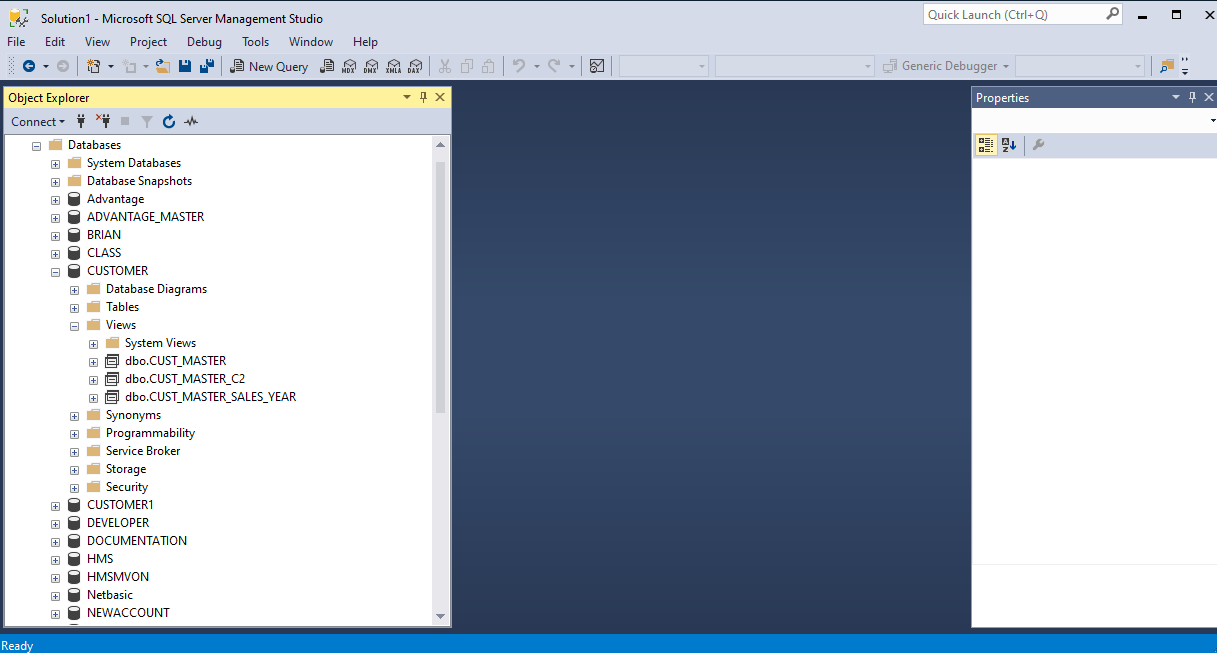
The above Microsoft SQL Server Management Studio session shows that CUST_MASTER_C3 has been deleted, and the view record in the dictionary is also deleted.